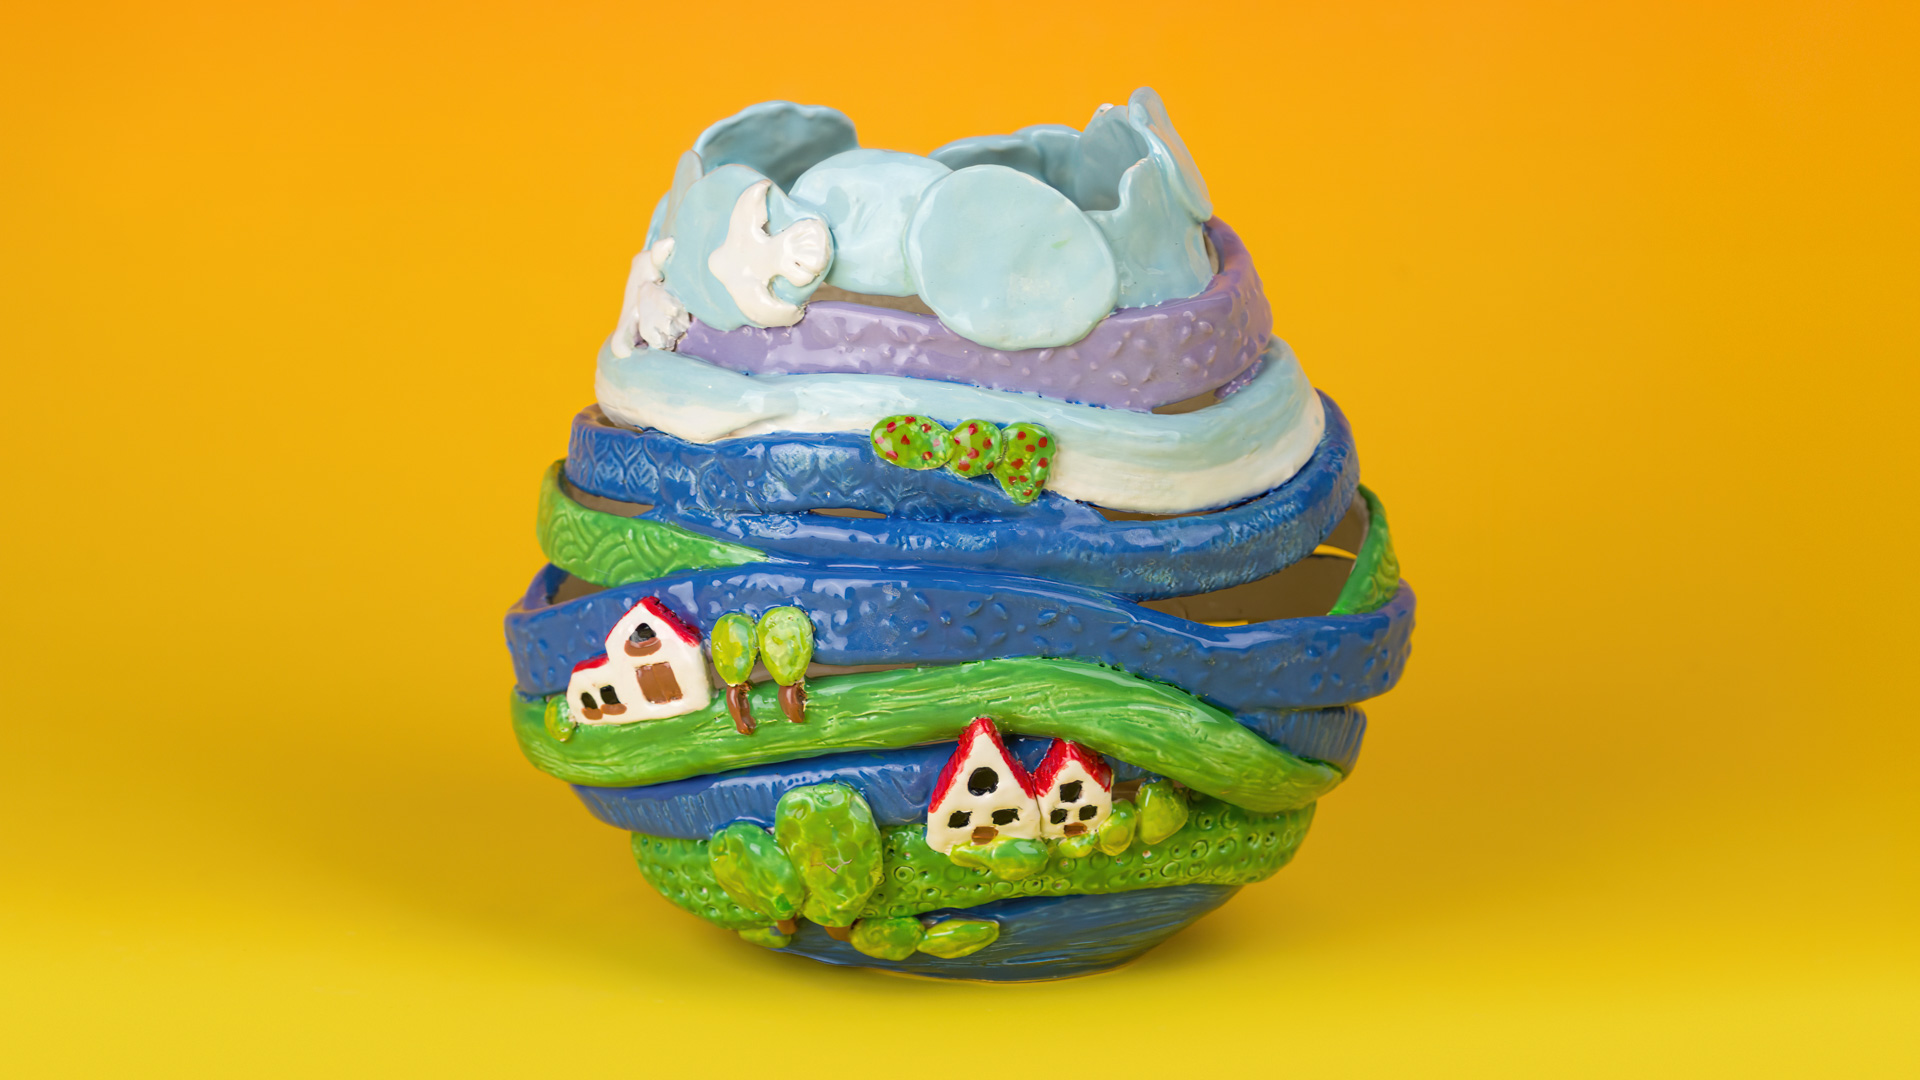
Students will use textured slabs to build a small sculpture or vessel, celebrating the beauty of patterns.
- Collect found textures—leaves, bark, lace, burlap, coins, or other classroom-safe objects.
- Sketch a quick design showing placement of textures and slab sections.
- Roll a slab of clay to about ¼” thickness.
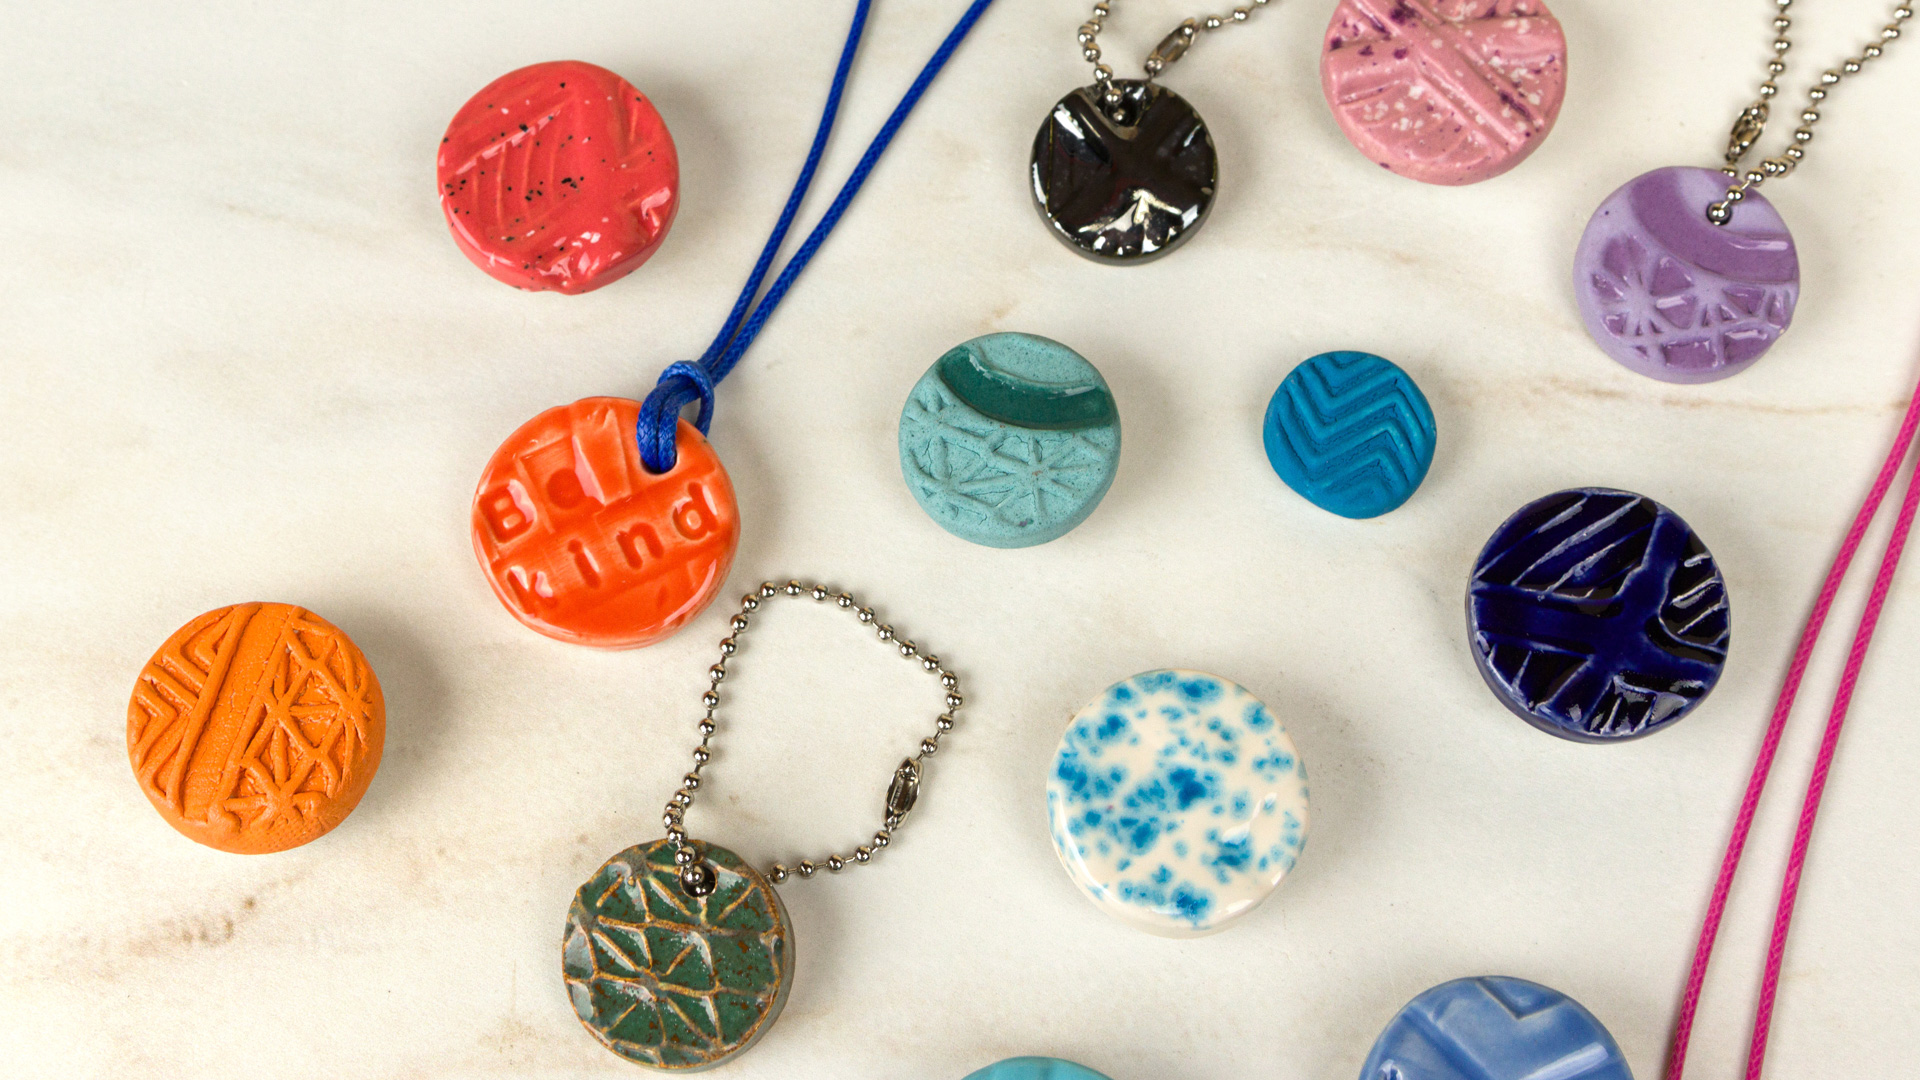
- Press textures firmly into the clay surface.
- Cut shapes or panels from the textured slabs.
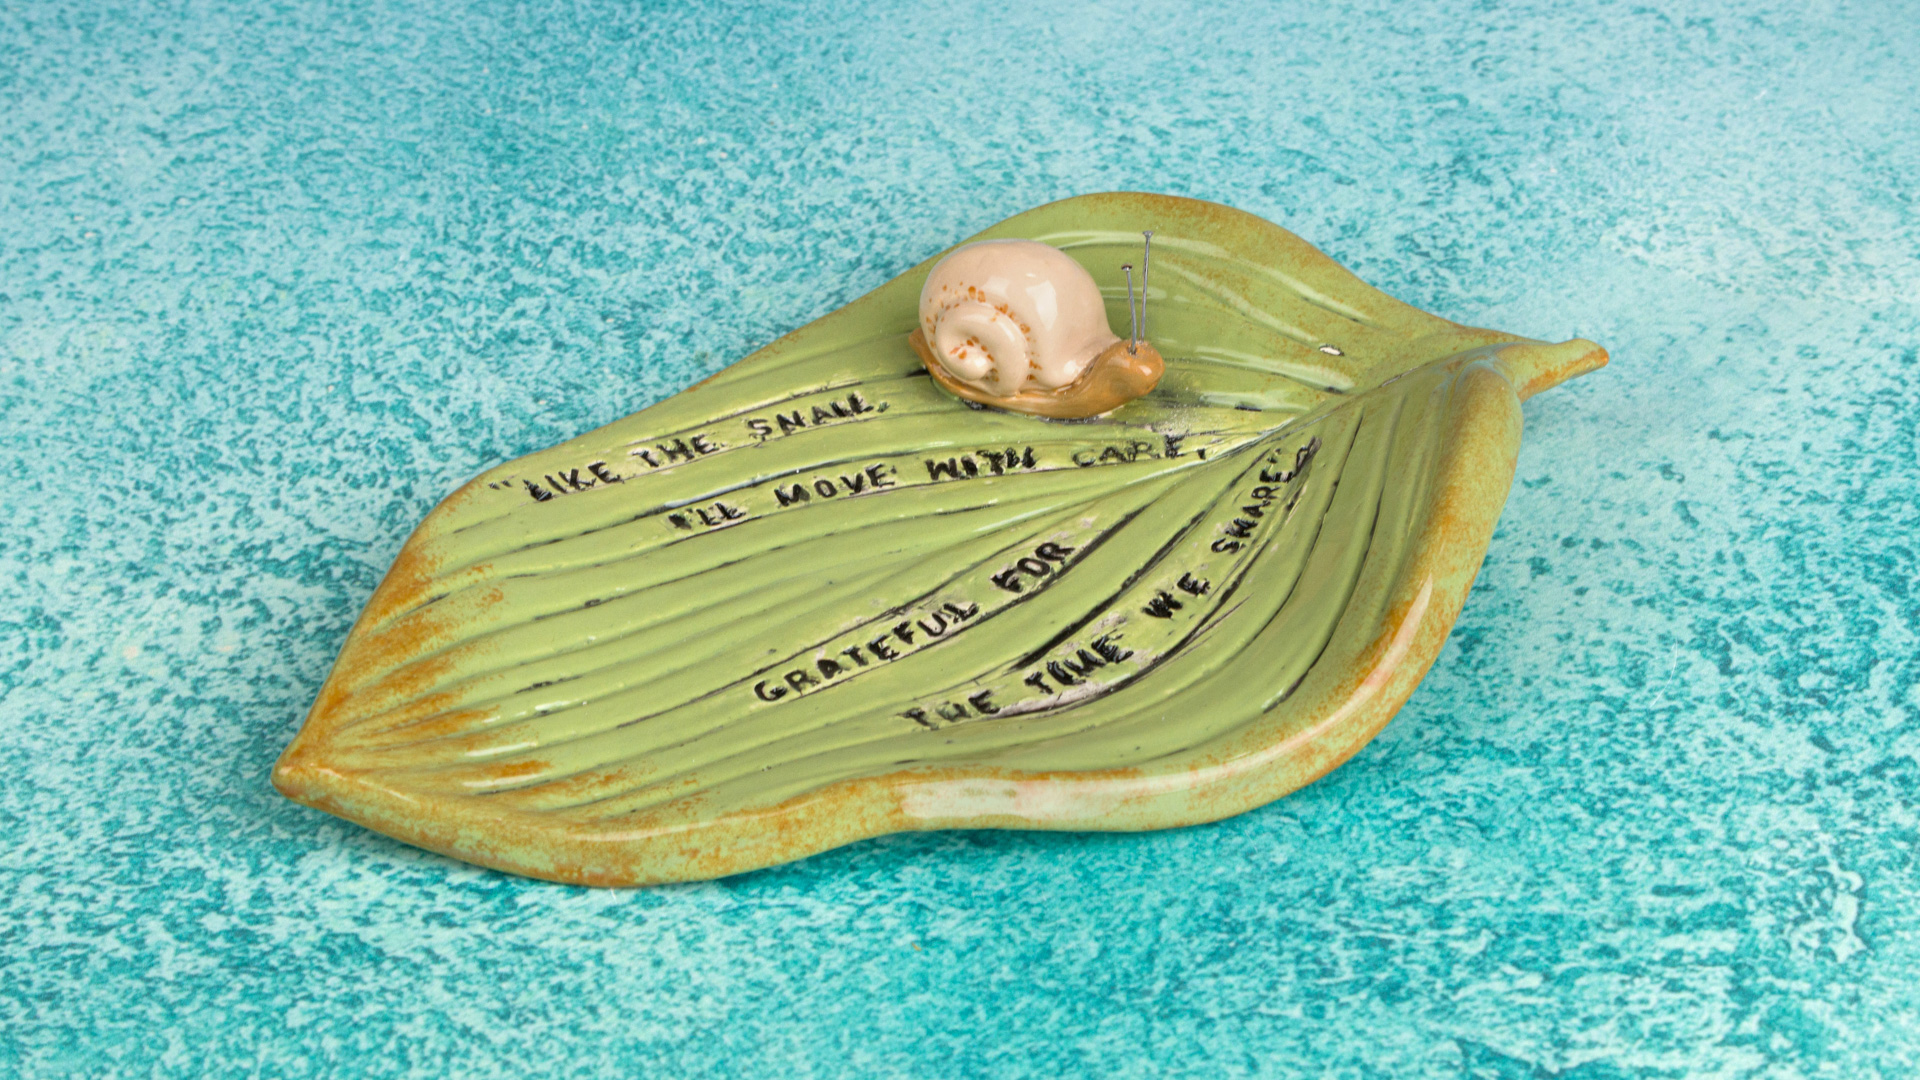
- Assemble into a small vessel, box, or abstract sculpture using scoring and slipping.
- Smooth edges and refine form.
- Allow to dry, bisque fire, glaze, and glaze fire.
The challenge: Their final clay piece must use only textures pressed from these finds—no added drawn lines or smooth surfaces. (This constraint pushes creativity and problem-solving.)
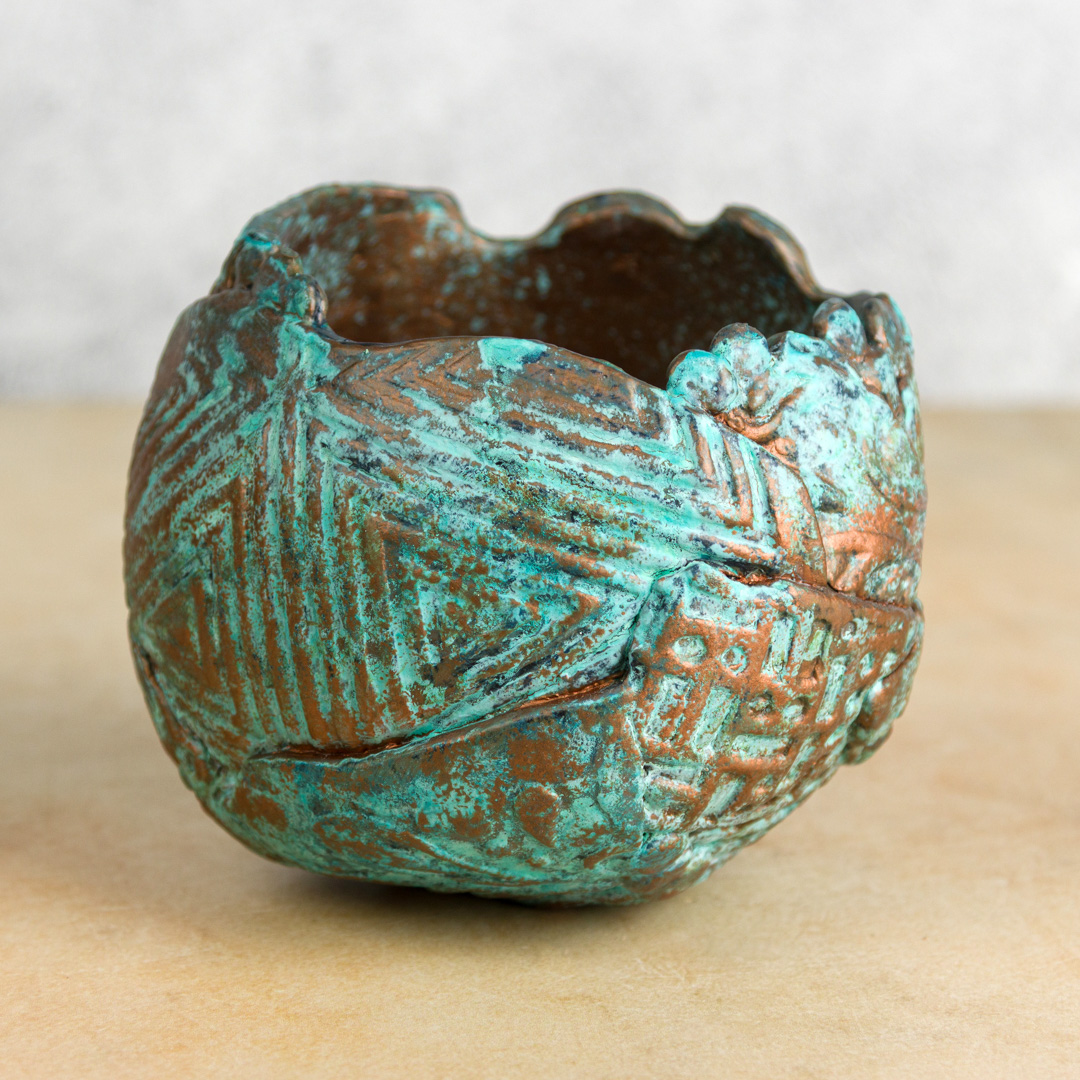
Why Magic Metallics Are Perfect for Textured Sculptures:
- Magic Metallics are ideal for textured ceramic projects because they highlight and enhance surface details beautifully. Perfect for classroom use, these versatile, non-fired finishes can be applied to a variety of surfaces. Please note: Magic Metallics are for ornamental use only and are not dinnerware safe. Magic Metallics™ are water-based acrylics infused with finely ground metal particles, giving artwork an authentic metallic sheen and depth.
Variations & Extensions
- Create a collaborative “texture wall” by combining slabs from the whole class.
- Assign themes: “natural textures,” “urban textures,” or “fabric textures.”
- Pair with a sketchbook exercise where students make rubbings of textures they find before pressing them into clay.