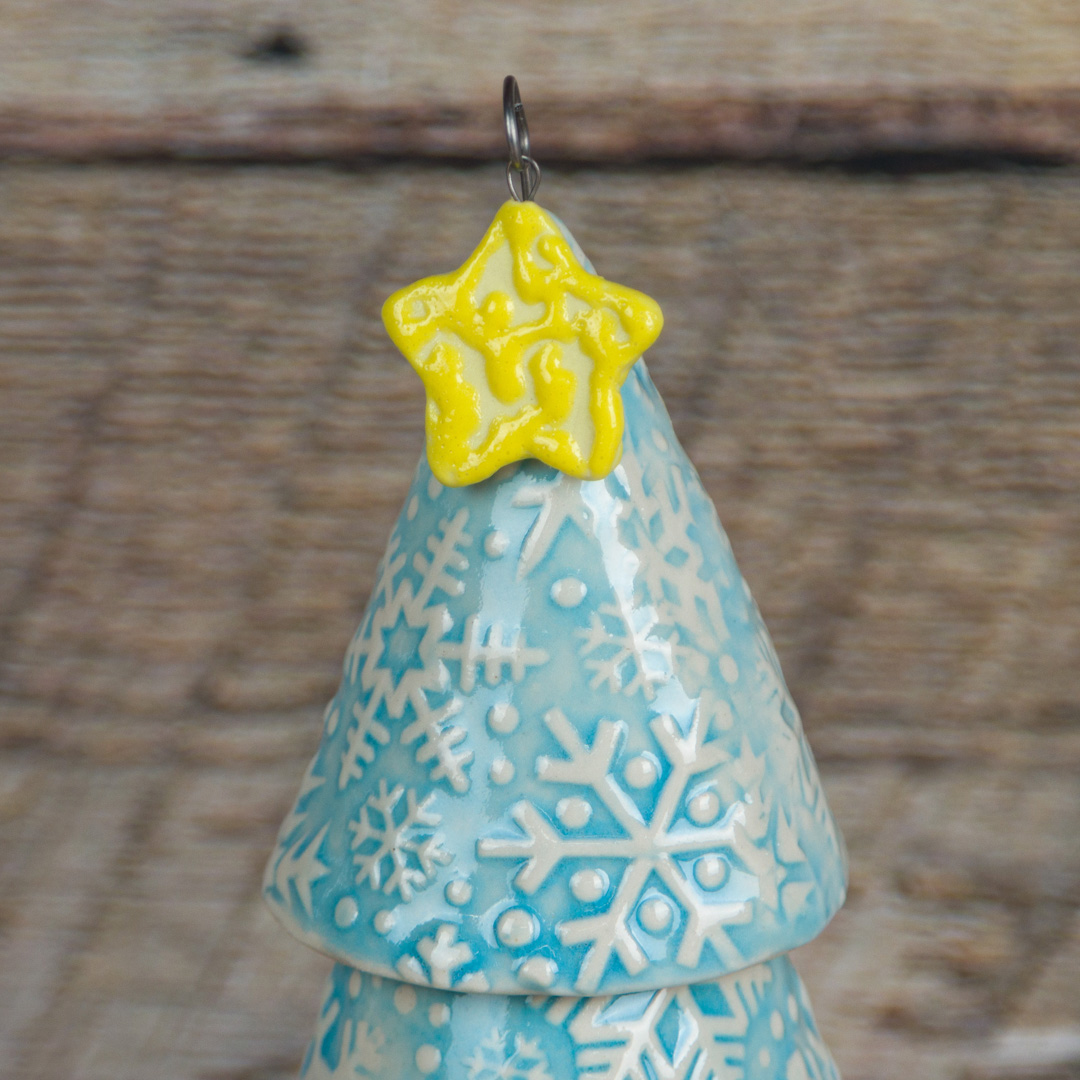
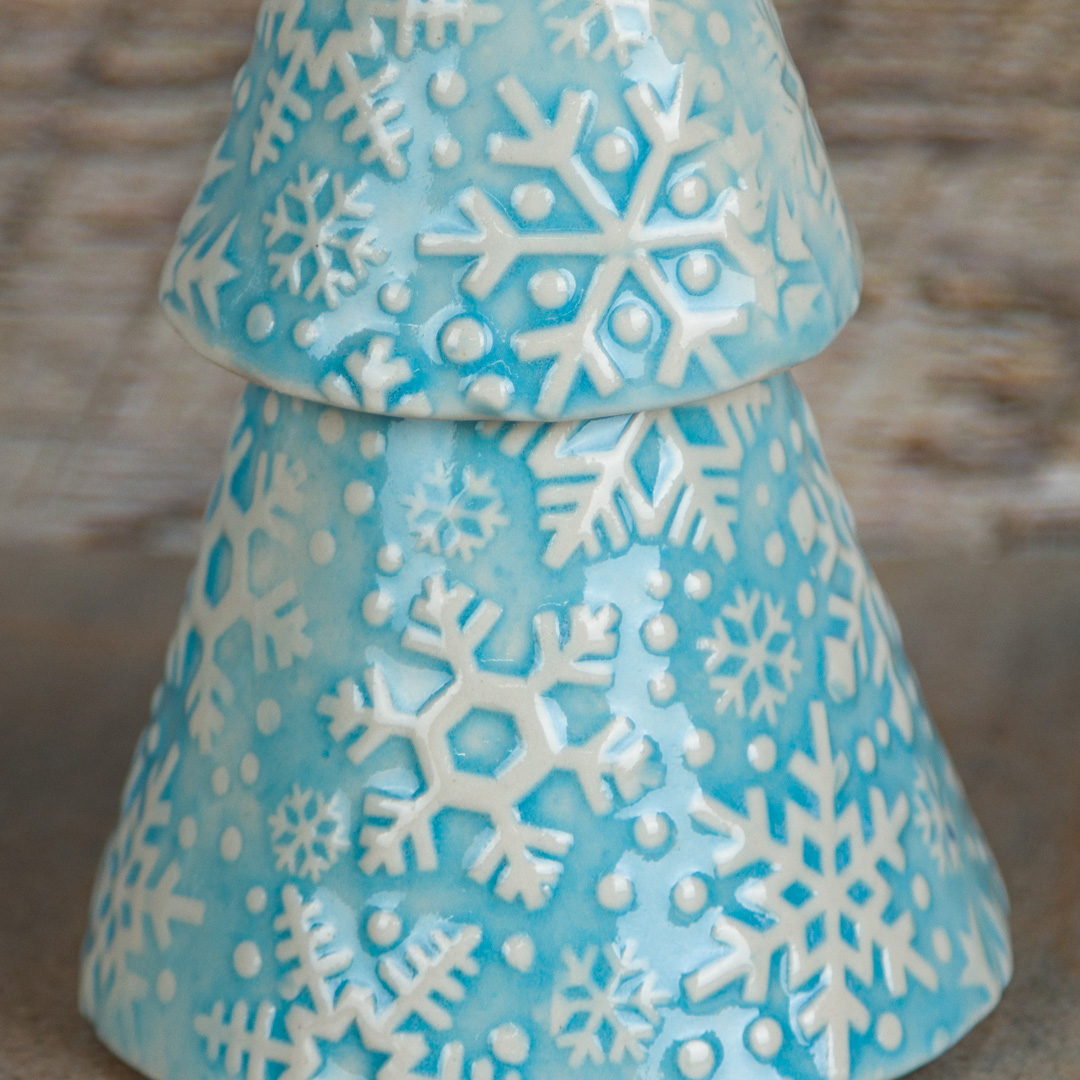
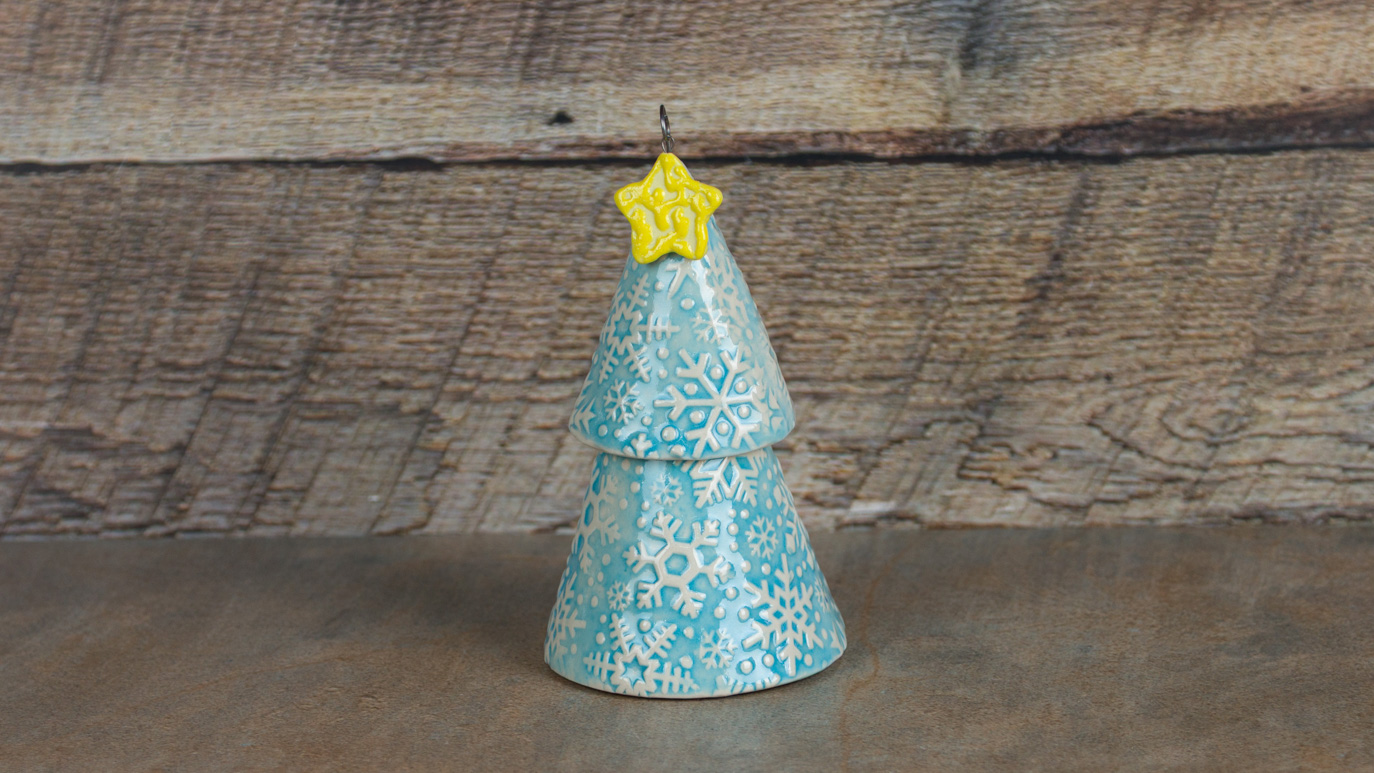
- Roll out slab of clay ¼” thick
- With roller, imprint design on clay.
- Using small and medium cone cookie cutter, cut out 1 small and 1 medium shapes and roll into cones.
- Bisque to cone 04.
- After bisque fire, moisten a clean sponge and wipe bisque to remove any dust.
- With a #4 Soft Fan Brush, apply 3 coats of SC105 Tic-Tac-Turquoise to tree tiers, then wipe back to expose snowflake design.
- Apply 2 coats of SW250 White Opal, using a #4 Soft Fan Brush.
- Wipe excess glaze off the bottom of bisque.
- Do not stilt.
- Fire to cone 6.
Optional: cut out small star and glaze with 3 coats of SW441 Yellow Bead. Do not glaze the back! Fire to cone 6. Leave small hole opening at the top of the tree to put a metal stick through to hang the star.
Tip: Use glue or epoxy of choice to attach pieces together, one on top of the other.