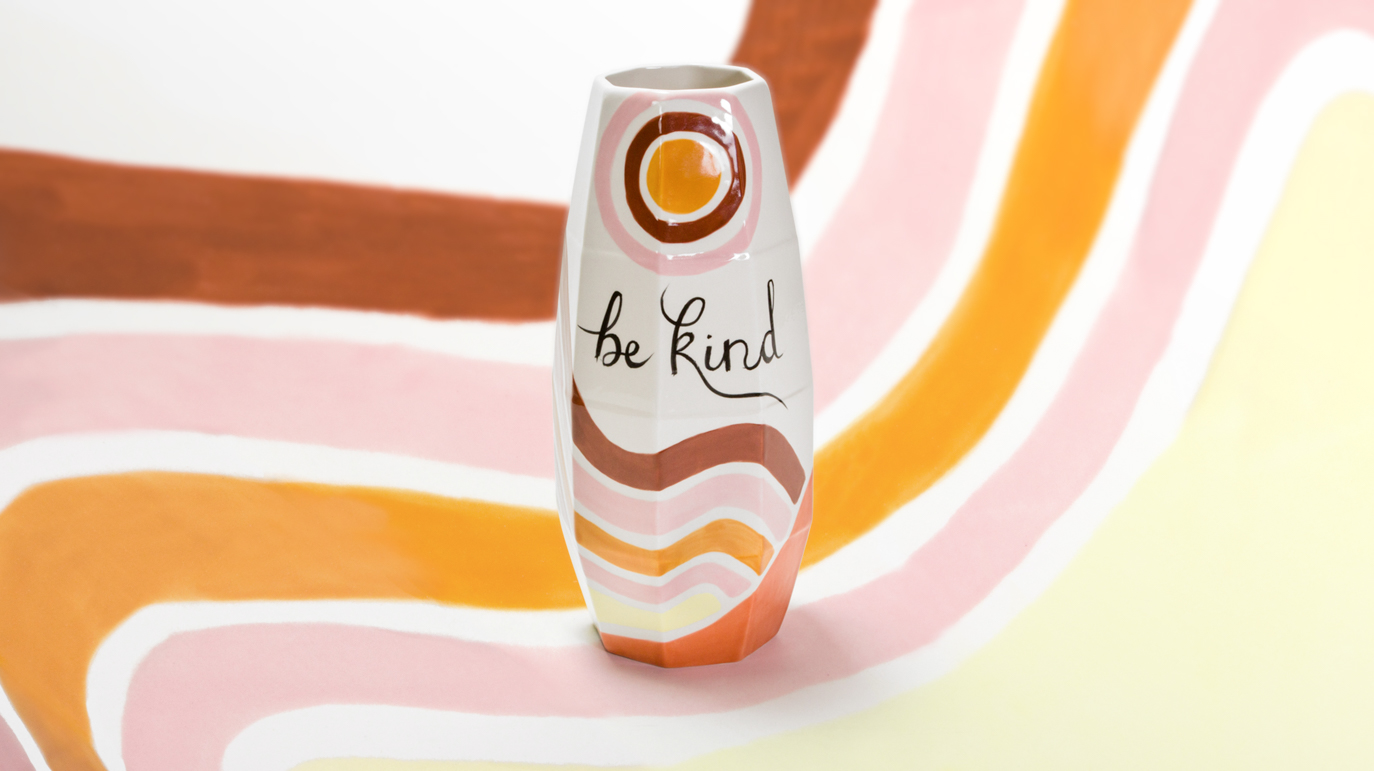
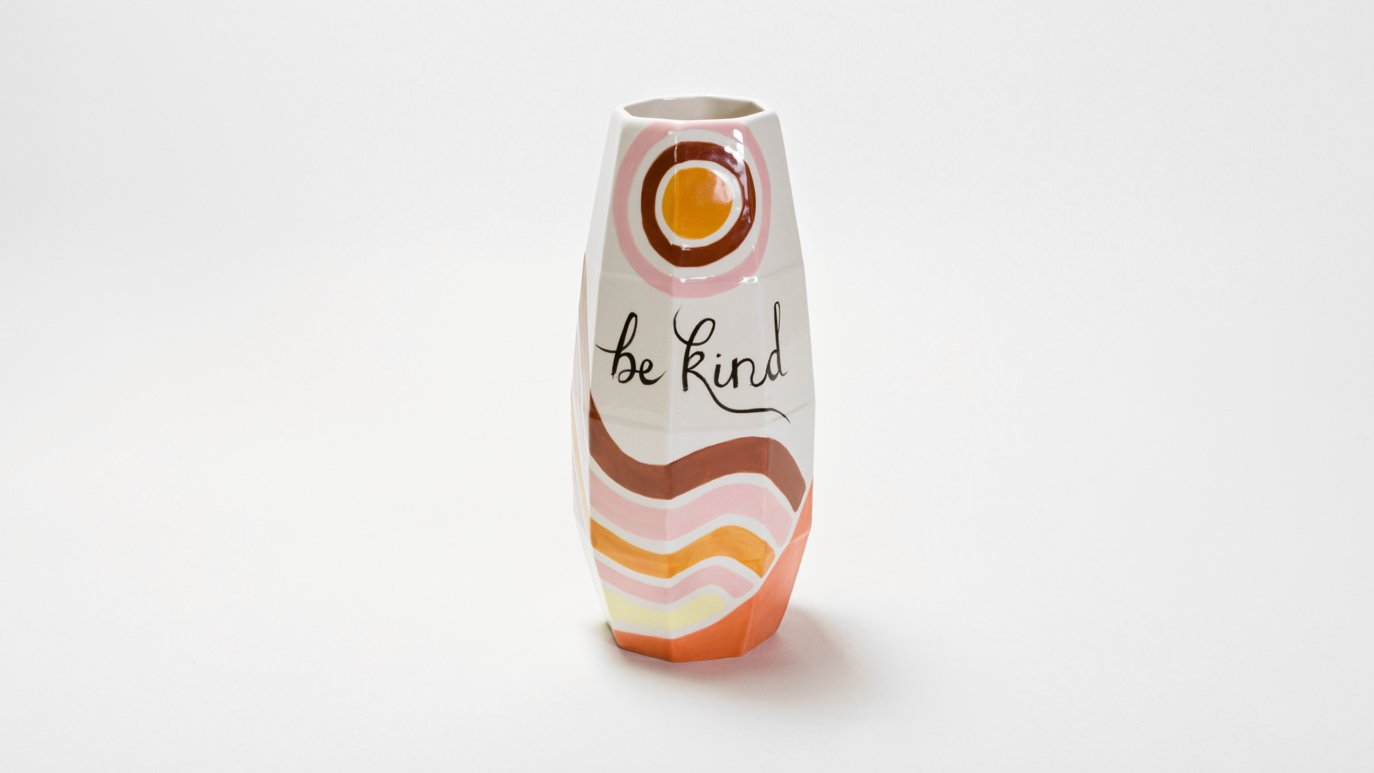
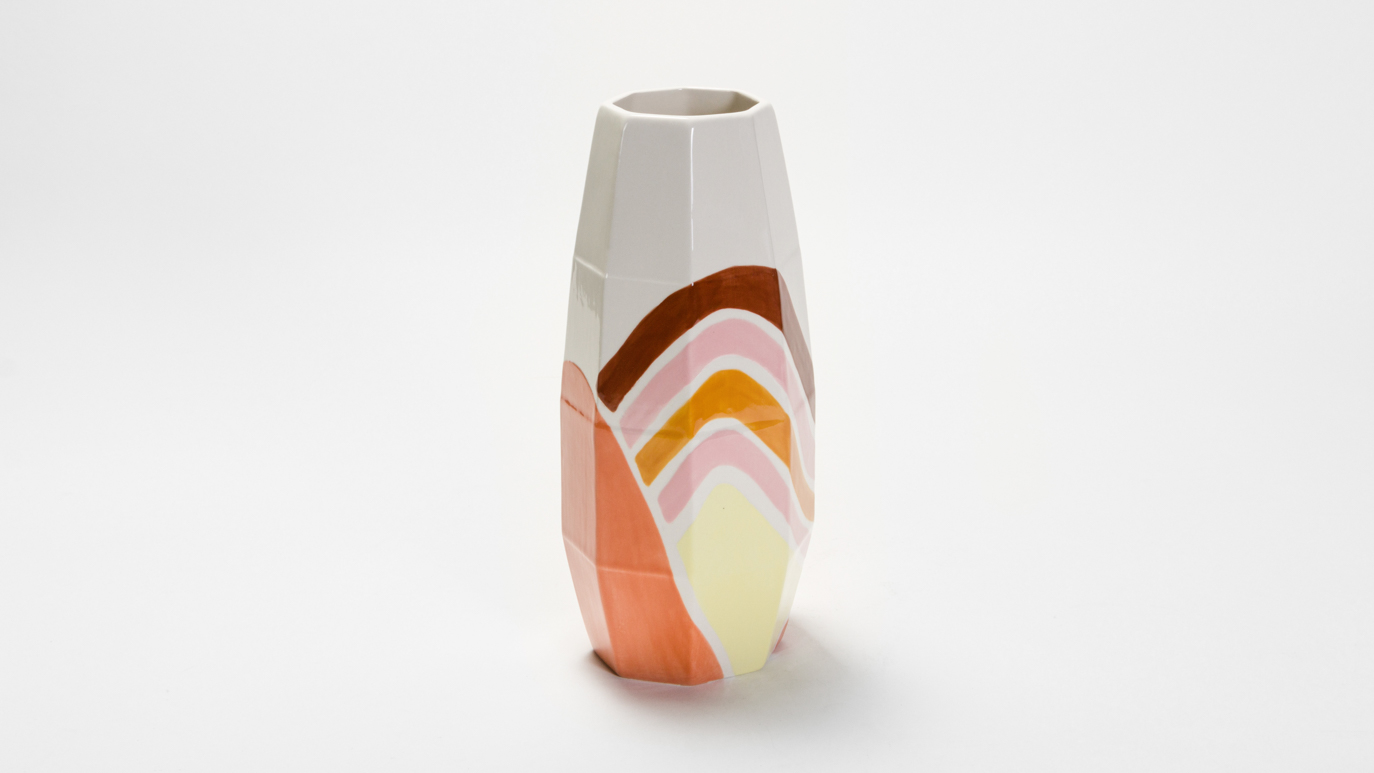
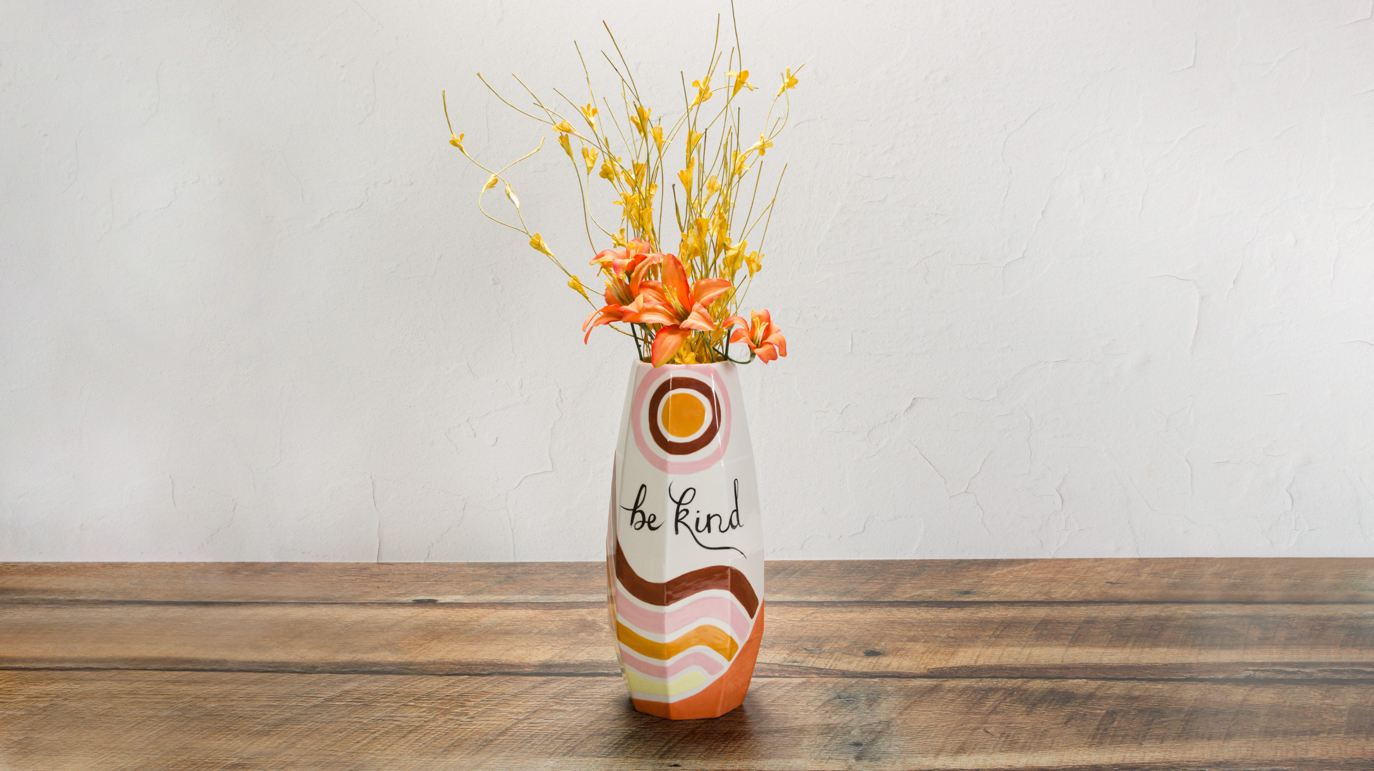
Be Kind Vase

Designer: Elizabeth Carey

Share

Instructions

  1. Begin with properly fired cone 04 bisque. Moisten a sponge and wipe bisque to remove any dust.
  2. Place the tissue paper over the pattern. Trace with the pencil.
  3. Place the vase on its side. Place the center of the pattern on the center facet of the vase. Start tracing the pattern with the permanent marker. Rotate the vase until the entire pattern has been traced.
  4. Using the Script Liner, work your way from the bottom of the rainbow to the top. Allow glaze to dry between coats.
    • Apply 3 coats of SC-80 Basketball to the bottom stripe.
    • Apply 3 coats of SC-55 Yella Bout It to the next stripe.
    • Apply 3 coats of SC-1 Pink-A-Boo to the next stripe.
    • Apply 3 coats of SC-5 Tiger Tail to the next stripe.
    • Apply 3 coats of SC-1 Pink-A-Boo to the next stripe.
    • Apply 3 coats of SC-48 Camel Back to the next stripe.
  5. Using the Script Liner, work your way from the center of the sun to the outer stripe. Allow glaze to dry between coats.
    • Apply 3 coats of SC-5 Tiger Tail to the center.
    • Apply 3 coats of SC-48 Camel Back to the first stripe.
    • Apply 3 coats of SC-1 Pink-A-Boo to the outer stripe.
  6. Using the Detail Liner with SC-15 Tuxedo, apply 1 coat to the lettering.
  7. Dip in NT-CLR Clear Dipping glaze
  8. Fire to cone 06.

Supplies

Form

  • MB-1466 Faceted Vase

Colors

  • NT-CLR Clear Dipping Glaze (at studio, not in kit)
  • SC-1 Pink-A-Boo = 1 oz
  • SC-5 Tiger Tail = 1 oz
  • SC-15 Tuxedo = ¼ oz
  • SC-48 Camel Back = 1 oz
  • SC-55 Yella Bout It = 1 oz
  • SC-80 Basketball = 2 oz

Decorating Accessories

  • RB-106 #6 Script Liner
  • RB-110 10/0 Detail Liner

Miscellaneous Accessories

  • Sponge
  • Water
  • Pencil
  • Pattern
  • Tissue Paper
  • Permanent Marker
Top