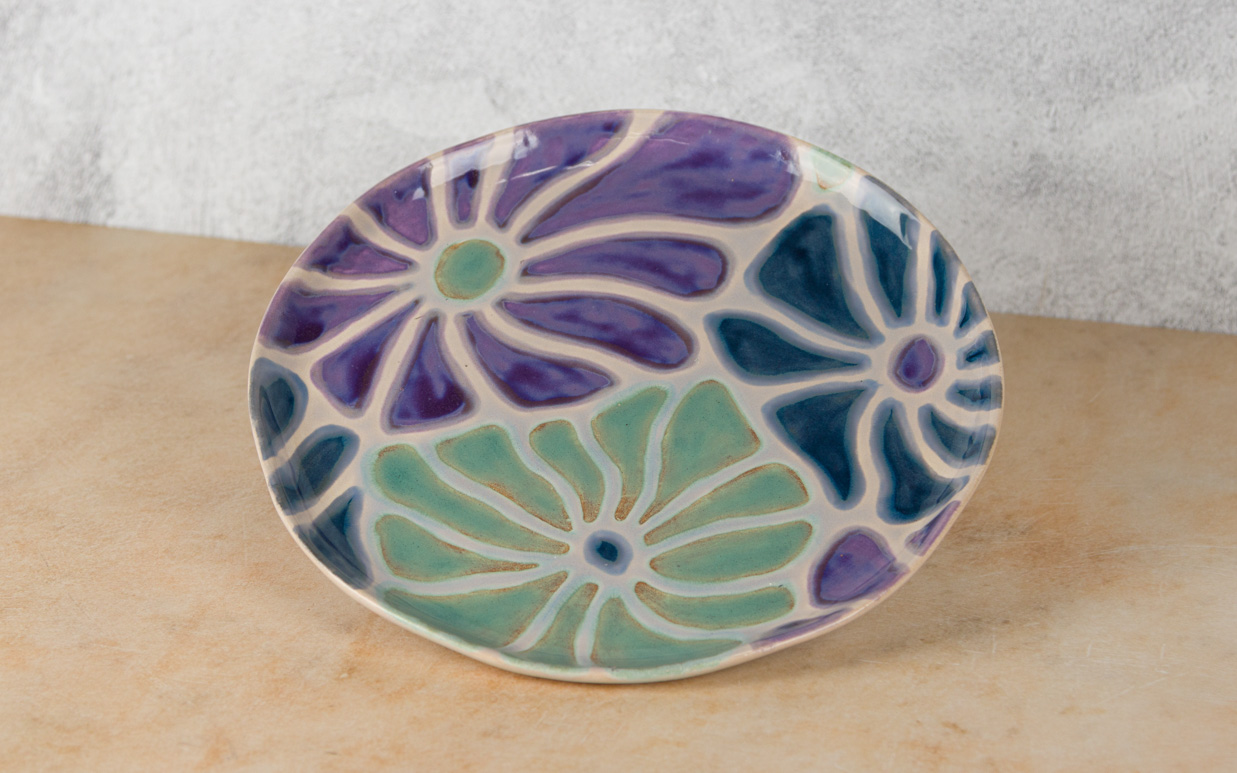
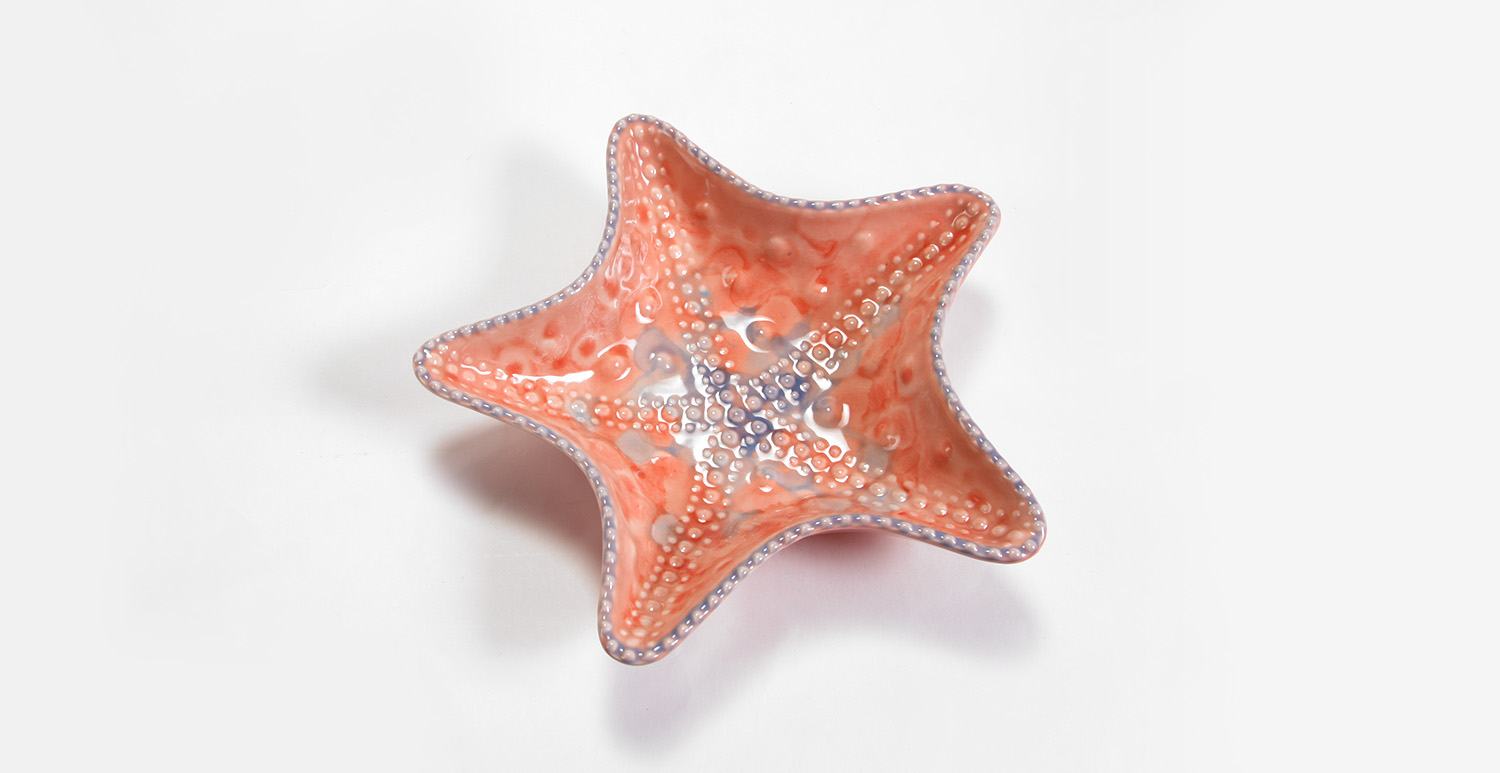
Floral Elements

Designer: Elizabeth Carey

Share

Instructions

  1. Begin with properly fired shelf cone 04 bisque. Moisten a clean sponge and wipe bisque to remove any dust.
  2. Cut around the outside edge of each pattern. Tape the patterns together along the straight edge. Make sure the pattern lines up correctly in the middle.
  3. Place the pattern over the front of the plate. Slide the AC230 Clay Carbon Paper under the pattern and trace with a pencil. Move the AC230 Clay Carbon Paper as you trace each section until the entire pattern is traced.
  4. Using RB106 #6 Scrip Liner with EL149 Lavender Flower, EL118 Blue Grotto, and EL130 Sea Green, apply 2 coats to each flower. After the second coat is dry, apply a thick, irregular coat to the center of each flower section. Refer to the pattern for color placement. Allow glaze to dry between coats.
  5. Using RB106 #6 Scrip liner with AC302 Wax resist, apply 1 coat over the center of each flower section, leaving a small border of glaze around each flower section. Do not get any wax onto the bare bisque.
  6. Using RB106 #6 Script Liner with EL101 Oyster Shell, apply 2 puddle coats between the flowers. Allow glaze to dry between coats. The wax will keep the glaze from covering the flowers, allowing it to combo with the edge colors.
  7. Using RB144 #4 Soft Fan with EL101 Oyster Shell, apply 3 coats to the back of the plate. Allow glaze to dry between coats.
  8. Stilt and fire to cone 06.

Supplies

Form

  • MB1116 Casualware Dinner Plate

Colors

  • EL101 Oyster Shell (3 oz)
  • EL118 Blue Grotto (1 oz)
  • EL130 Sea Green (1 oz)
  • EL149 Lavender Flower (1 oz)

Decorating Accessories

  • AC230 Clay Carbon Paper
  • AC302 Wax Resist
  • RB106 #6 Script Liner
  • RB144 #4 Soft Fan

Miscellaneous Accessories

  • Sponge
  • Palette
  • Pattern (2)
  • Scissors
  • Tape
  • Pencil
Top