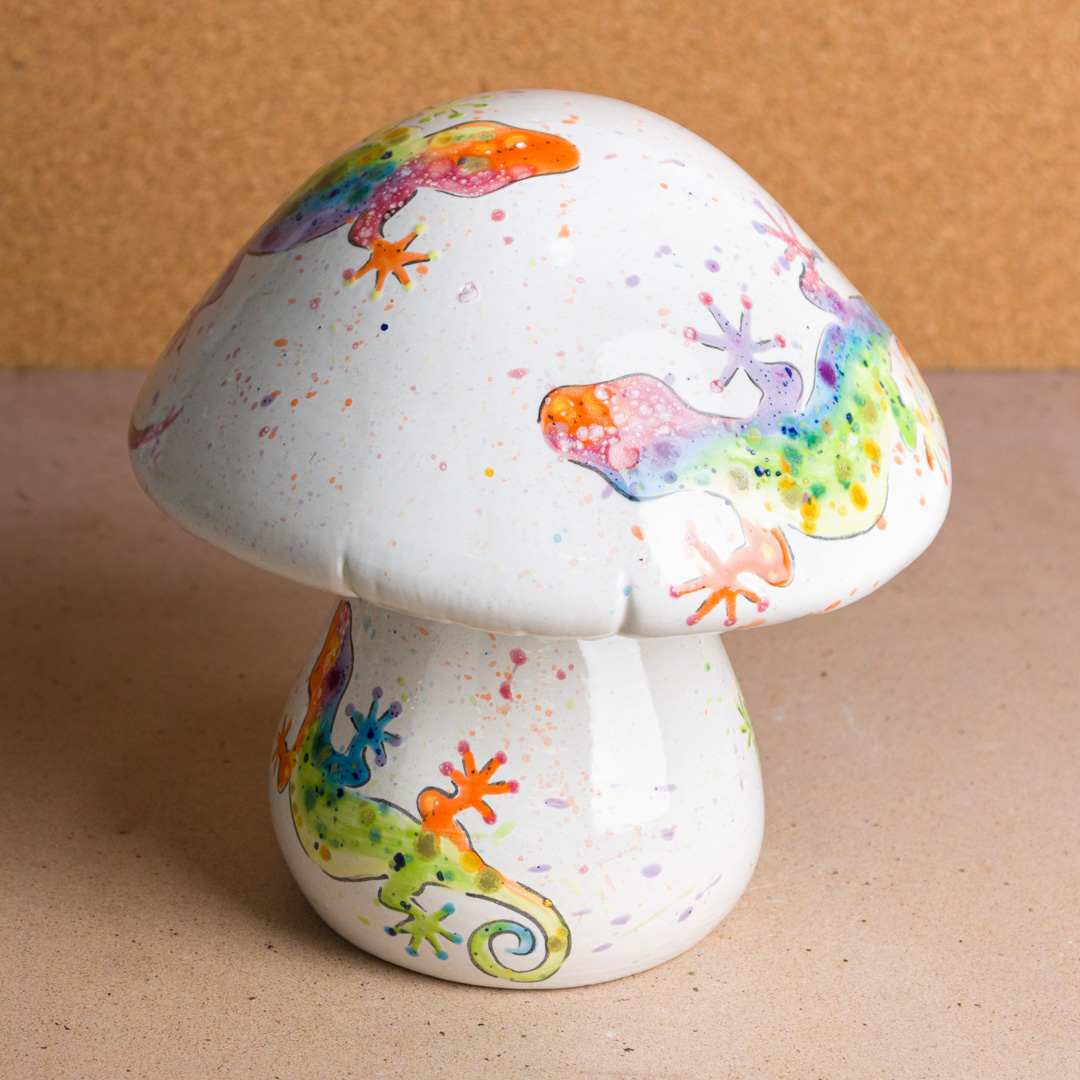
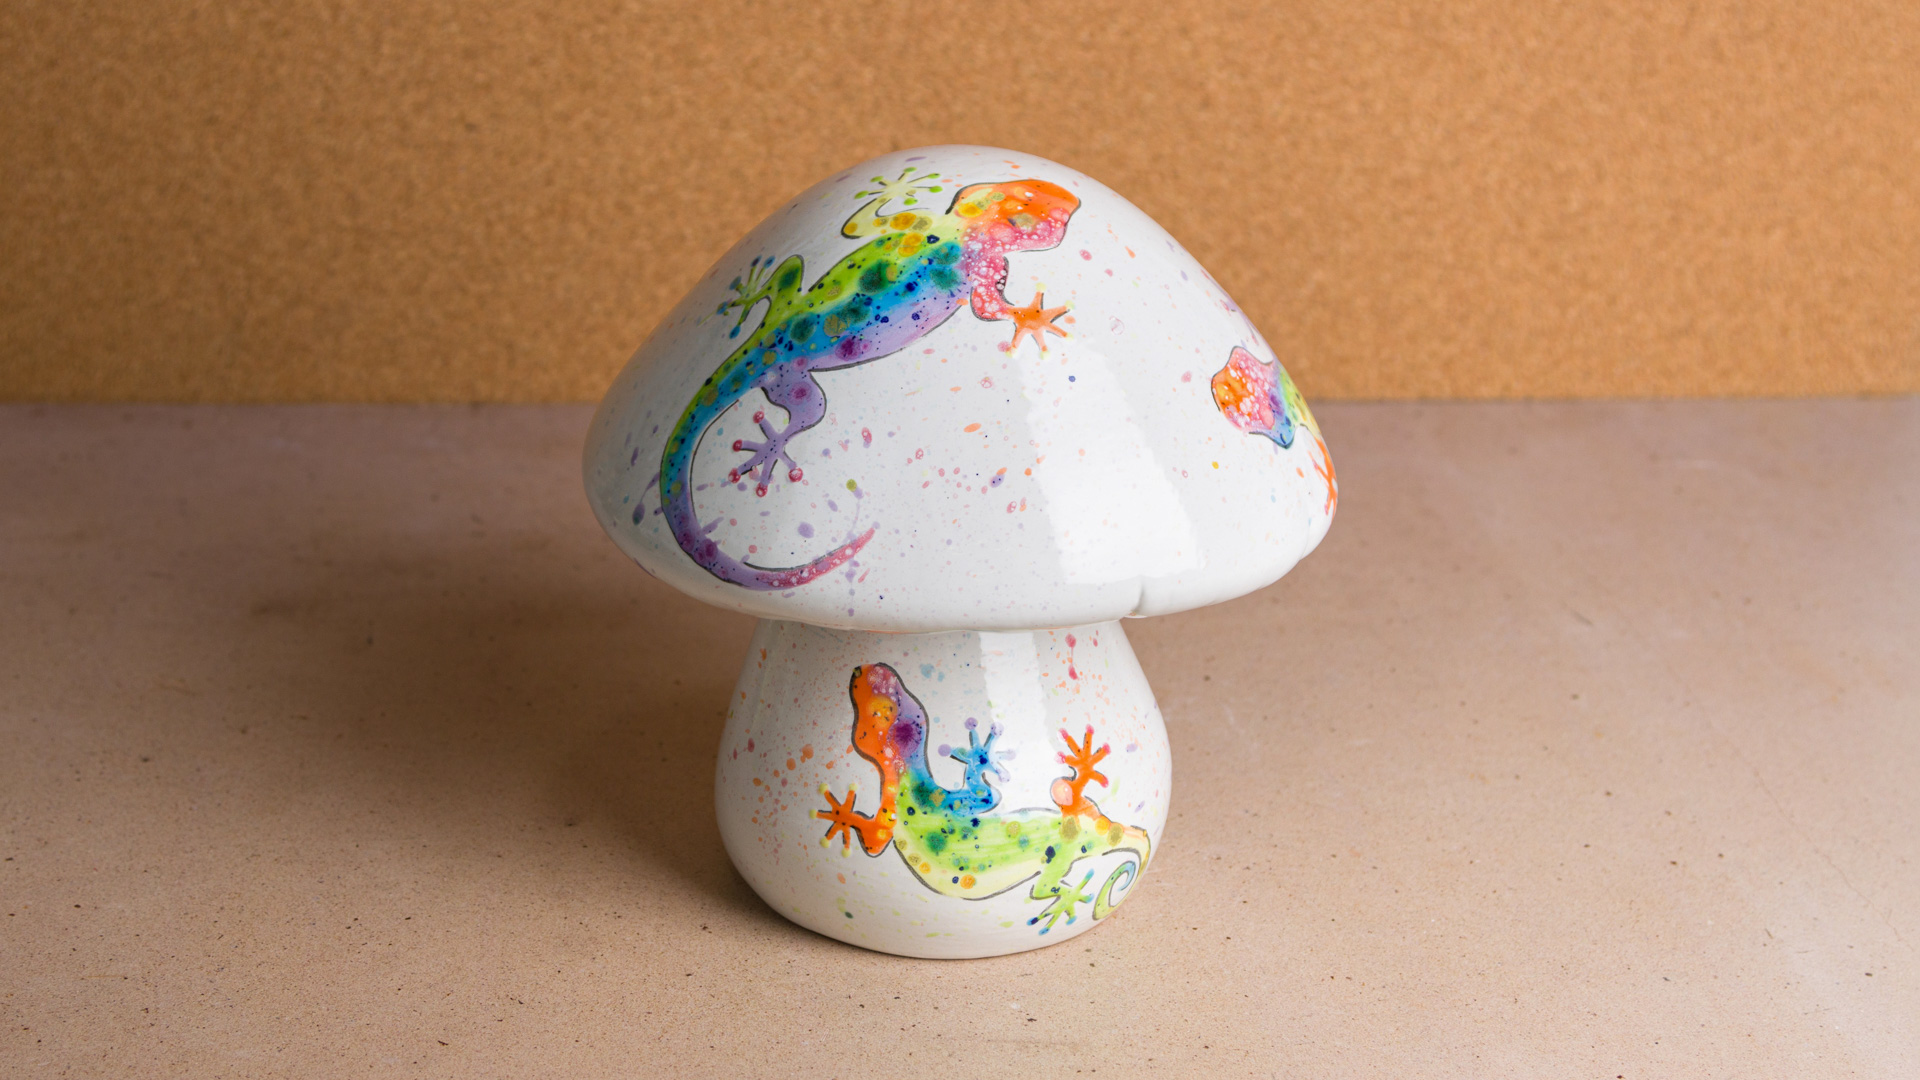
Gecko Garden Mushroom

Designer: Liz Martinez / Chesapeake Ceramics

Instructions

  1. Apply 3 flowing coats of white foundations to the entire mushroom. Allow the mushroom to dry for a few minutes.
  2. When the white is dry, place the gecko patterns where you’d like them. Apply as many as you’d like, we did 3 on the cap and 2 on the stem.
  3. Use a ballpoint pen to firmly trace over the lines of the NCR gecko patterns. This will leave light lines on the platter for you to follow.
  4. The exact colors that you use for each gecko do not matter. However, because the colors will overlap and blend, it’s best if the colors that touch each other are colors that mix well together. You can use the rainbow spectrum for guidance: green looks good with either yellow or blue overlapping, Orange looks good with either yellow or pink overlapping etc.
  5. Let’s start with the green color, Cloverfield. Use the script liner to apply 2 coats of Cloverfield wherever you’d like green on the geckos. When applying color to the feet, the thin liner brush may be easier.
  6. Next, we will apply the yellow glaze, Haystack. Apply two coats wherever you’d like the geckos to be yellow. Allow the color to overlap with the green where they meet.
  7. For orange, we will use two coats of Wildfire. Again, allowing it to overlap where it meets any yellow.
  8. Next, we will apply two coats of Peppermint anywhere that we would like pink on the Geckos. Allow the pink to overlap where it meets with any orange.
  9. For the purple, we will use two coats of Purple Reign. Allow the purple to overlap with any pink.
  10. Now, let’s apply two coats of Blue Caprice wherever we would like the Geckos to be blue. Allow the blue to overlap with any green or purple that it comes up against.
  11. If you desire a few more crystals on any of the colors, you can add one more layer on each color. Remember to let the colors overlap where they meet.
  12. Thin down some Tuxedo Stroke & Coat with 50% water to 50% paint. Use the thin liner brush to apply a thin, broken outline around the geckos. Use the photo as inspiration; it looks nice if it’s just a partial outline.
  13. Next, we are going to add the splatters to the platter. To do this, thin down a little bit of each of the colors with 50% water and 50% paint.
  14. We focused on the splatter colors to coordinate with the color of the gecko. For example, if the body of the gecko is yellow, we splattered yellow next to it.
  15. Work one color at a time for the splatter. Dip the round brush into the color. Gently pull the bristles back to flick the paint onto the Mushroom. The splatter will overlap with the geckos and each other, that’s a good thing!
  16. When the mushroom is dry, flip it over and apply 3 flowing coats of white foundations to the bottom.
  17. Sign your name and the date and it’s ready to be fired! Remember, this does not get dipped into clear glaze.

Supplies

Form

  • MB1419 8″ Garden Mushroom

Colors

  • CG968 Peppermint Twist
  • CG954 Wildfire
  • CG1012 Haystack
  • CG1015 Cloverfield
  • CG718 Blue Caprice
  • CG1006 Purple Reign
  • SC015 Tuxedo
  • FN001 White

Decorating Accessories

  • RB116 #6 Round
  • RB106 #6 Script Liner
  • RB140 #8 Soft Fan
  • RB110 10/0 Liner

Miscellaneous Accessories

  • Ballpoint pen
  • Gecko Pattern
Top