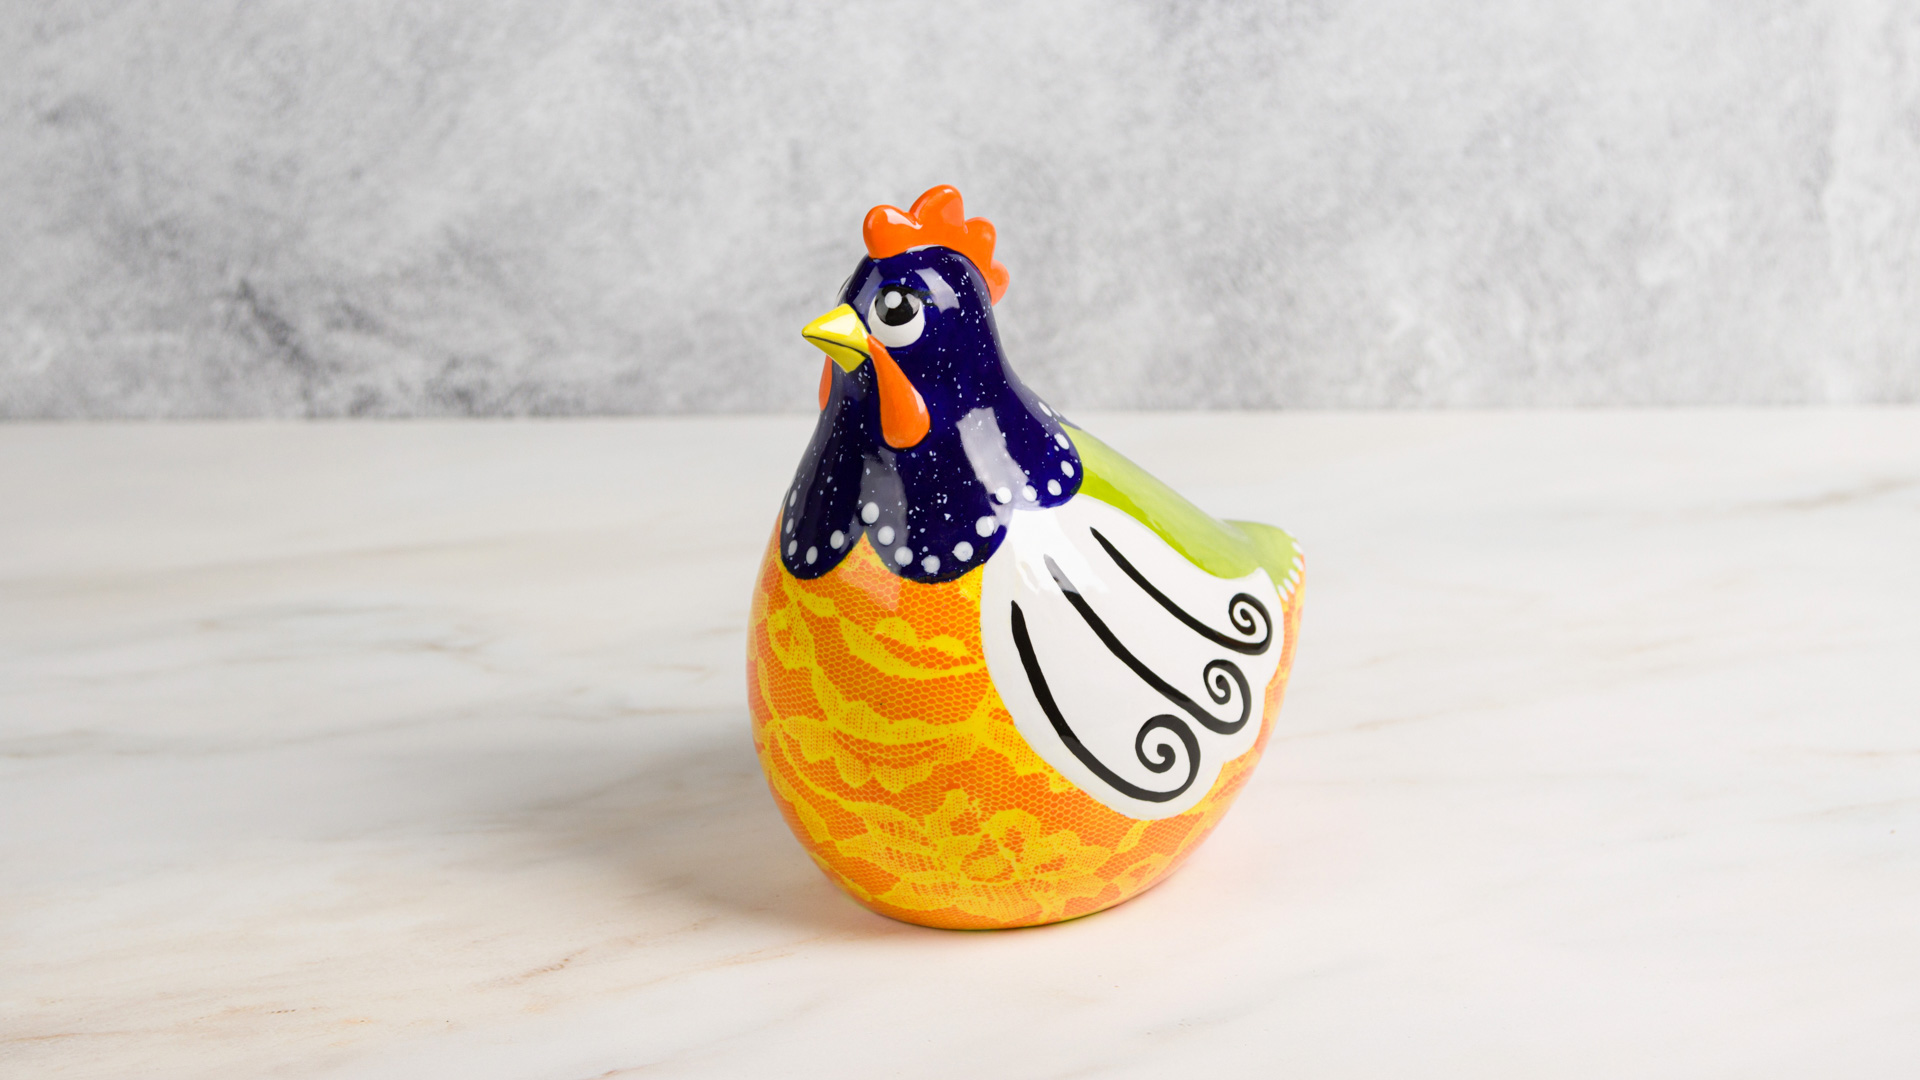
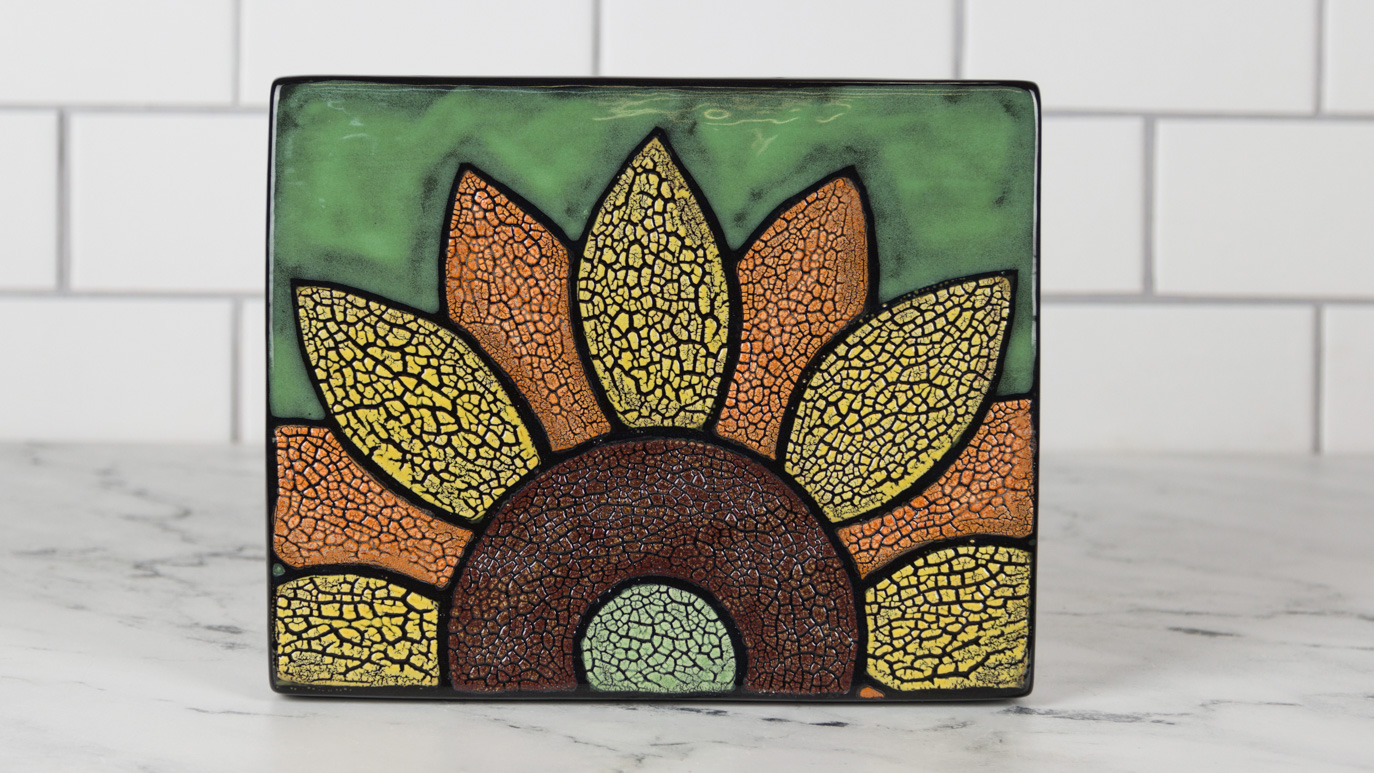
Lace Hen

Designer: Elizabeth Carey

Share

Instructions

  1. Begin with properly fired cone 04 bisque. Moisten a sponge and wipe bisque to remove any dust.
  2. Use the pencil to draw a scalloped line going around the neck.
  3. Use scissors to cut out the wing pattern. Place it on one side of the hen and trace around the edges. Flip the pattern and repeat on the other side.
  4. Draw a line on the back side of the hen, along the edge that separates the top and bottom. It should go between the 2 wings.
  5. Using the Script Liner with SC-16 Cotton Tail, apply 3 coats to the eyes. Allow glaze to dry between coats.
  6. Use the pencil to draw pupils on the eyes. Using the Script Liner with SC-15 Tuxedo, apply 2 coats to the pupils. Allow glaze to dry between coats.
  7. Using the Detail Liner with SC-16 Cotton Tail, make a dot in each pupil.
  8. Using the Script Liner with SC-6 Sunkissed, apply 3 coats to the beak. Allow glaze to dry between coats.
  9. Using the Script Liner with SC-75 Orange-A-Peel, apply 3 coats to the comb and waddles. Allow glaze to dry between coats.
  10. Using the Script Liner and Soft Fan with SC-6 Sunkissed, apply 2 coats to the bottom half of the hen (area below the scallops in the front, going towards the back, up to the line in the back). Allow glaze to dry between coats.
  11. After the glaze is dry, place the lace over the glaze from Step #9. Wet the Soft Fan with water and brush over the lace to help it stay in place. Use scissors to cut the lace to help it lay flat over the bottom half of the hen. Trim off any excess lace.
  12. Using the Soft Fan with SC-6 Sunkissed, apply 1 coat over the lace. Allow glaze to dry.
  13. Using the Soft Fan with SC-75 Orange-A-Peel, apply 2 coats over the lace. Allow the glaze to dry between coats. Remove the lace after the last coat loses its shine but is not yet bone dry.
  14. Using the Script Liner with SC-16 Cotton Tail, apply 3 coats to the wings. Allow glaze to dry between coats.
  15. Using the Script Liner with SP-211 Speckled Moody Blue, apply 3 coats to the upper half of the hen (area above the scalloped line).
  16. Using the Script Liner with SC-27 Sour Apple, apply 3 coats to the back of the hen. Allow glaze to dry between coats.
  17. Squeeze out around 1 tsp of SC-16 Cotton Tail onto the palette. Dip the pencil eraser into the glaze. Stamp dots around the neck and tail of the hen.
  18. Using the Detail Liner with SC-15 Tuxedo, outline the details.
  19. Stilt and fire to cone 06.

Supplies

Form

  • MB-1597 Holly Hen

Colors

  • SC-6 Sunkissed
  • SC-15 Tuxedo
  • SC-16 Cotton Tail
  • SC-27 Sour Apple
  • SC-75 Orange-A-Peel
  • SP-211 Speckled Moody Blue

Decorating Accessories

  • RB-144 #4 Soft Fan
  • RB-106 #6 Script Liner
  • RB-110 10/0 Detail Liner

Miscellaneous Accessories

  • Sponge
  • Water
  • Pencil
  • Pattern
  • Scissors
  • Lace
  • Palette
Top