1. Begin with properly fired shelf cone 04 bisque. Moisten a clean sponge and wipe bisque to remove any dust.
2. Place the tissue paper on top of the pattern and trace with the pencil.
3. Place the tissue paper pattern onto the canvas and trace over the design with the water-based marker. This will allow the pattern to transfer to the canvas.
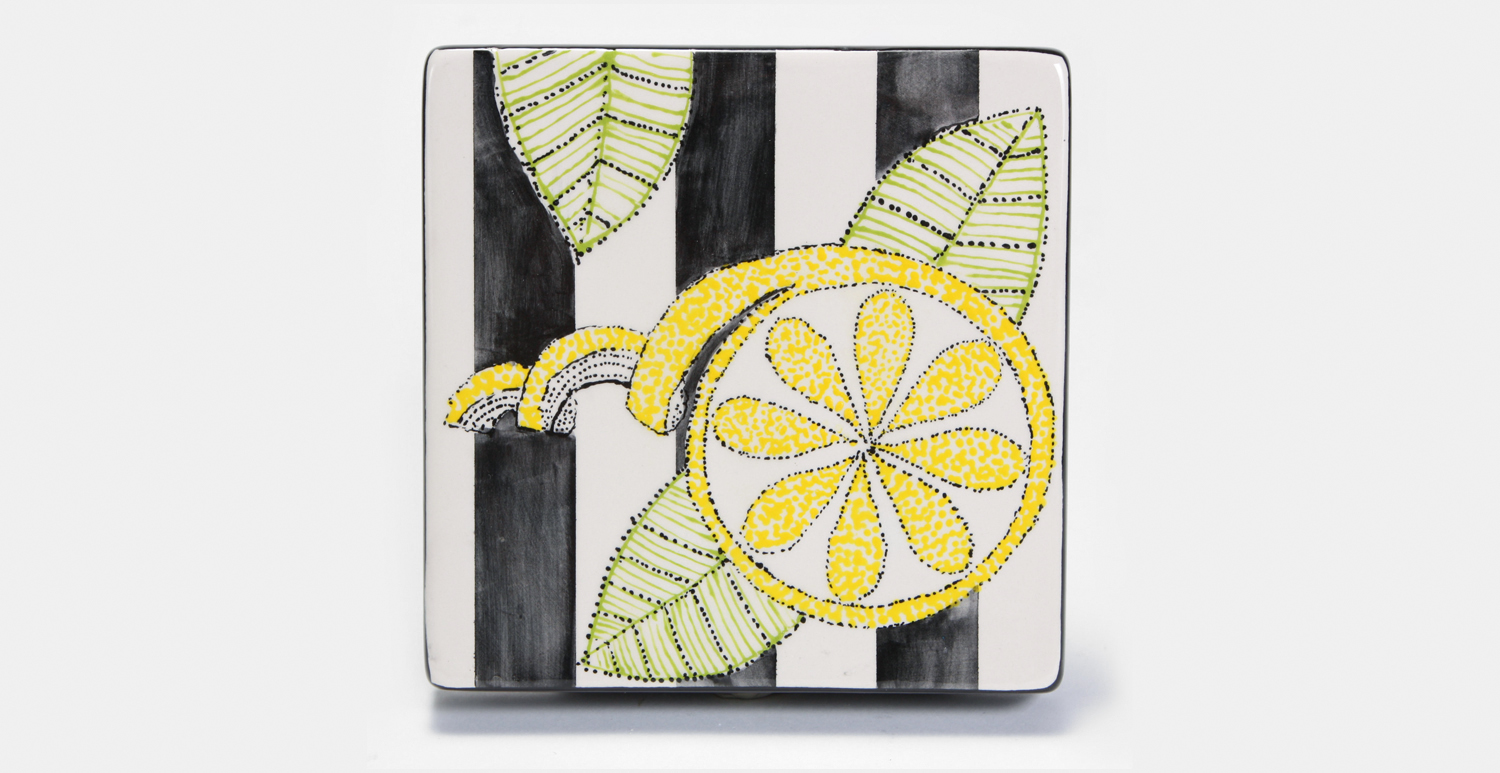
4. Use SG-407 Designer Liner Yellow to create dots in the lemon sections in the center and the peel.
5. Use SG-409 Designer Liner Bright Green to outline and vein the leaves.
6. Dot SG-401 Designer Liner Black around all the detail as shown.
7. Use ¾” or 1” tape to tape off stripes on the canvas. NOTE: You may prefer to fill in the stripes without using tape.
8. Using the Shader, apply one coat of SG-401 Designer Liner Black, going in one direction. Use smaller brushes to apply the color around the design areas. Remove the tape.
9. Use the Soft Fan to apply one coat of SG-401 Designer Liner Black to the sides of the canvas.
10. Dip into NT-CLR Clear One Dipping glaze or use the Soft Fan or apply two coats of NT-BR Clear One Brushing glaze.
11. Fire to cone 05/06.
Form
Colors
Decorating Accessories
Miscellaneous Accessories