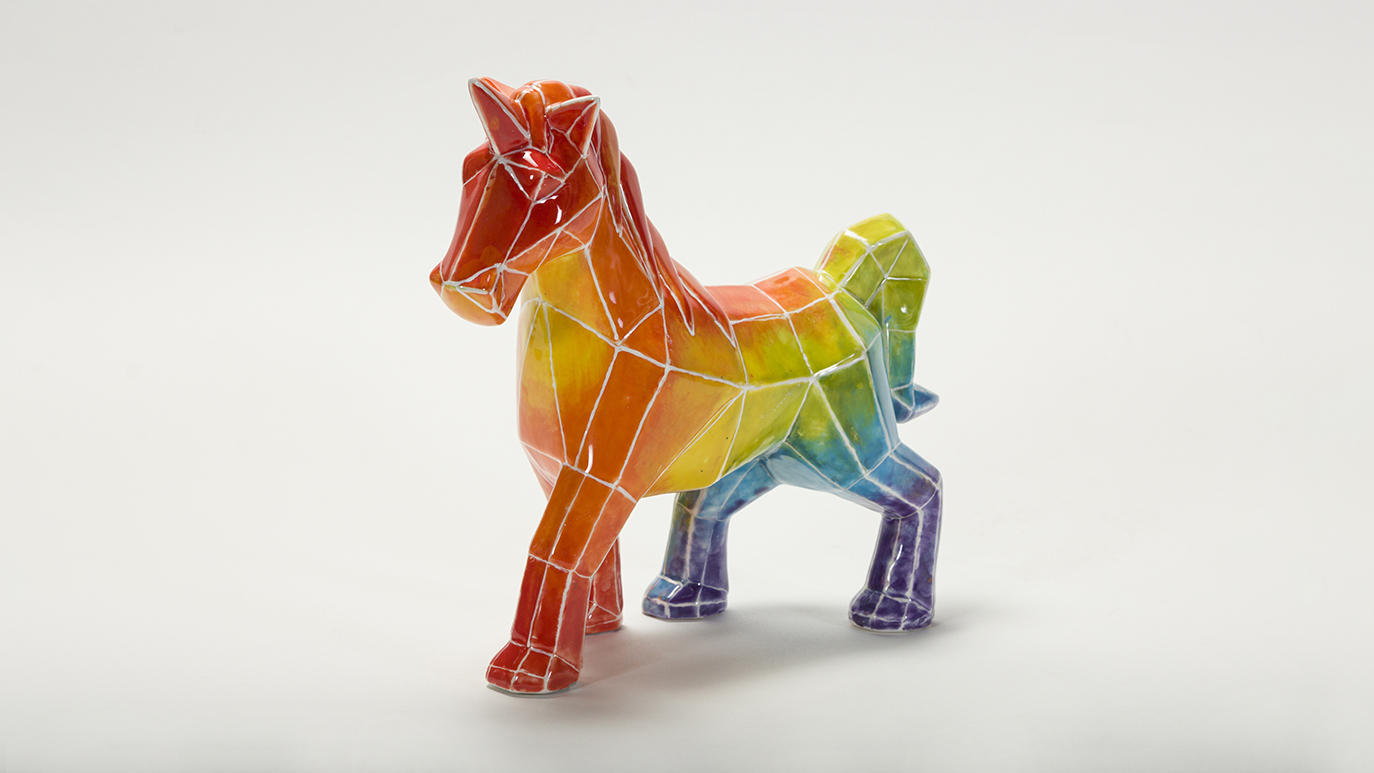
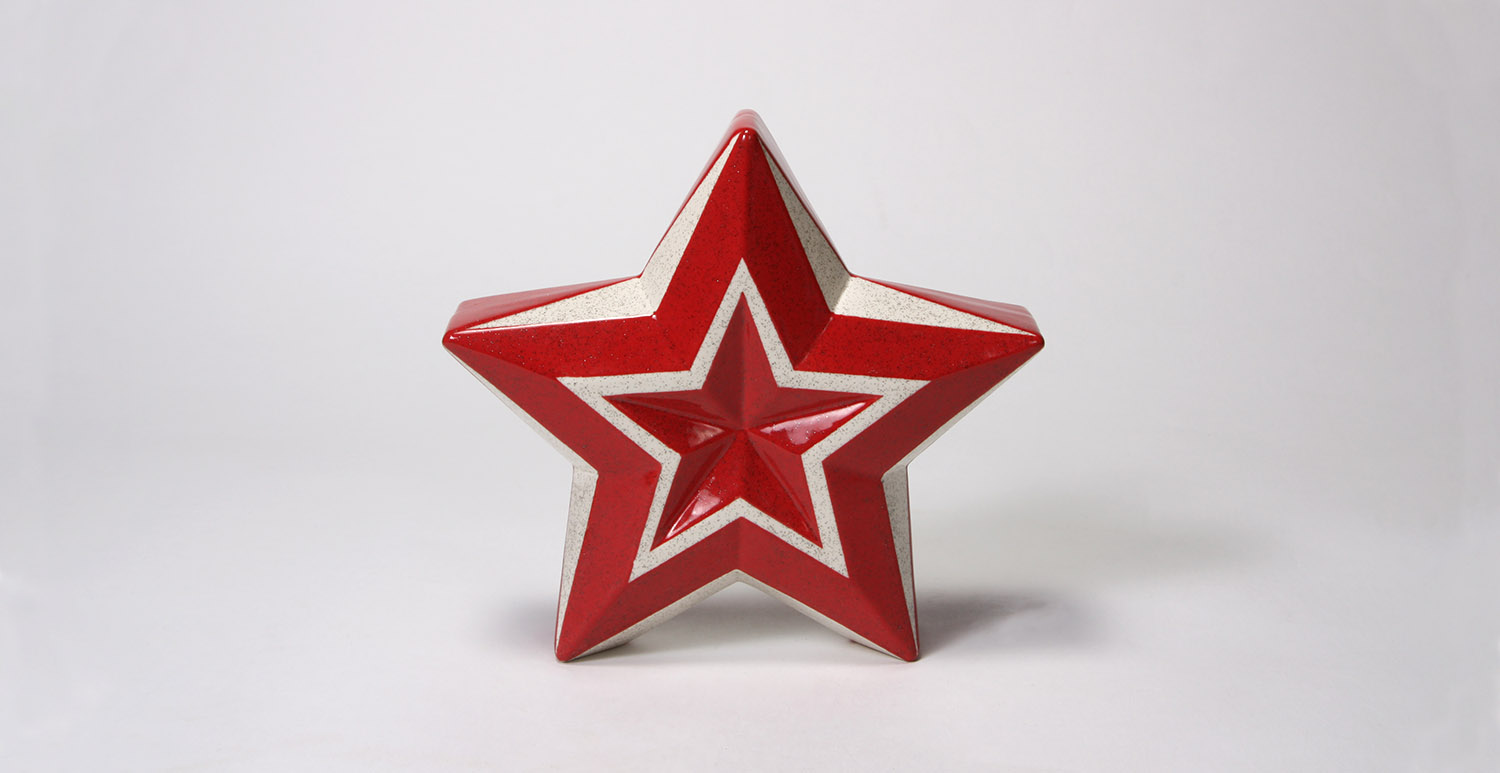
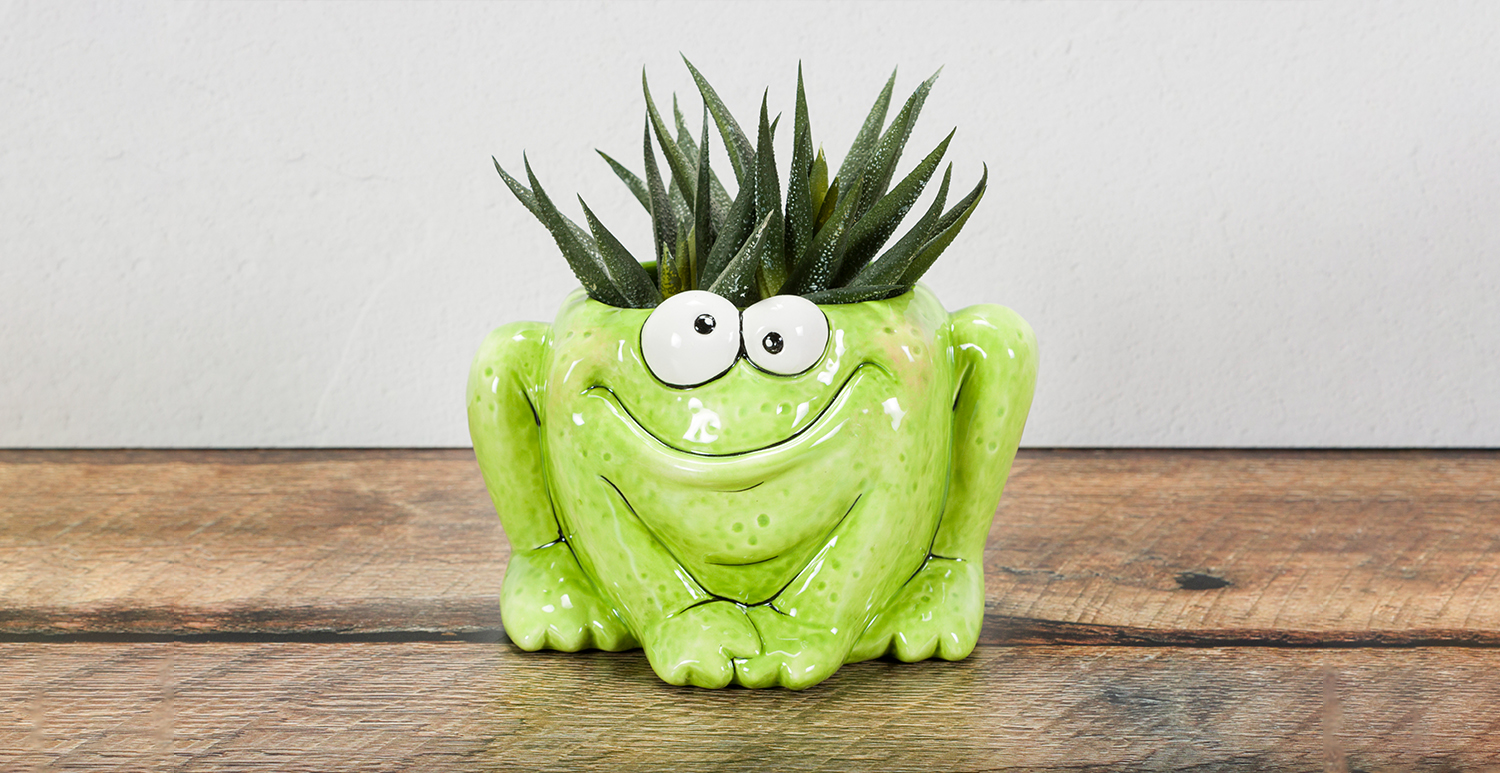
Pink and Teal Snowmen

Designer: Elizabeth Carey

Share

Instructions

Eddie Snowman

  1. Begin with properly fired cone 04 bisque. Moisten a sponge and wipe bisque to remove any dust.
  2. Using the Script Liner with SC-100 Makin Me Blush, apply 3 coats to the vest. Allow glaze to dry between coats.
  3. Using the Script Liner with SC-96 Aqu-ward, apply 3 coats to the inner portions of the hat (areas around head). Allow glaze to dry between coats.
  4. Using the Script Liner with SC-9 Jaded, apply 3 coats to the border of the hat (thin area going around the areas just glazed). Allow glaze to dry between coats.
  5. Using the Script Liner with SC-10 Teal Next Time, apply 3 coats to the rest of the hat. Allow glaze to dry between coats.
  6. Using the Script Liner with SC-23 Jack O’Lantern, apply 3 coats to the nose. Allow glaze to dry between coats.
  7. Using the Script Liner with SC-1 Pink-A-Boo, apply 3 coats to the gloves. Allow glaze to dry between coats.
  8. Using the Script Liner with SC-70 Pink-A-Dot, apply 3 coats to the cuffs above the gloves. Allow glaze to dry between coats.
  9. Using the Script Liner with SC-9 Jaded, apply 3 coats to the buttons. Allow glaze to dry between coats.
  10. Using the Detail Liner with SC-10 Jaded, line the snowflakes on the buttons.
  11. Using MC-002 12mm Low Tack Masking Tape, tape off vertical lines on the vest. Try to make them as even as possible. Using the Script Liner with SC-1 Pink-A-Boo, apply 2 coats to the vest. Allow glaze to dry between coats. Remove the tape.
  12. Using MC-002 12mm Low Tack Masking Tape, tape off horizontal lines on the vest. Try to make them as even as possible. Using the Script Liner with SC-1 Pink-A-Boo, apply 2 coats to the vest. Allow glaze to dry between coats. Remove the tape.
  13. Using the Script Liner with SC-70 Pink-A-Dot, apply 2 coats to each square where the vertical and horizontal lines meet. Allow glaze to dry between coats.
  14. Using the Detail Liner with SC-10 Teal Next Time, apply a line going down each vertical and horizontal section of the pattern.
  15. Using the Detail Liner with SC-15 Tuxedo, apply 2 coats to the pupils of each eye. Allow glaze to dry between coats. Outline the eyes and mouth.
  16. Squeeze out around 1 tsp of SC-1 Pink-A-Boo onto the palette. Dip the sponge in the glaze and lightly sponge the cheeks of the snowman.
  17. Dip into NT-CLR Clear One Dipping.

Clark Snowman

  1. Begin with properly fired cone 04 bisque. Moisten a sponge and wipe bisque to remove any dust.
  2. Using the Script Liner with SC-96 Aqu-ward, apply 3 coats to the scarf. Allow glaze to dry between coats.
  3. Using the Script Liner with SC-100 Makin Me Blush, apply 3 coats to the center portion of the hat. Allow glaze to dry between coats.
  4. Squeeze out around 1 tsp of SC-1 Pink-A-Boo onto the palette. Dip the pencil eraser into the glaze. Stamp a dot onto the hat. Repeat until the hat is covered in dots.
  5. Using the Script Liner with SC-70 Pink-A-Dot, apply 3 coats to the top (pom pom) and bottom rim of the hat. Allow glaze to dry between coats.
  6. Using the Script Liner with SC-23 Jack O’Lantern, apply 3 coats to the nose. Allow glaze to dry between coats.
  7. Using the Script Liner with SC-1 Pink-A-Boo, apply 3 coats to the gloves. Allow glaze to dry between coats.
  8. Using the Script Liner with SC-70 Pink-A-Dot, apply 3 coats to the cuffs above the gloves. Allow glaze to dry between coats.
  9. Using the Script Liner with SC-1 Pink-A-Boo, apply 3 coats to the buttons. Allow glaze to dry between coats.
  10. Using the Detail Liner with SC-70 Pink-A-Dot, line the snowflakes on the buttons.
  11. Using MC-001 6mm Low Tack Masking Tape, tape off vertical lines on the scarf. Try to make them as even as possible. Using the Script Liner with SC-9 Jaded, apply 2 coats to the scarf. Allow glaze to dry between coats. Remove the tape.
  12. Using the Script Liner with SC-10 Teal Next Time, apply 3 coats to the fringe on the scarf. Allow glaze to dry between coats.
  13. Using the Detail Liner with SC-15 Tuxedo, apply 2 coats to the pupils of each eye. Allow glaze to dry between coats. Outline the eyes and mouth.
  14. Squeeze out around 1 tsp of SC-1 Pink-A-Boo onto the palette. Dip the sponge in the glaze and lightly sponge the cheeks of the snowman.
  15. Dip into NT-CLR Clear One Dipping.

Supplies

Form

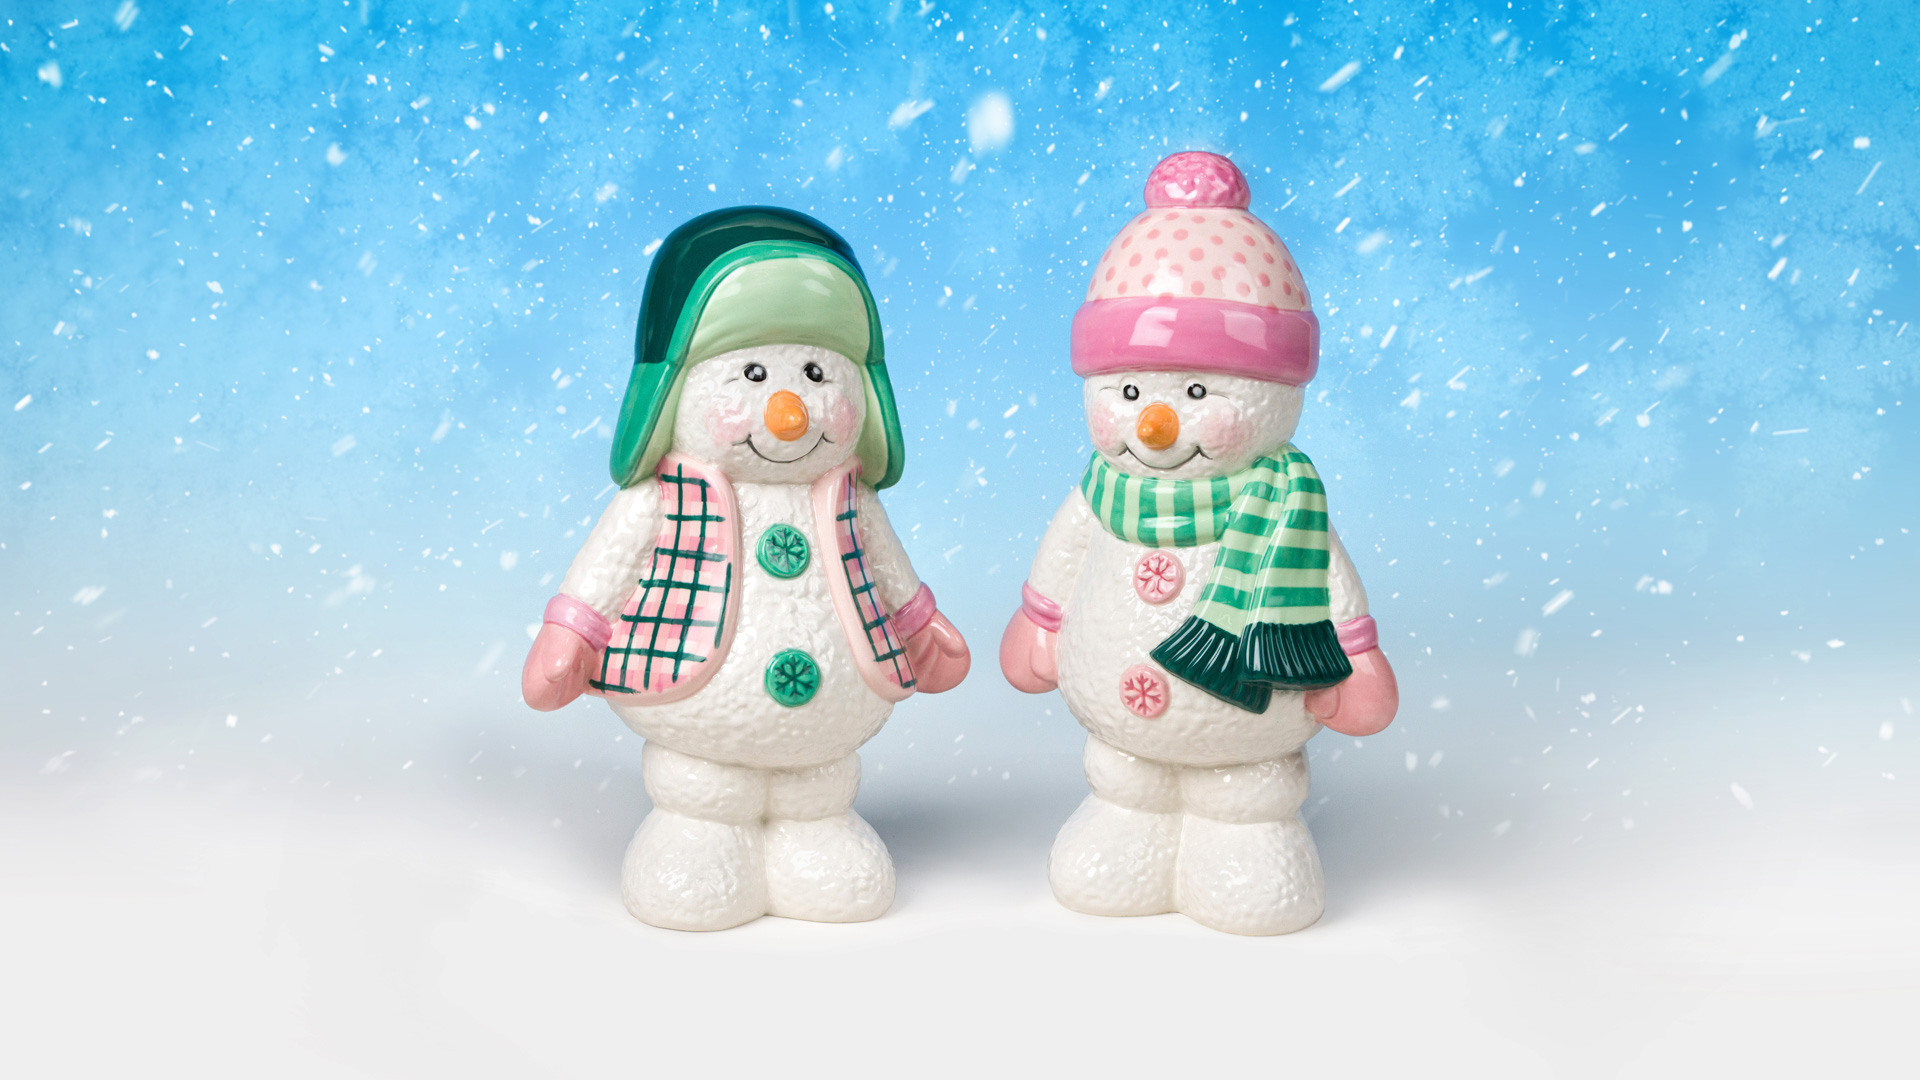
  • MB-1606 Eddie Snowman
  • MB-1601 Clark Snowman

Colors

  • SC-1 Pink-A-Boo
  • SC-9 Jaded
  • SC-10 Teal Next Time
  • SC-15 Tuxedo
  • SC-16 Cotton Tail
  • SC-23 Jack O’Lantern
  • SC-70 Pink-A-Dot
  • SC-96 Aqu-ward
  • SC-100 Makin Me Blush
  • NT-CLR Clear One Dipping

Decorating Accessories

  • MC-001 6mm Low Tack Masking Tape
  • MC-002 12mm Low Tack Masking Tape
  • RB-106 #6 Script Liner
  • RB-110 10/0 Detail Liner
  • RB-144 #4 Soft Fan

Miscellaneous Accessories

  • Sponge
  • Water
  • Palette
  • Pencil
Top