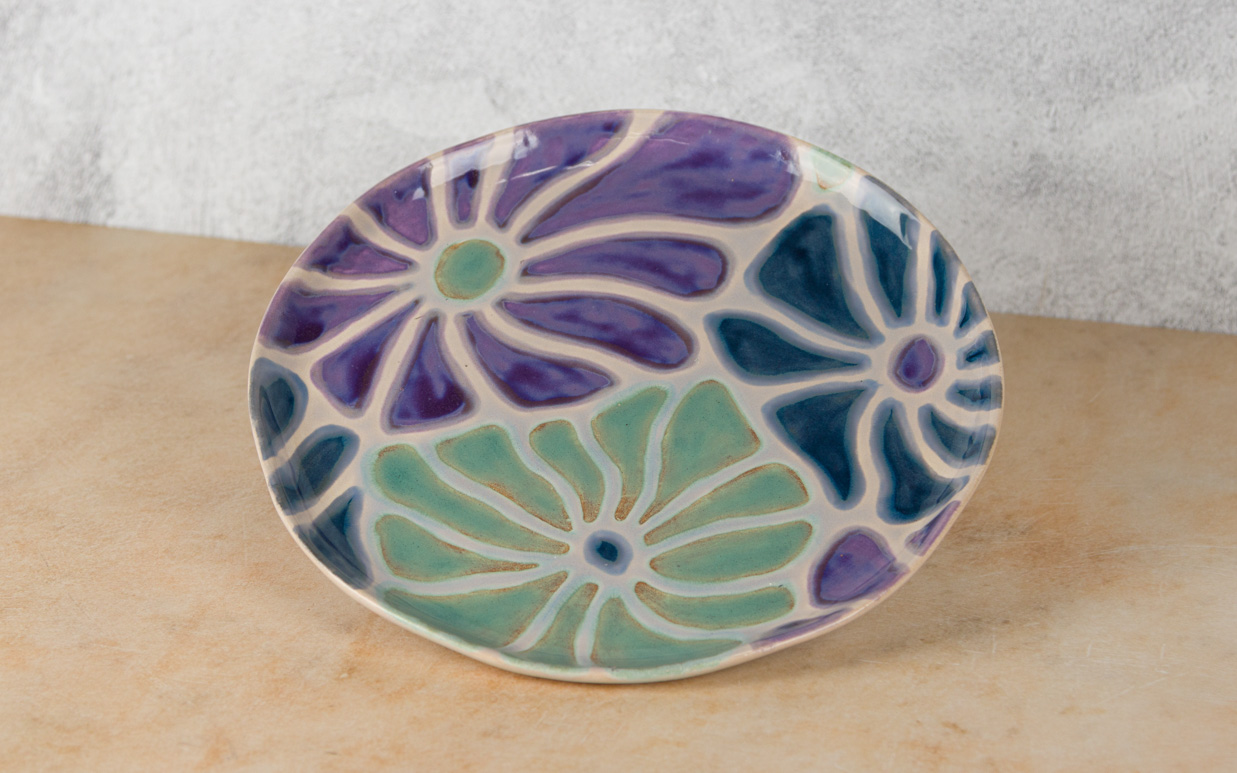
Form
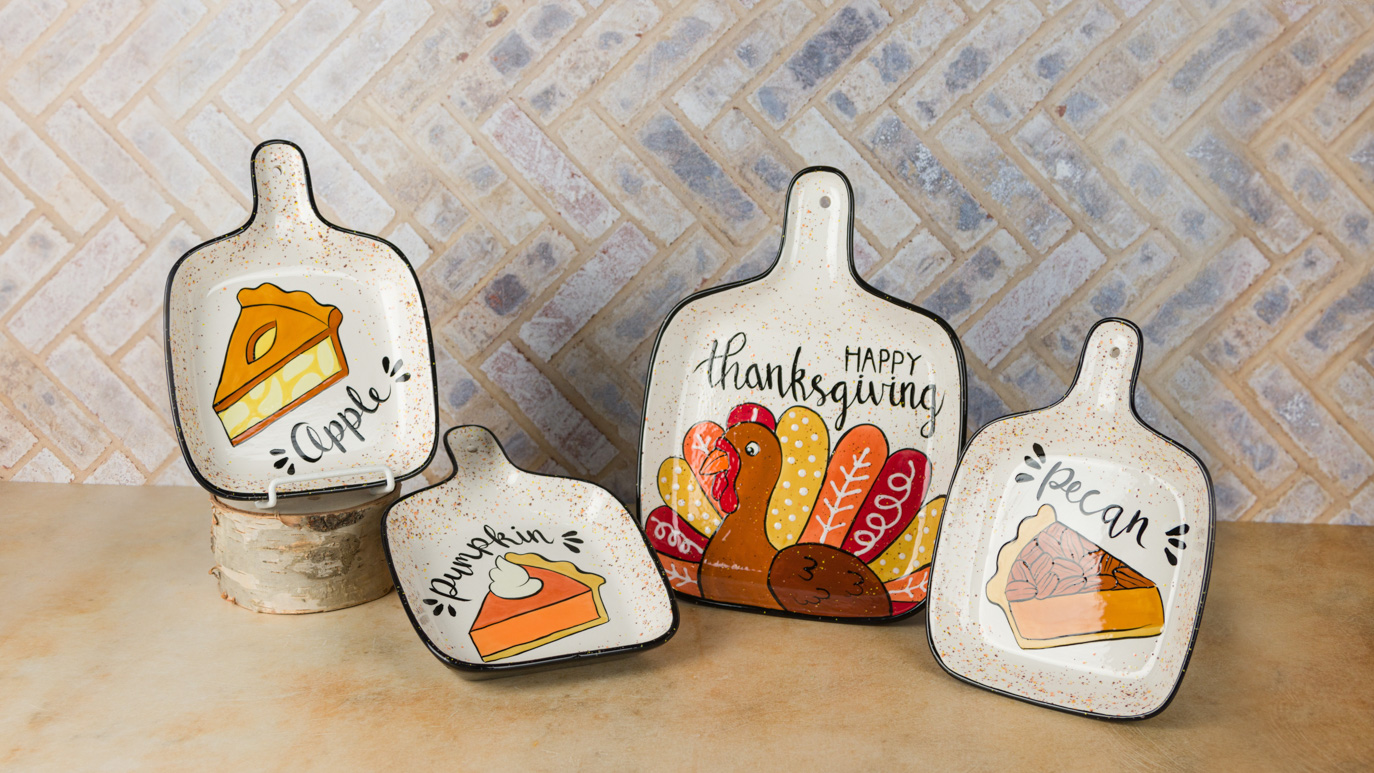
- MB-1586 Small App Plate (3)
- MB-1587 Large App Plate
Colors
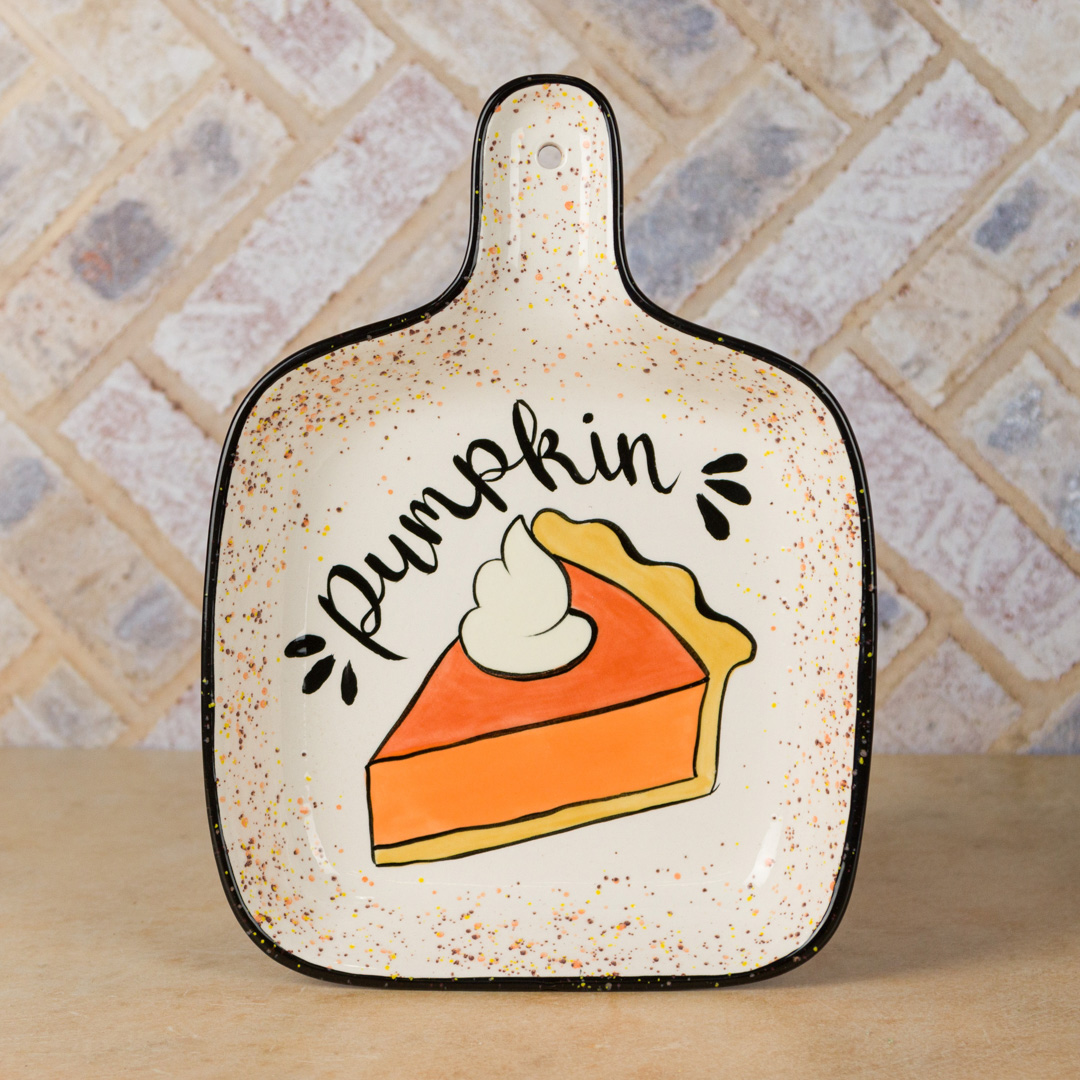
- Pumpkin Plate:
- SC-15 Tuxedo
- SC-23 Jack O’Lantern
- SC-37 Ivory Tower
- SC-50 Orange Ya Happy
- SC-51 Poo Bear
- SG-703 Autumn
- NT-BR Clear One Brushing
- Apple Plate
- SC-5 Tiger Tail
- SC-15 Tuxedo
- SC-25 Crackerjack Brown
- SC-42 Butter Me Up
- SC-55 Yella Bout It
- SG-703 Autumn
- NT-BR Clear One Brushing
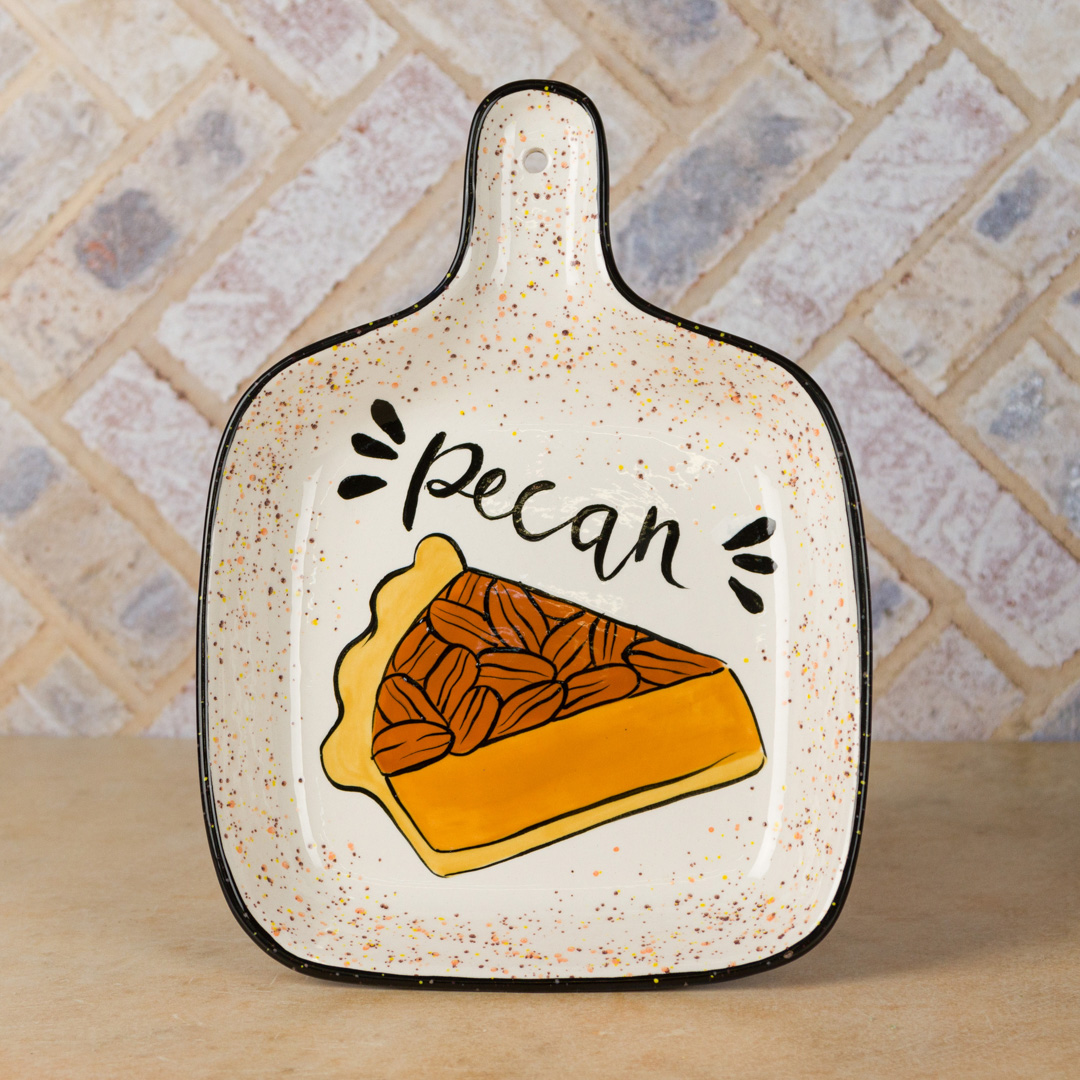
- Pecan Plate
- SC-5 Tiger Tail
- SC-15 Tuxedo
- SC-25 Crackerjack Brown
- SC-51 Poo Bear
- SG-703 Autumn
- NT-BR Clear One Brushing
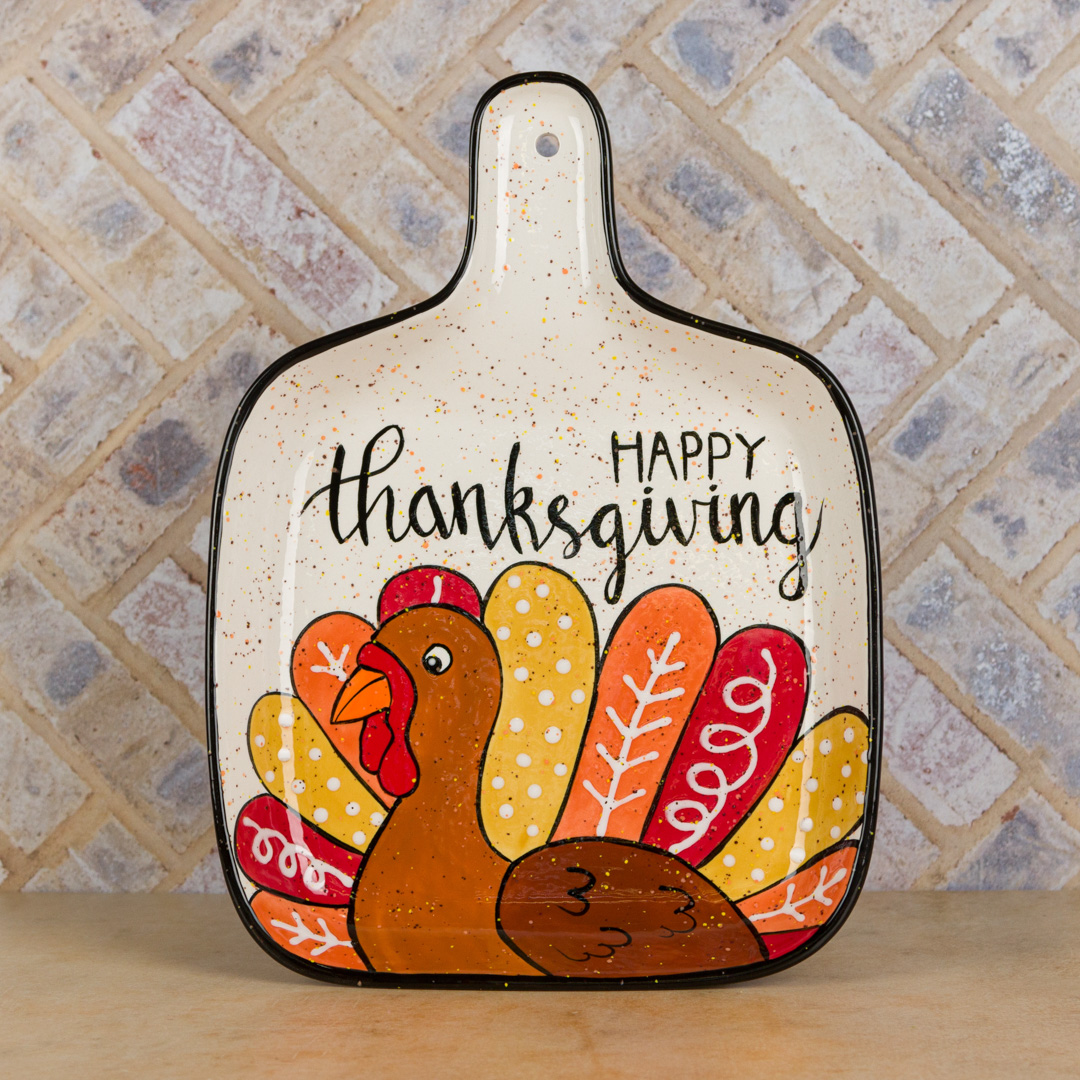
- Turkey Plate
- SC-15 Tuxedo
- SC-16 Cotton Tail
- SC-25 Crackerjack Brown
- SC-50 Orange Ya Happy
- SC-48 Camel Back
- SC-51 Poo Bear
- SC-74 Hot Tamale
- SC-75 Orange-A-Peel
- SC-87 Ruby Slippers
- SG-703 Autumn
- NT-BR Clear One Brushing
Decorating Accessories
- AC-230 Clay Carbon Paper
- RB-144 #4 Soft Fan
- RB-106 #6 Script Liner
- RB-110 10/0 Detail Liner
- AC-220 Detailer Tips and 1oz Bottles (1)
Miscellaneous Accessories
- Sponge
- Water
- Pattern
- Pencil
- Scissors