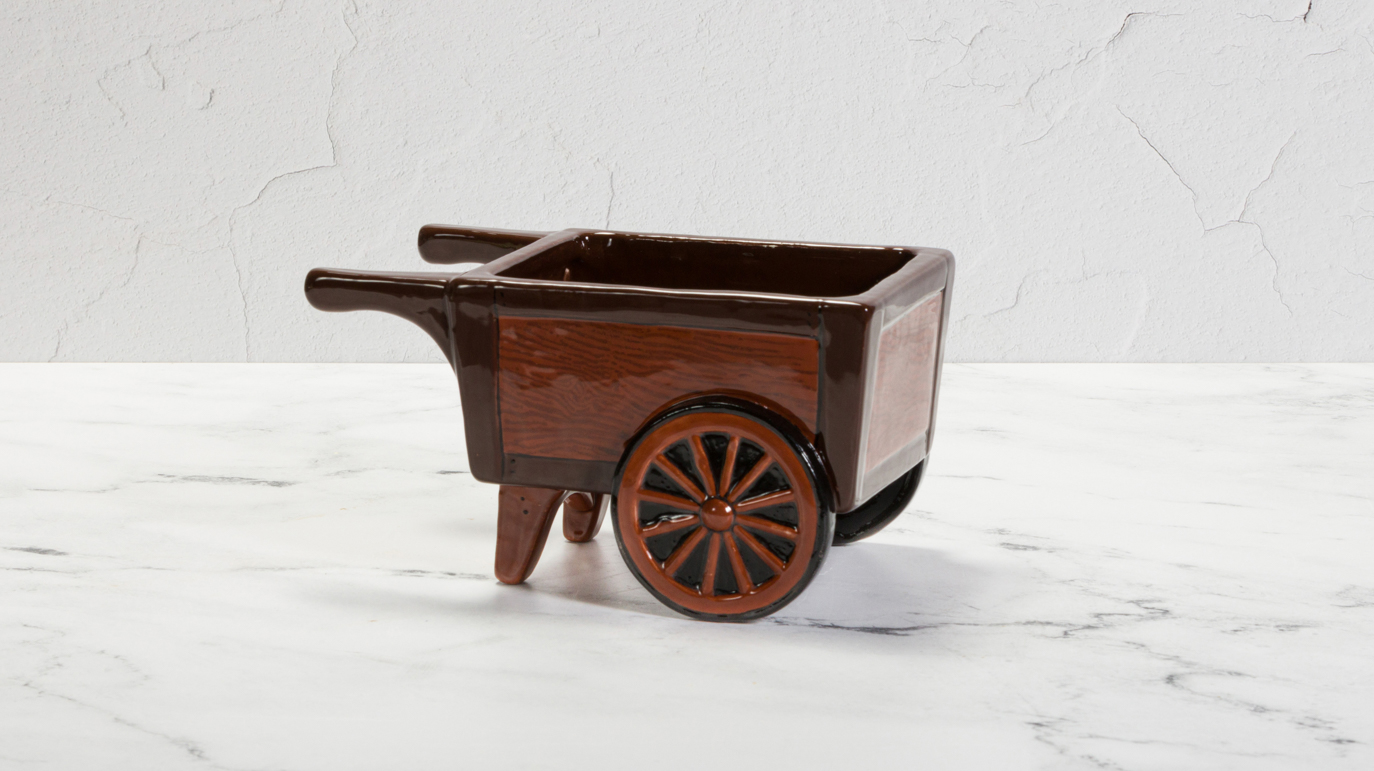
Pour CD024+ Garden Cart mold ¼” thick. Refer to casting instructions.
Once it is firm enough to handle, use the sponge to smooth down casting lines.
Fire to cone 04.
Using the Script Line with SC-48 Camel Back, apply 3 coats to the center panels on each side of the cart. Allow glaze to dry between coats.
Squeeze 1 TBS of SC-34 Down to Earth onto the palette. Place the stamp textured-side up on the table. Dip the sponge on a stick into the glaze and dab off any excess. Sponge the stamp. Press the stamp over 1 of the center panels on the cart. Repeat for all 4 panels.
Using the Script Liner with SC-48 Camel Back, apply 3 coats to the spokes of the wheels and the legs on the bottom of the cart. Allow glaze to dry between coats.
Using the Soft Fan and Script Liner with SC-34 Down to Earth, apply 3 coats to the rest of the cart (not the wheels). Allow glaze to dry between coats.
Using the Detail Liner and Script Liner with SC-15 Tuxedo, apply 2 coats to the tires and the areas between the spokes. Allow glaze to dry between coats.
Using the Detail Liner with SC-15 Tuxedo, outline the details on the cart and add nail heads.