- Begin with properly fired shelf cone 04 bisque. Moisten a clean sponge and wipe bisque to remove any dust.
- Fill glaze syringes with Melt Gloop by putting tip of syringe into glaze while the plunger is fully pushed down. Ensure that tip of the syringe stays in the glaze while pulling up the plunger on the glaze syringe.
- Once syringe is filled, clean tip of syringe with a damp sponge
- Starting just below the rim of your Thumbler apply a horizontal line of SW420 White Melt Gloop with the glaze syringe, make sure to apply the line of Melt Gloop around the entire Thumbler until line of Melt Gloop connects.
- Approximately ¼” underneath this line create a horizontal line of SW421 Yellow Melt Gloop making sure this line also goes around the entire thumbler and connects to itself.
- Continue steps 3 & 4 until you have horizontal lines of white and yellow down your thumbler.
- Allow Melt Gloop to start to dry. Once Melt Gloop no longer has a glossy sheen, continue to next step.
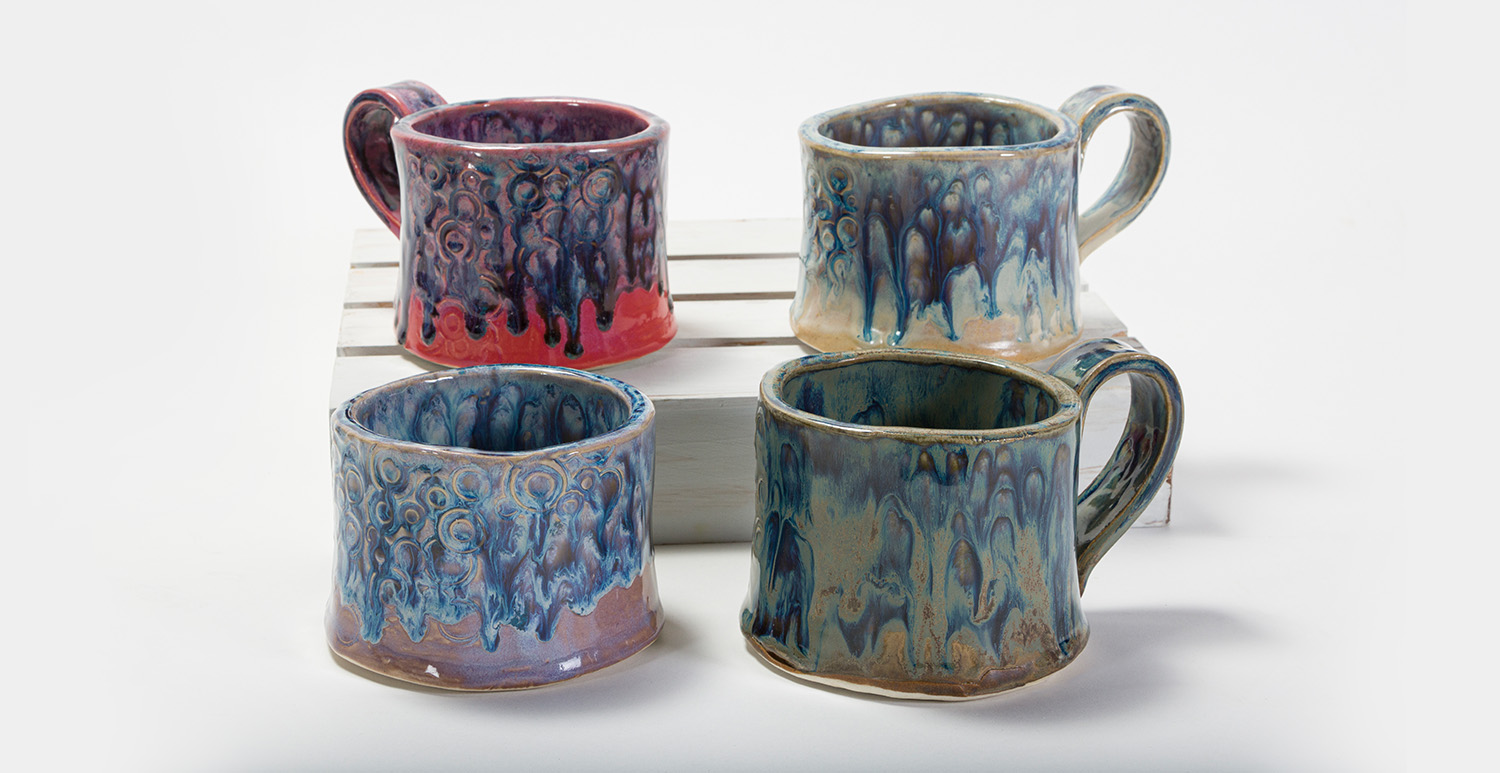
- Using a RB144 #4 Soft Fan Brush apply two thick coats of SW136 Weathered Blue to the inside of the Thumbler and on top of the Melt Gloop.
- Fire to cone 6.
Additional Adaptations & Tips
- You can use the AC220 Detailer Tips & Bottle to create this project if you do not have a glaze syringe.
- If your Melt Gloop begins to smear when brushing on the SW136 Weathered Blue, the Melt Gloop is too wet and needs more time to dry.