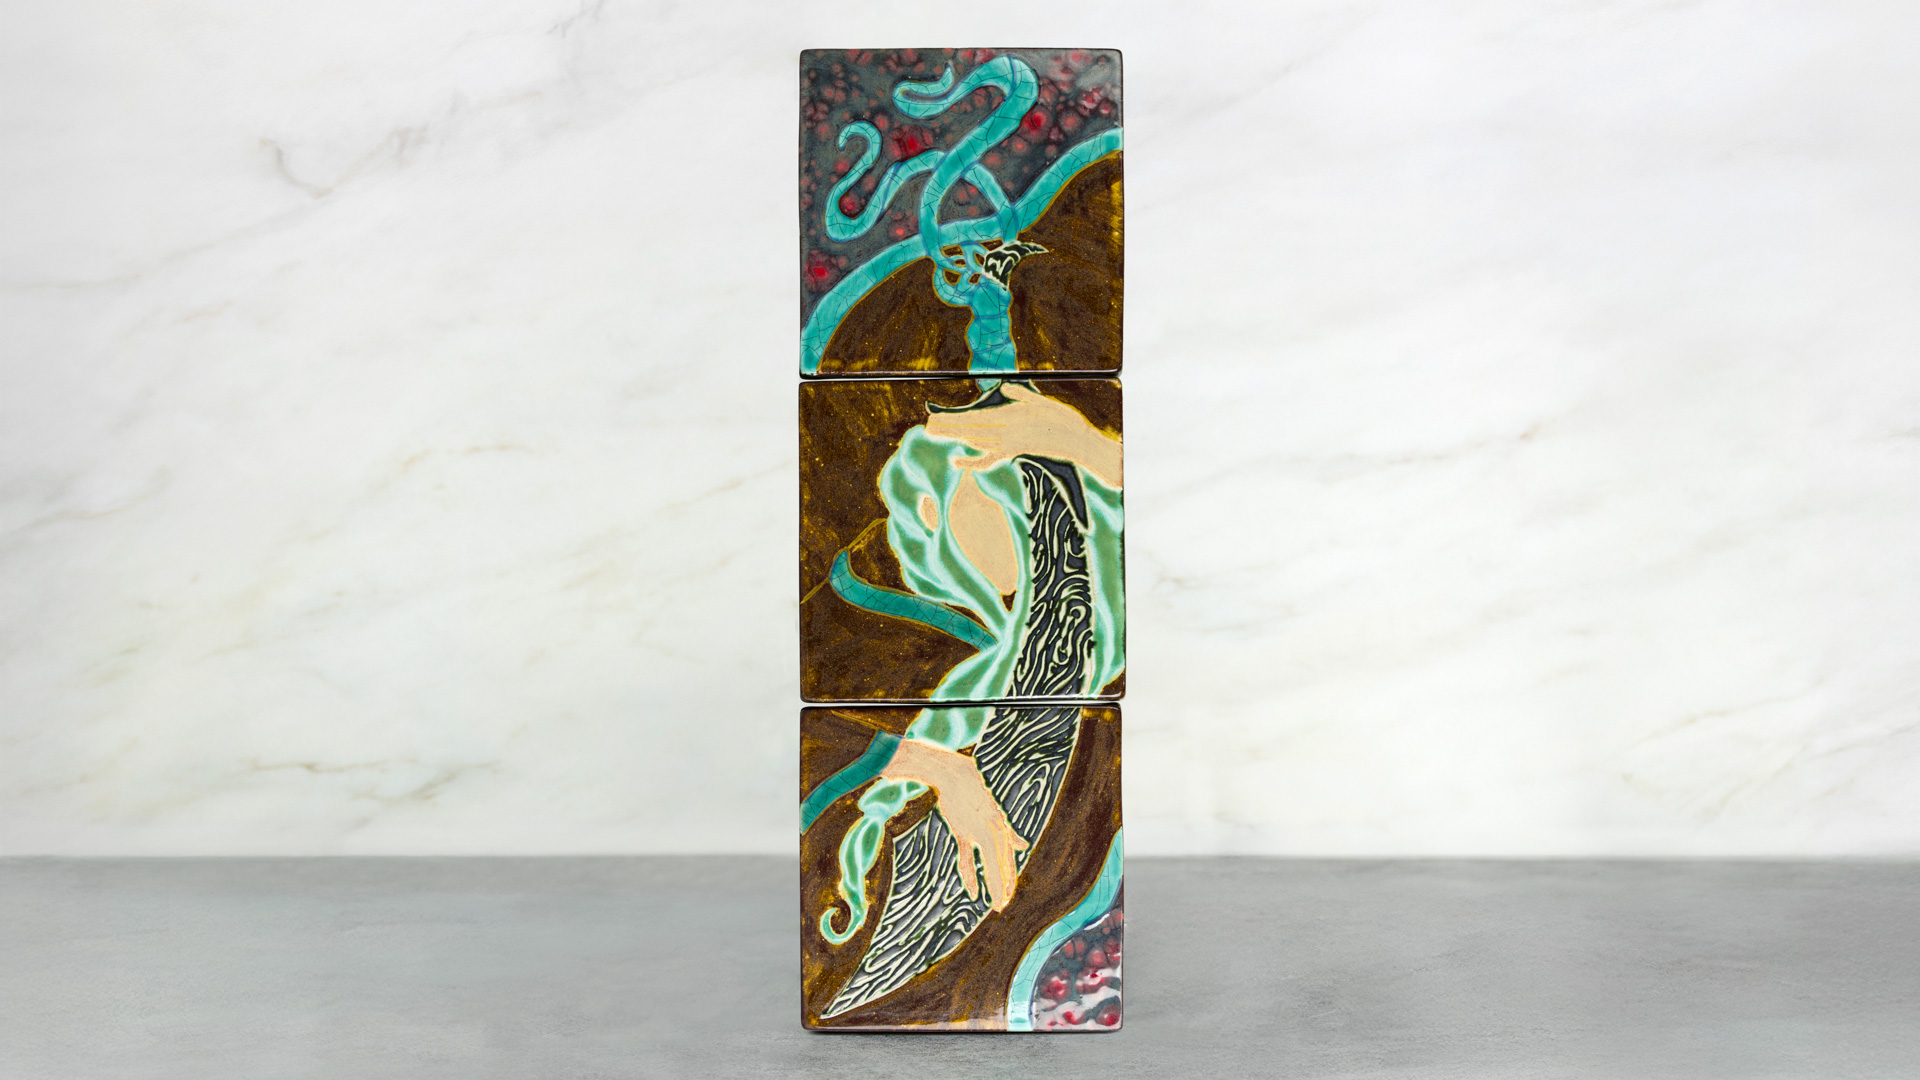
Elements Faux Mishima Tryptych

Designer: Bailie Benson

Share

Instructions

  1. Using a damp sponge, wipe off the clay canvases to remove any dust.  
  2. Use the Clay Carbon Transfer Paper and a pen to transfer the design from the pattern to the biqsue.   
  3. Fill in the following main colors of the project with three coats: EL121 Copper Adventurine for the cloak, EL123 Patina for the hair, EL 125 Sahara Sands for the skin, EL119 Burnished Steel for the Blade. EL136 for the trim on the cloak and blade handle, EL211 Volcanic Glow for the background. 
  4. Allow colors to dry and apply one coat of AC302 Wax Resist over the top of the colors.  
  5. Using your metal tool or toothpick, scratch lines between the individual colors, and add any accent lines to help detail the image. Your scratch marks should go all the way through the glaze to the bisque.  
  6. Using the liner brush, fill in the scratched lines with a puddle coat of the following colors: EL136 Lapis Lagoon for the hair, EL101 Oyster Shell for the damascus steel lines in the blade, EL118 Blue Grotto for the edges of the cloak. 
  7. Apply three coats of EL119 Burnished Steel to the edges of the canvases.  
  8. Allow the glaze to fully dry, stilt, and fire to cone 06. 

Supplies

Form

  • MB1352 Square Clay Canvas (3)

Colors

  • EL101 Oyster Shell 
  • EL121 Copper Adventurine 
  • EL123 Patina 
  • EL125 Sahara Sands 
  • EL136 Lapis Lagoon 
  • EL211 Volcanic Glow 
  • EL119 Burnished Steel 
  • EL118 Blue Grotto 
  • AC302 Wax Resist 

Decorating Accessories

  • AC230 Clay Carbon Paper 
  • CB604 Soft Fan Brush 
  • CB202 Detail Liner Brush 
  • RB110 Liner Brush 
  • CB106 Script Liner Brush 

Miscellaneous Accessories

  • Pattern 
  • Pen 
  • Metal Xiem Scraper tool or toothpick 
Top