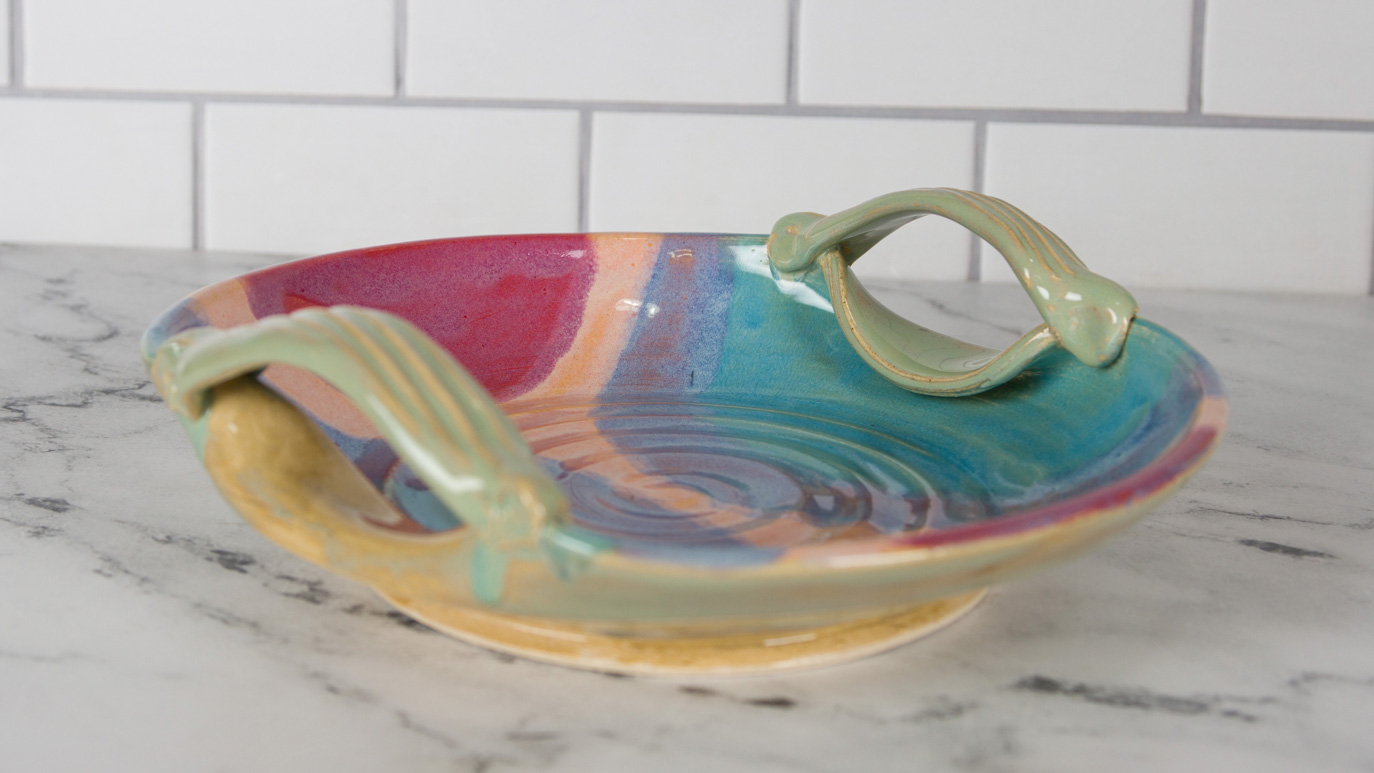
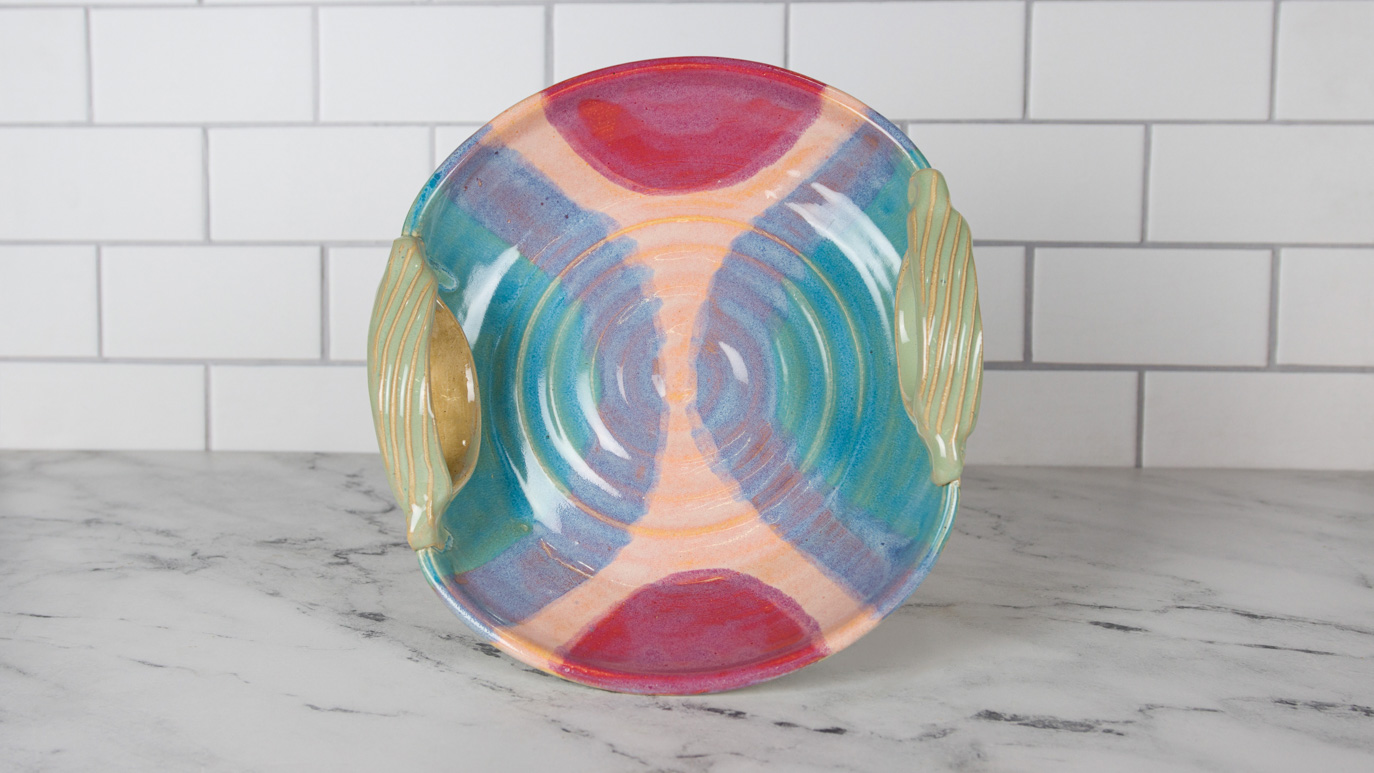
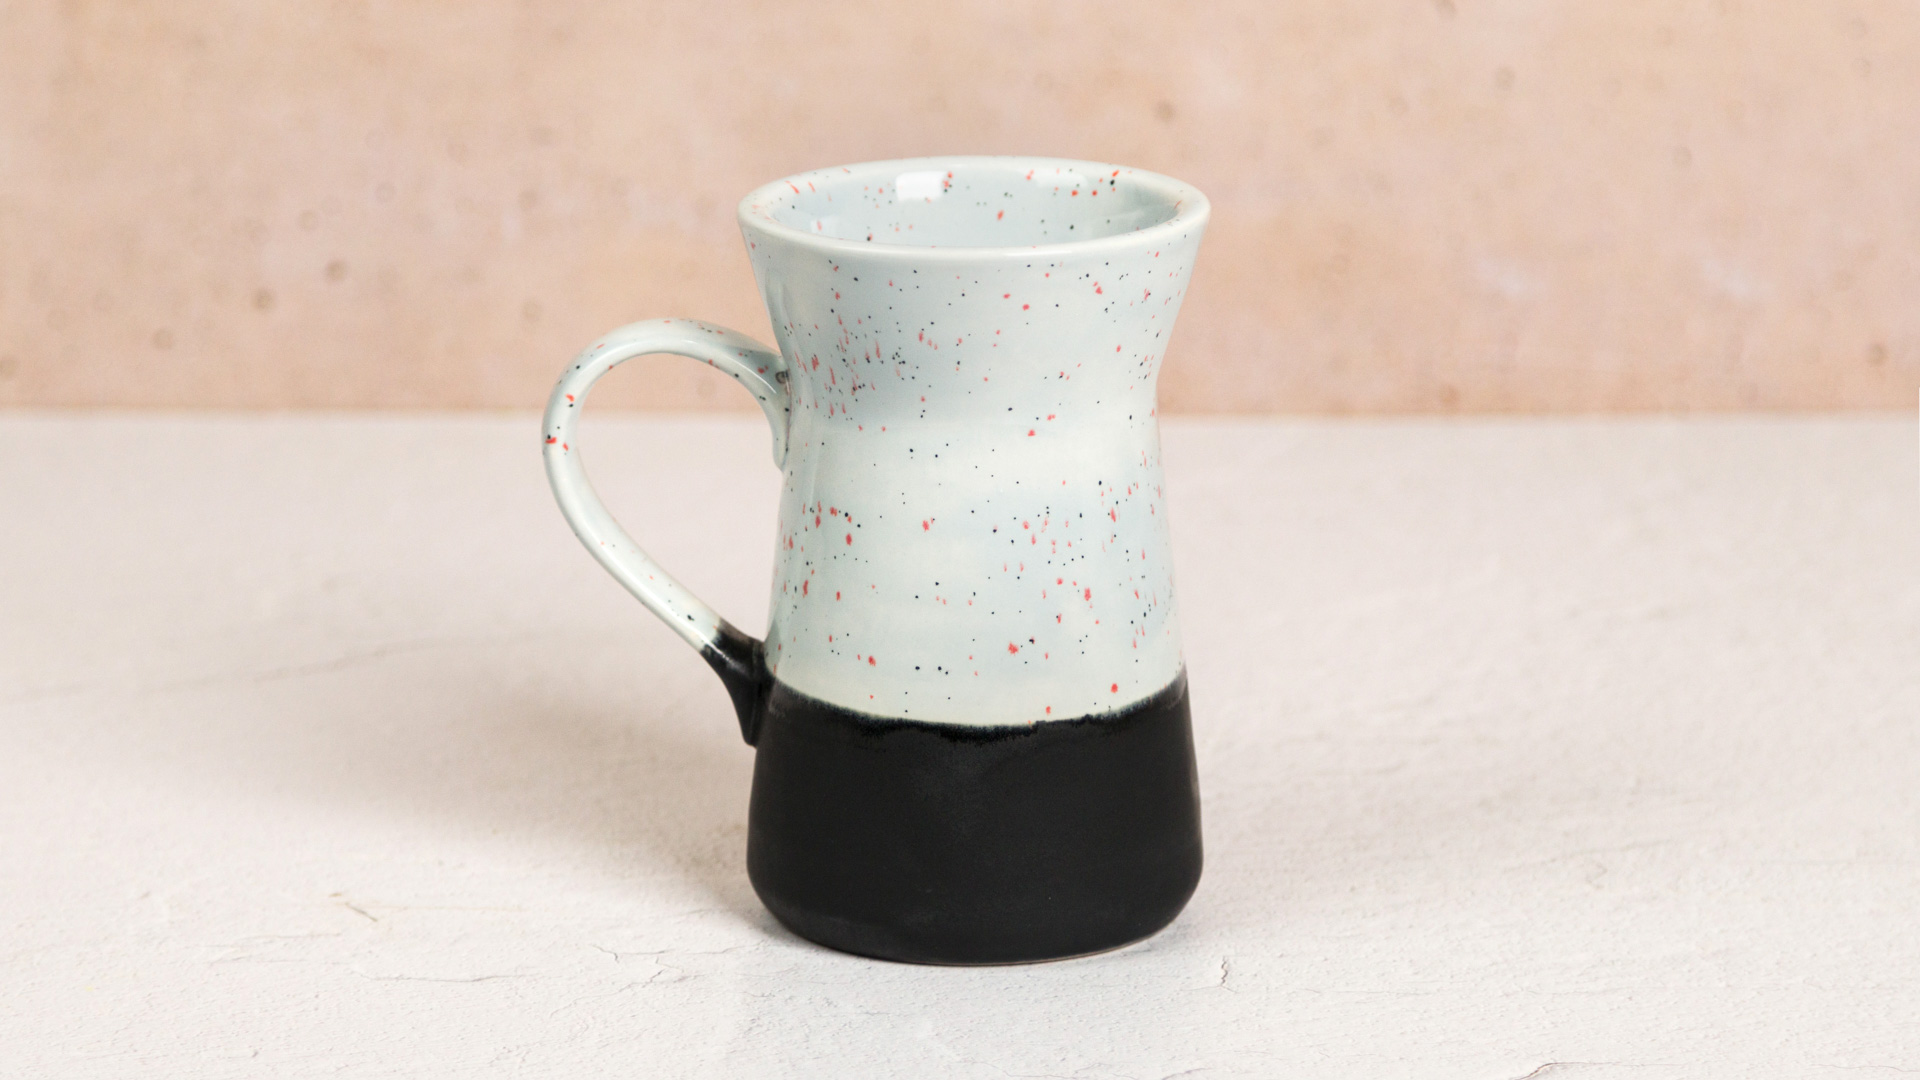
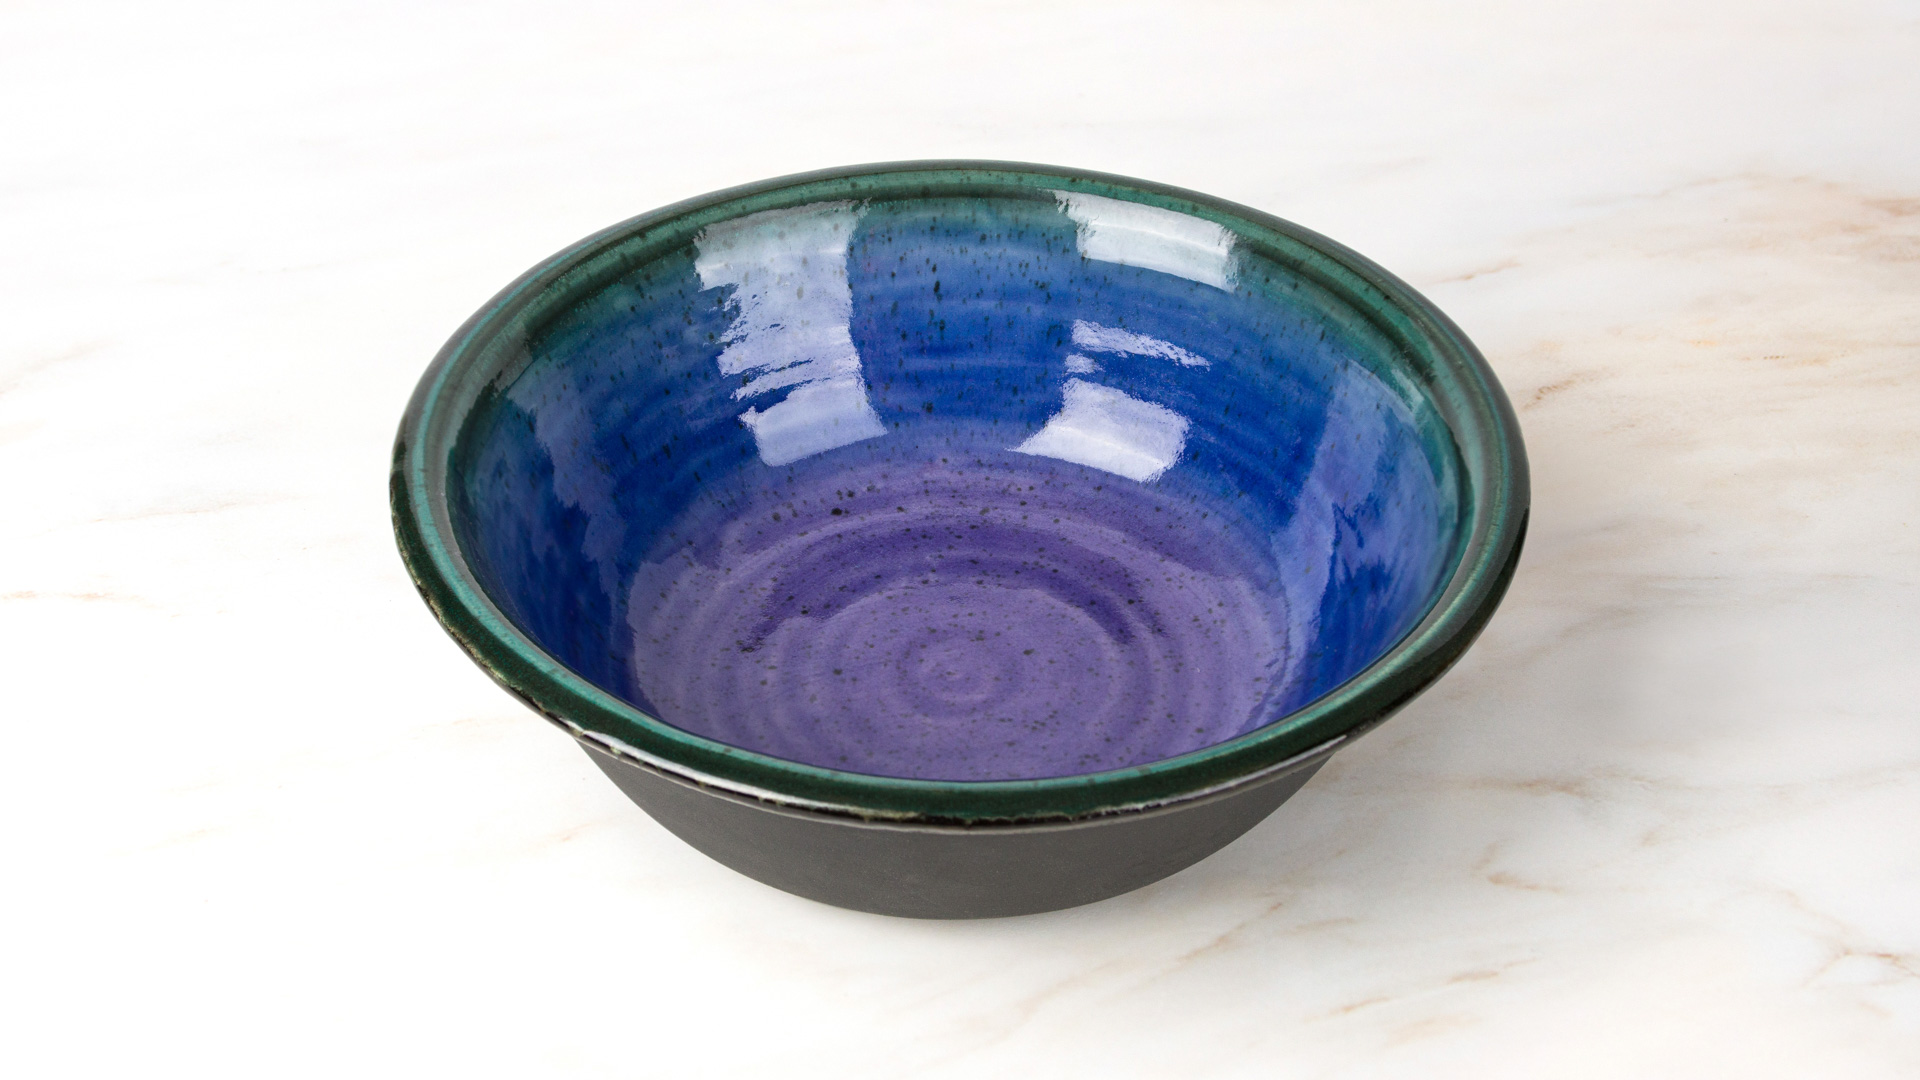
Handbuilt Handled Stoneware Platter

Designer: Todd Hickerson

Share

Instructions

  1. Begin with soft fired stoneware bisque. 
  2. Moisten a clean sponge and wipe bisque to remove debris.
  3. With a marker, draw two small half-circles at the top and bottom of the platter surface. Draw two larger half-circles on the right and left sides of the platter surface. Add add a 2-inch border around the larger circles.
  4. With a fan brush, apply 2-3 coats of SW-177 Raspberry Mist in the two small half-circles. Let dry between coats.
  5. With a fan brush, apply 2-3 coats of SW-166 Norse Blue in the two larger circles. Let dry between coats.
  6. With a fan brush, apply 2-3 coats of SW-165 Lavender Mist in the borders around the larger circles. Let dry between coats.
  7. With a fan brush, apply 2-3 coats of SW-168 Coral Sands in the unglazed section of the platter surface. Let dry between coats.
  8. With a fan brush, apply 2-3 coats of SW-167 Sand & Sea to the handles and outside of the platter.
  9. Dampen a clean sponge to wipe away all excess glaze from the foot.
  10. Fire to cone 5/6. Sample was fired to Cone 6.

Supplies

Form

  • Stoneware clay

Colors

  • SW-165 Lavender Mist  
  • SW-166 Norse Blue 
  • SW-167 Sand & Sea 
  • SW-168 Coral Sands 
  • SW-177 Raspberry Mist 

Decorating Accessories

  • RB-144 #4 Soft Fan 

Miscellaneous Accessories

  • BT-910 Synthetic Sponge 
  • Marker 
  • Water 
  • Pattern

Tips: 

  • Any kind of marker will work to create your circle pattern, and there is no need for a template! Free-handing your circles gives a more organic look and perfectly even spacing is not necessary for this design.  
  • Skip the wax resist and perfectionism, straying outside the lines and allowing your glazes to overlap creates more depth. 
  •  Refer to diagram for clarity in glaze pattern. 
Top