Paper Snowflake Stoneware Platter

Designer: Laura Fraedrich

Share

Instructions

  1. Begin with properly fired shelf cone 04 bisque. Moisten a clean sponge and wipe bisque to remove any dust.
  2. Begin with properly fired shelf cone 04 bisque. Moisten a clean sponge and wipe bisque to remove any dust.
  3. Using the CB-604 Soft Fan Brush, apply 3 coats of SW104- Black Walnut to the back side of the platter and the front rim, leaving the bottom and foot unglazed.
  4. Using the CB-604 Soft Fan Brush, apply 1 coat of FN-001 White to the top of the plate, inside the rim
  5. Using a sheet of paper and scissors, cut out a paper snowflake. Use this link to learn how: http://www.wikihow.com/Make-a-Paper-Snowflake
  6. Dip your snowflake in water and adhere it to the center of the front of the platter by pressing down with a damp sponge. Make sure all the edges are stuck to the plate. Add more water with a brush if you need to.
  7. Using the Soft Fan brush, apply 3 coats of SW119 Cinnabar to the front of the platter, inside the rim. After your third coat, remove the paper.
  8. Using the SG-401 Black designer liner, doodle inside the snowflake area using the photo as a reference. Let dry.
  9. Using the CB106 Script Liner, apply 3 coats of SW137 Storm Gray to the snowflake.
  10. Apply random dots of SW137 Storm Gray over the Cinnabar by dipping the back end of a paintbrush into the Storm Gray and touching it to the platter.
  11. Wipe off any excess glaze from the foot of the teapot with a damp sponge.
  12. Do not stilt or hang over the edge of the kiln shelf.
  13. Fire to cone 5/6.

Supplies

Form

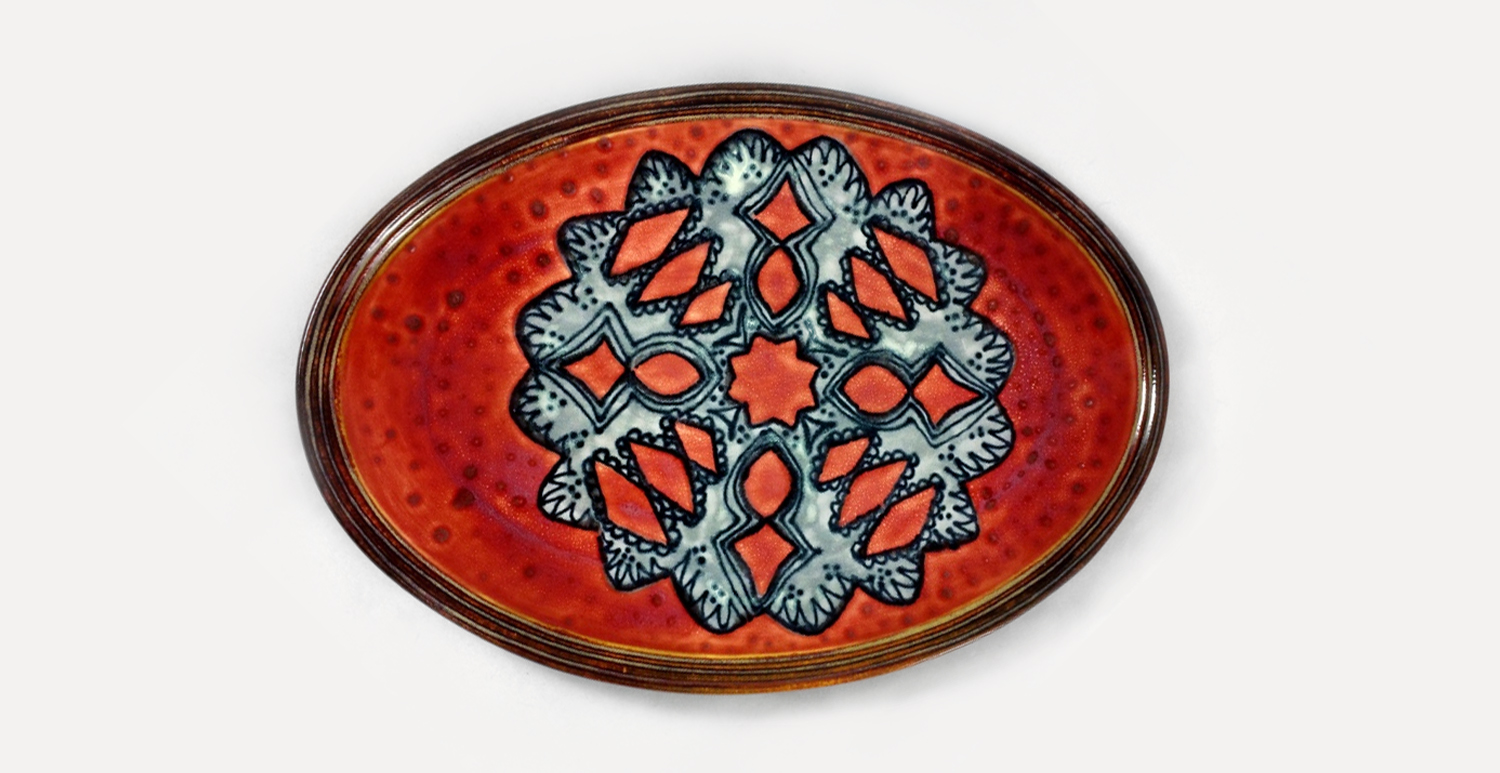
  • SB-118 12” Stoneware Platter

Colors

  • FN-001 White
  • SG-401 Black Designer Liner
  • SW-104 Black Walnut
  • SW-119 Cinnabar
  • SW-137 Storm Gray

Decorating Accessories

  • CB-604 #4 Soft Fan
  • CB-106 #6 Script Liner

Miscellaneous Accessories

  • Sponge
  • Scissors
  • 8 1/2″ x 11″ Sheet of Paper
Top