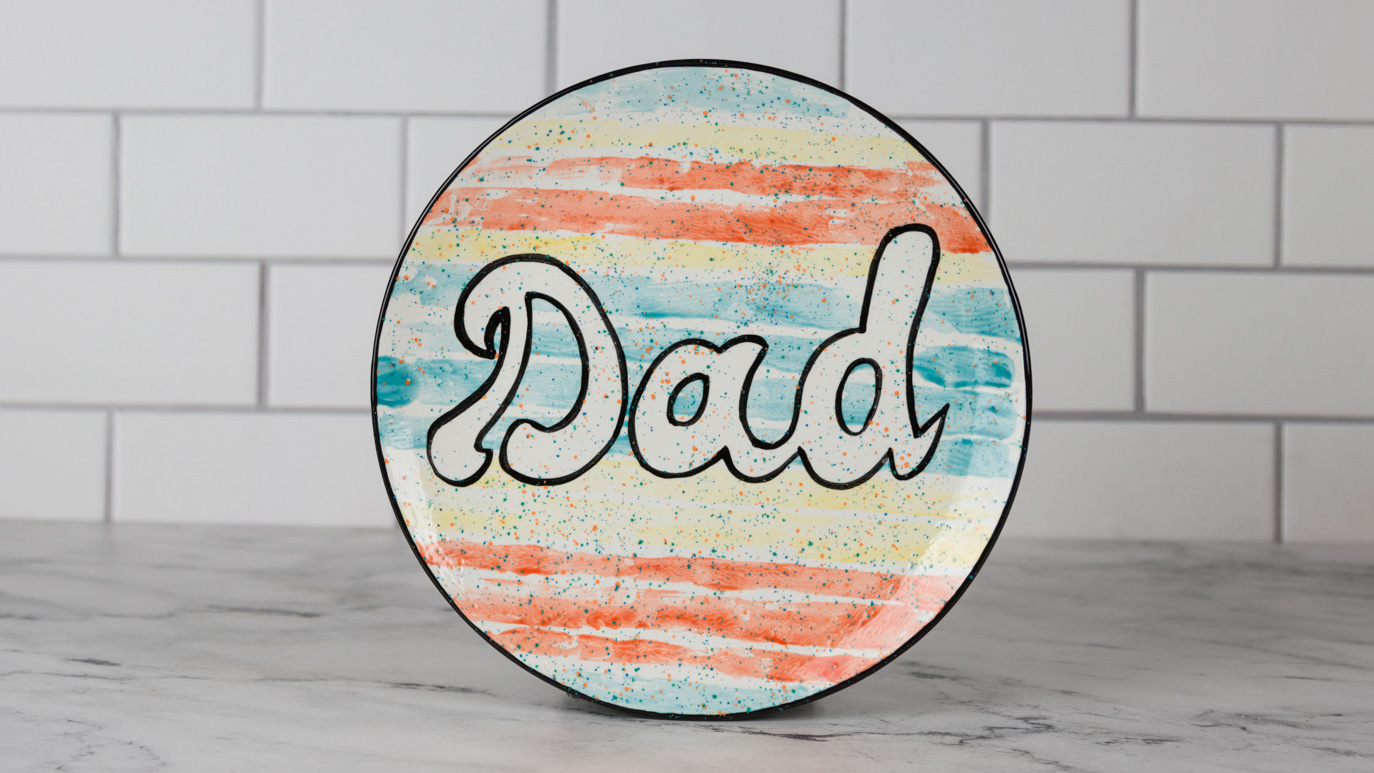
Striped Retro Dad Plate

Designer: Elizabeth Carey

Share

Instructions

  1. Begin with properly fired cone 04 bisque. Moisten a sponge and wipe bisque to remove any dust.
  2. Use the scissors to cut out the lettering from the pattern.
  3. Using the Soft Fan with FN-001 White, apply 1 coat to the front of the plate.
  4. Use the sponge to wet the back of the lettering, then place in the center of the plate. Press down on the edges with the damp sponge. Using the Soft Fan with FN-001 White, apply 1 coat over the edges of the lettering.
  5. Use the scissors to cut out 10-20 thin strips of paper (1/4” – 1” thick). Cut the paper horizontally, so that the strips are long enough to go across the plate.
  6. Squeeze out around 1 TBS of SC-24 Dandelion, SC-28 Blue Isle and SC-88 Tu Tu Tango onto the palette.
  7. Take 1 strip of paper and glaze the back with one of the glazes from Step #6. Then press the paper (glaze side down) onto the top of the plate. Remove and discard. The paper should be going horizontally across the plate. Repeat, going down the plate.
  8. Remove the “dad” pattern.
  9. Using the Detail Liner with SC-15 Tuxedo, outline “Dad”.
  10. Using the Soft Fan with SC-15 Tuxedo, apply 2 coats to the back of the plate. Allow glaze to dry between coats.
  11. Using the Soft Fan with SG-702 Speckta-Clear Celebration, apply 2 coats to the front of the plate. Allow glaze to dry between coats.
  12. Stilt and fire to cone 06.

Supplies

Form

  • MB-102 Coupe Dinner Plate

Colors

  • FN-001 White
  • SC-15 Tuxedo
  • SC-24 Dandelion
  • SC-28 Blue Isle
  • SC-88 Tu Tu Tango
  • SG-702 Speckta-Clear Celebration

Decorating Accessories

  • RB-144 #4 Soft Fan
  • RB-110 10/0 Detail Liner

Miscellaneous Accessories

  • Sponge
  • Water
  • Palette
  • Pencil
  • Scissors
  • Paper
  • Pattern


Top