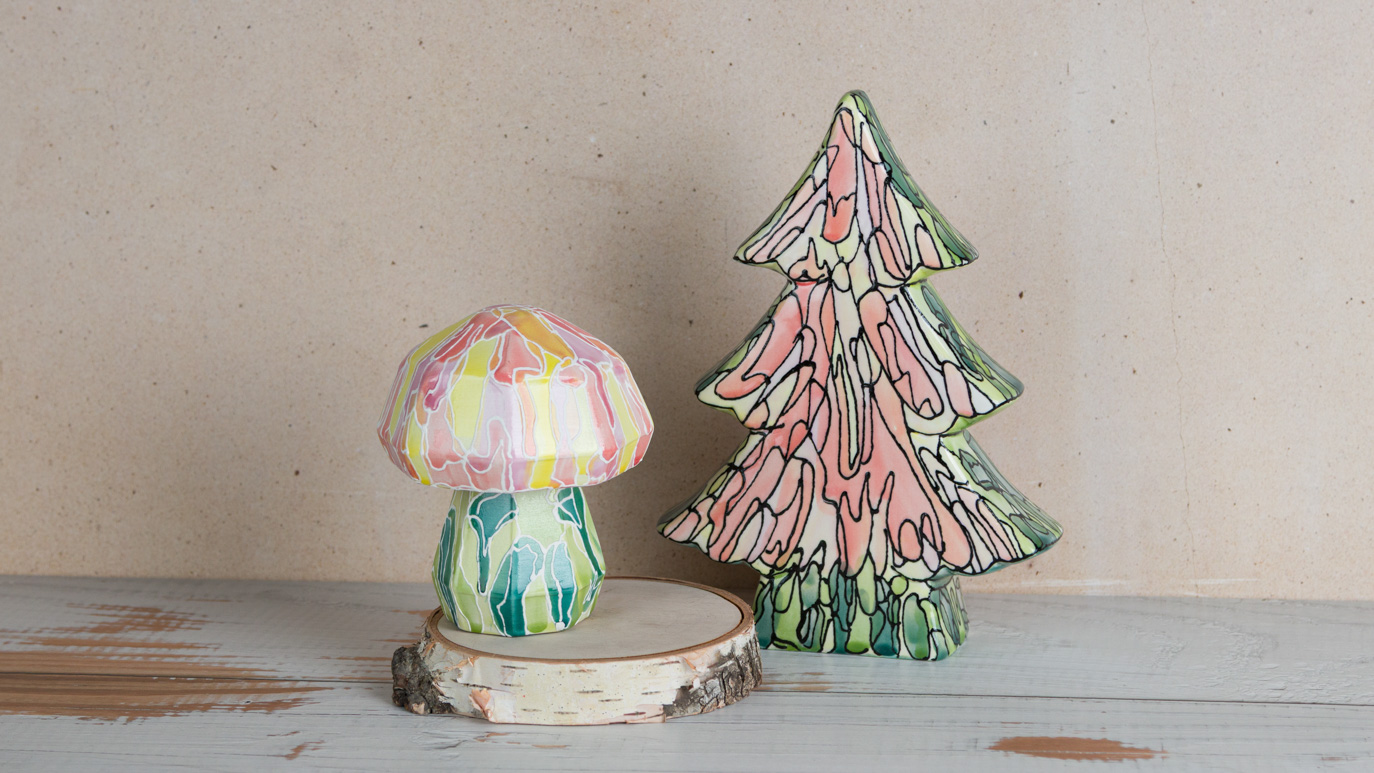
Watercolor Drip

Designer: Bailie Benson

Share

Instructions

  1. Wipe down bisque with a damp sponge to remove any dirt or dust. 
  2. Prepare a 1:1 ratio of each Stroke & Coat color with water in a portion cup and mix together. If the color is too thin or translucent, add a bit more Stroke & Coat to the mixture.  
  3. Beginning with the darkest color, apply drips of the water and glaze mixture all over the piece using the Script Liner brush.  
  4. Apply drips of the second darkest color to white bisque areas using the Script Liner brush.  
  5. Apply drips of the third and lightest color to the left over white bisque areas with the Script Liner brush. 
  6. Go back and fill in any leftover areas of white bisque using the colors of your choice. Overlap new drips in any areas that may need more color variety. 
  7. Allow the piece to dry. 
  8. Using the Designer Lineroutline larger areas of color or where the colors transition 
  9. (Optional) Brush on or dip in clear glaze. Note: no clear glaze will result in a matte finish for both the Stroke & Coat and Designer Liner.
  10. Allow piece to dry. 
  11. Stilt and fire to cone 06.  

Supplies

Form

  • MB1626 Small Faceted Mushroom 
  • MB1636 Small Tree Silhouette 

Colors

    • SC006 Sunkissed (1 oz)  
    •  SC089 Cutie Pie Coral (1 oz)  
    • SC095 Pinkie Swear (1 oz)
    • SG402 White (1 oz)

    Optional 

    • NTBR Clear One Brushing 

    Decorating Accessories

    • RB106 Script Liner Brush 

    Miscellaneous Accessories

    • Sponge
    • Water
    • 2oz portion cups
    Top