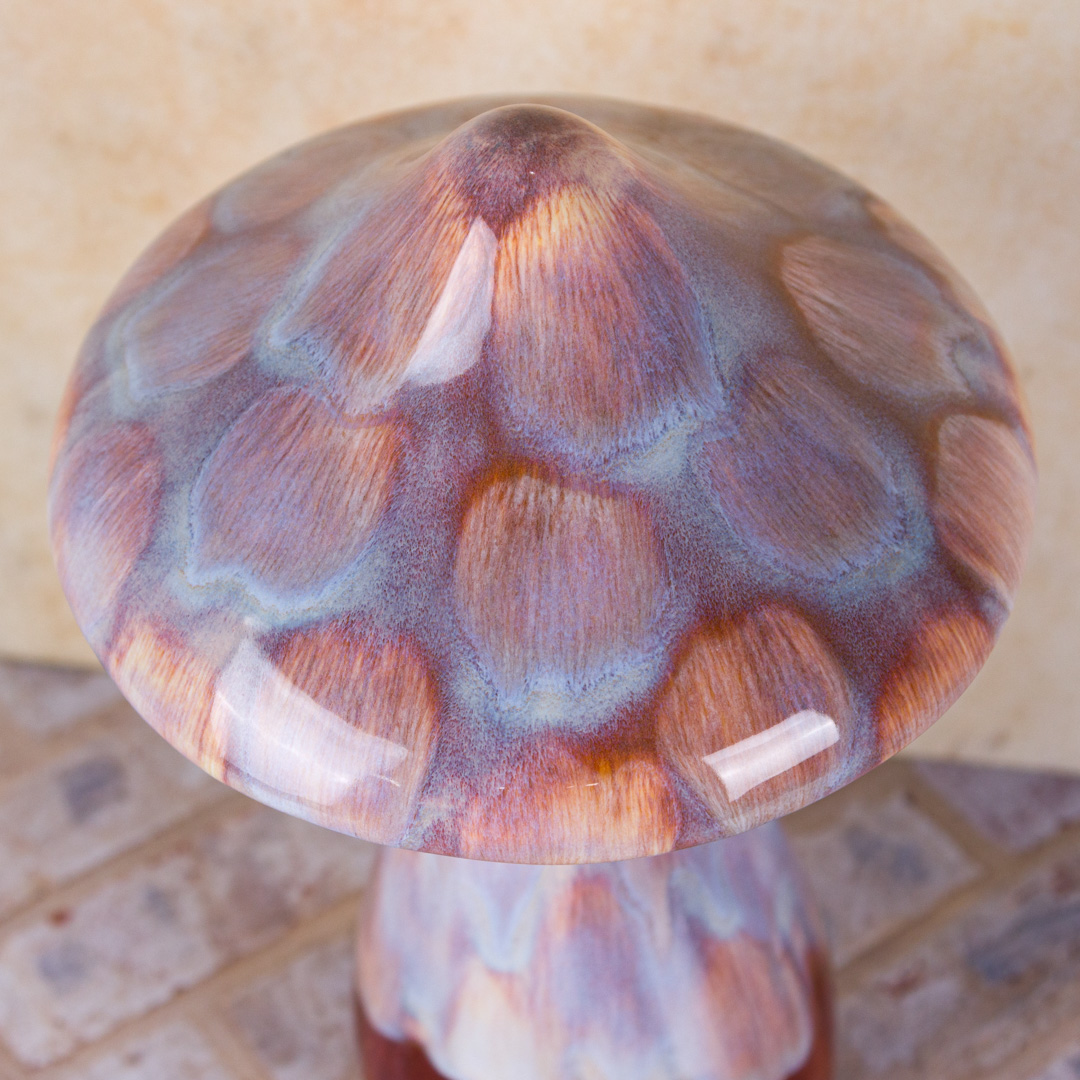
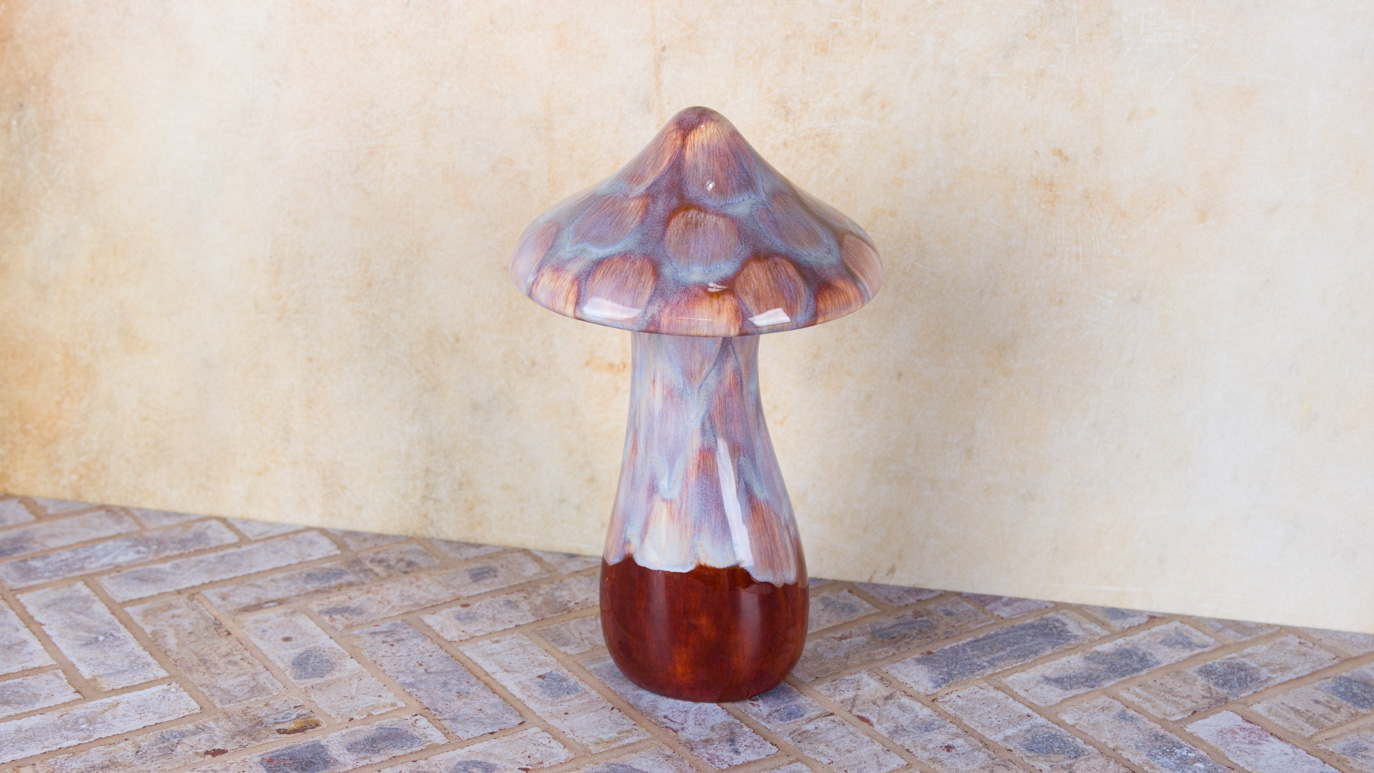
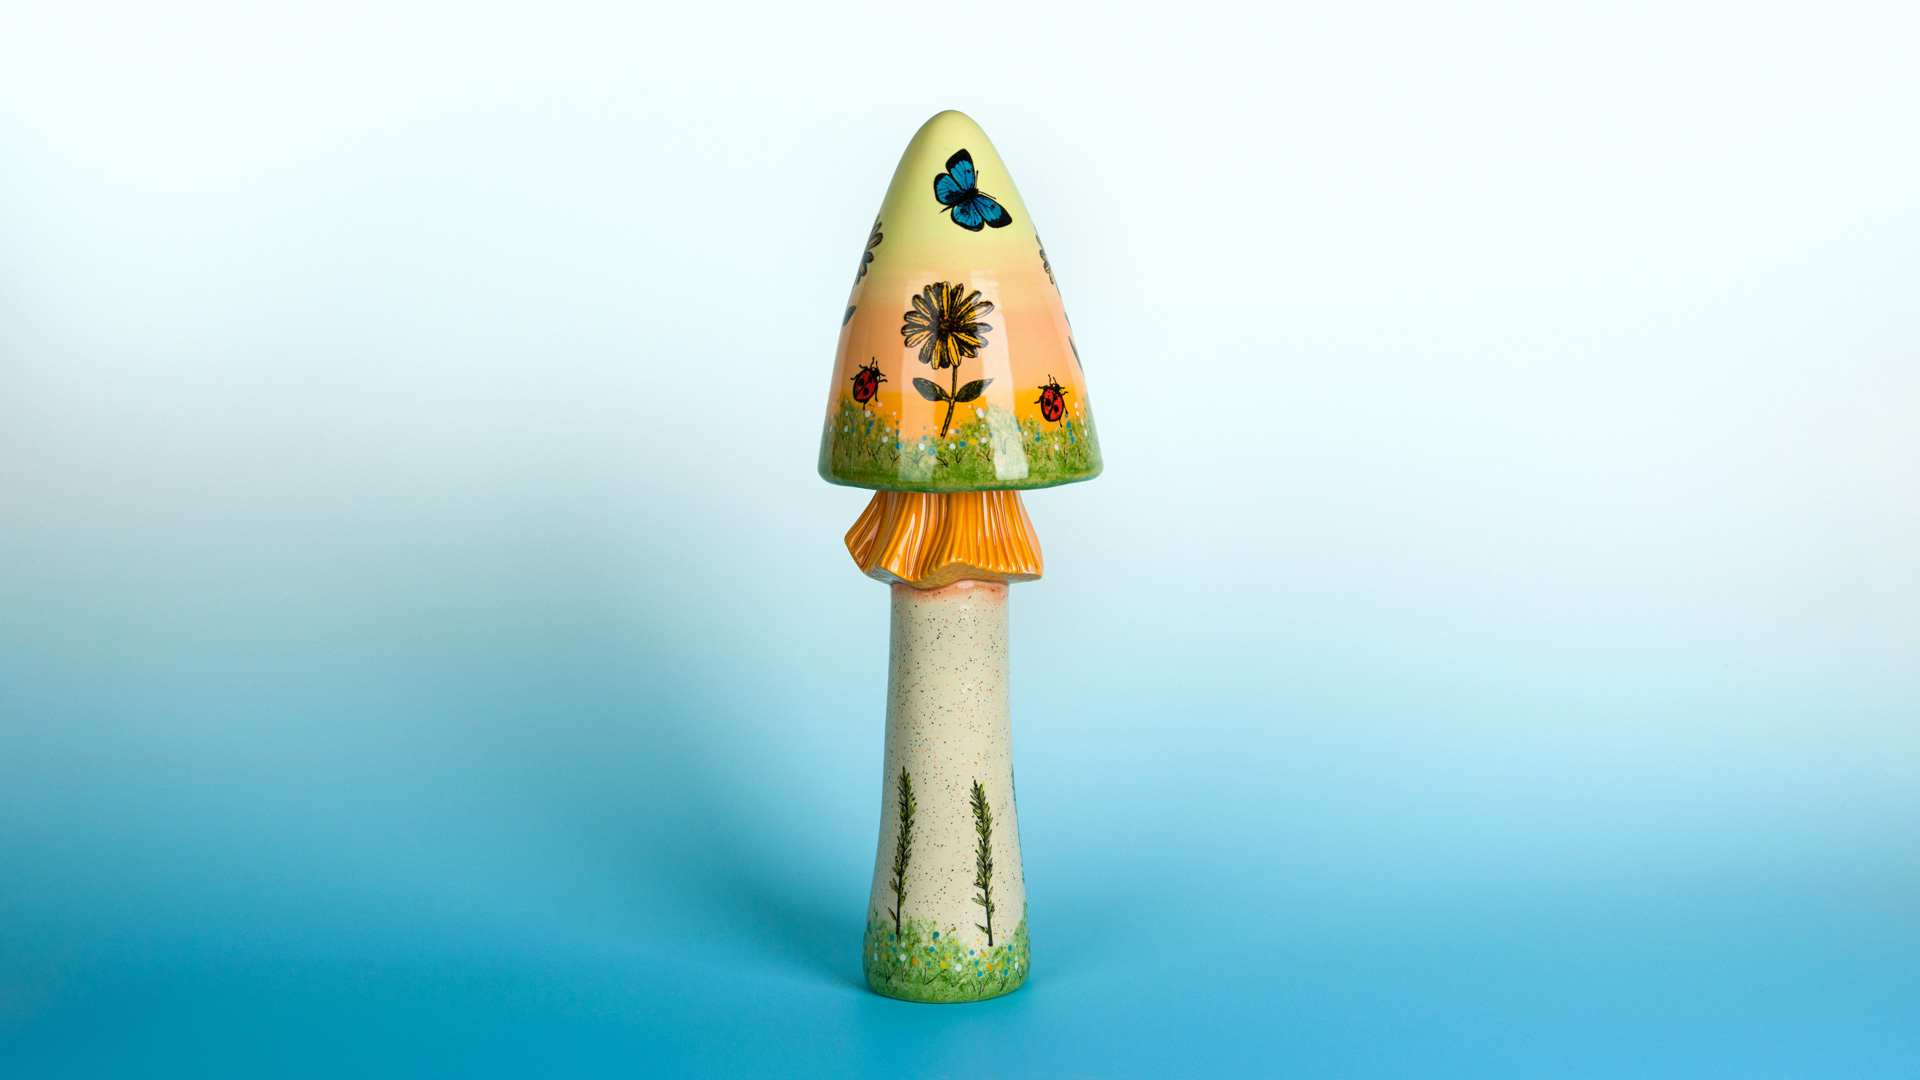
Autumn Frozen Pond Mushroom

Designer: Bob Moreni

Instructions

  1. Begin with properly fired shelf cone 04 bisque. Moisten a clean sponge and wipe bisque to remove any dust.
  2. Using a CB604 #4 Soft Fan, apply 2 coats EL133 Autumn to the Mushroom cap and stem. Allow to dry!
  3. Pour some PC602 White Cascade onto a paper plate or glazed tile (palette).
  4. Using the 1 ¼” Sponge-on-a-Stick, apply dots, 2 coats of PC602 White Cascade to the mushroom cap starting around the bottom edge working your way to the top. Apply ½” dots in between the previous dots. Allow to dry between coats!
  5. Using the 1 ¼” Sponge-on-a-Stick, apply dots, 2 coats of PC602 White Cascade to the mushroom stem coming about three quarters of the way down.
  6. Using a CB604 #4 Soft Fan, apply 2 coats of EL101 Oyster Shell to the top side of the mushroom cap over the PC602 White Cascade also over the PC602 White Cascade on the stem of the mushroom, leaving the lower section just the EL133 Autumn. Do not apply to the underside of the cap. Allow to dry!
  7. Stilt and fire to shelf cone 06.

Supplies

Form 

  • Clay Magic 4345 Pointed Mushroom Cap
  • Clay Magic 4350 9” Plain Mushroom Stem


Colors

  • EL101 Oyster Shell
  • EL133 Autumn
  • PC602 White Cascade

    Decorating Accessories

    • RB144 Soft Fan Brush 

        Miscellaneous Accessories

        • Synthetic Sponge
        • Pencil
        • Water Bowl
        • Paper Towels
        • Desert Paper Plates or Glazed tile for a Palette
        • ¾” Sponge-on-a-Stick
        • 1 1/4” Sponge-on-a-Stick
        Top