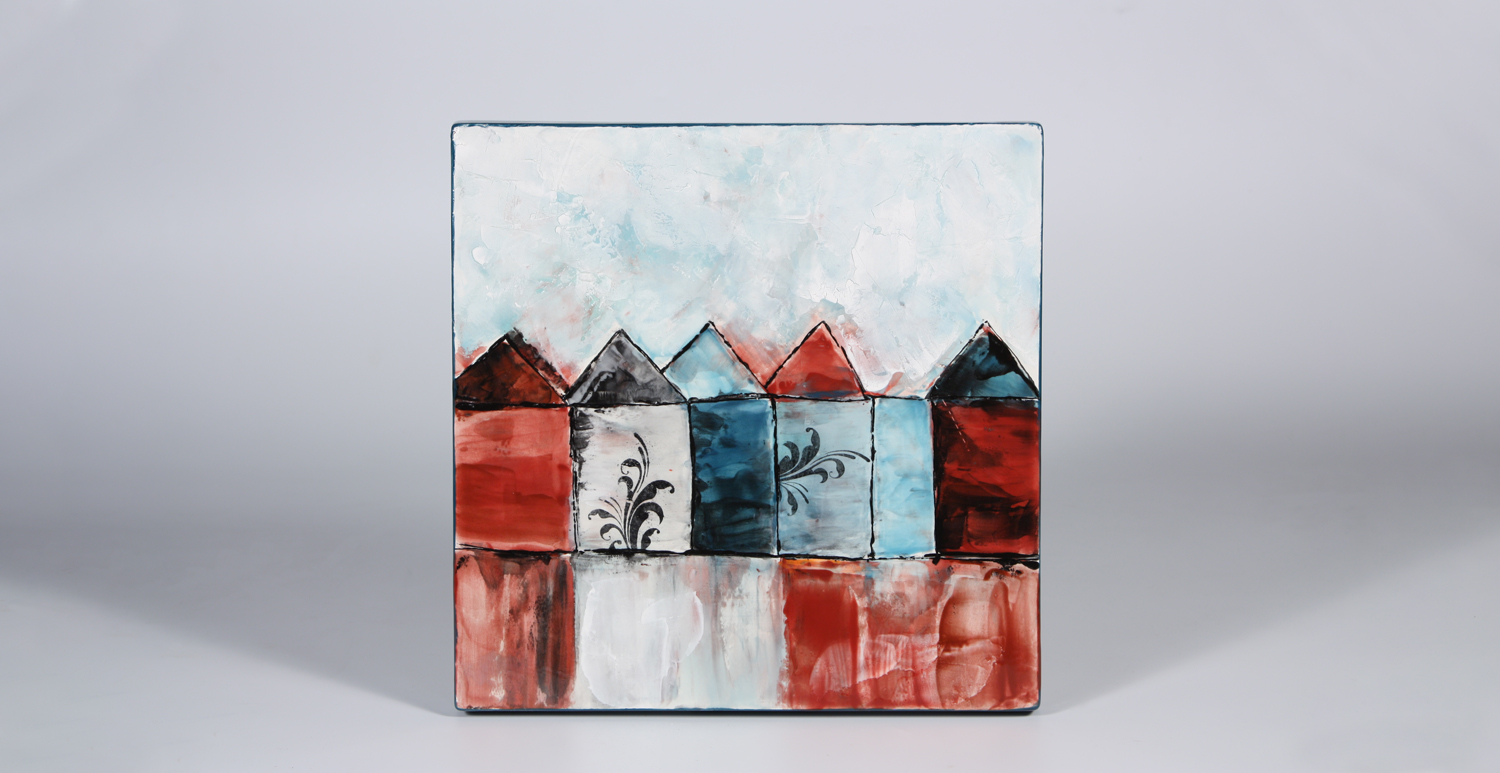
Balloon Flower Canvas

Designer: Marcia Roullard

Share

Instructions

  1. Begin with properly fired shelf cone 04 bisque. Moisten a clean sponge and wipe bisque to remove any dust.
  2. Use the Soft Fan to apply 1 coat of FN-001 White to the front of the plate.
  3. Unfold the Blue Shop towel, wet and ring out excess water. This keeps the towel from absorbing all of the glaze and helps release the glaze onto the bisque.
  4. Take the caps off of the following glazes and add the AC-224 Plastic Tips to each: SC-16 Cotton Tail, SC-35 Gray Hare and SC-60 Silver Lining. NOTE: The AC-224 Plastic tips fit Mayco’s 2 oz., 8 oz. and pint bottles.
  5. Lay the damp blue shop towel out flat. Squeeze alternating lines of all three colors leaving about 1/4″ between the lines. You can do all of one color at a time or alternate the three.
  6. Using the flexible plastic card, from left to right and horizontally pull the card across the three colors to help blend or create striations. The entire towel does not need to be covered in glaze. The next step will fix bald spots.
  7. Carefully lay the glaze covered towel onto the plate, glaze side down. Use a damp sponge to press the towel onto the bisque. The damp sponge helps the glaze transfer and blend on the bisque.
  8. If there are bald spots on the bisque, pat the paper towel with glaze onto the bisque to fill the spots. Lift off the paper towel.
  9. If there is excess glaze, lightly sponge off excess glaze.
  10. For a guide to flower placement, lightly sketch circles on the plate.
  11. Blow up the balloon to 1/2 the size; it isn’t necessary to fully inflate.
  12. Prepare your glaze palette by pouring a 2″ pool of each color: SC-11 Blue Yonder, SC-45 My Blue Heaven and SC-76 Cara-Bein Blue.
  13. Practice the following steps on a tile first. When comfortable work on the project. Note: the harder you press the larger the flower.
  14. Holding the balloon will both hands, press the balloon straight down into the SC-11 Blue Yonder then again for a double dip of SC-76 Cara-bein Blue
  15. Holding with both hands press the balloon straight down onto the bisque in one of the circles.  The glazes will blend together, but you can lightly twist to aid in blending.
  16. Continue creating balloon flowers by alternating between the three blue glaze colors with the balloon.
  17. To deepen a section of the balloon flowers, use the RB-106 Script Liner and SC-12 Moody Blue to press and pull in sections.
  18. Press wispy flowers or shadow of flowers by using left over or thin glaze.
  19. Press the balloon into a thin layer of glaze and press more as the background of flowers
  20. Pour SC-6 Sunkissed on a the palette. Press the tip of the balloon into the Sunkissed then press to the center of the flowers.
  21. Gather 5 Q-Tips into a bunch. Dip the Q-tips into SC-15 Tuxedo and dot in the center of the SC-6 Sunkissed to create dots on the flowers.
  22. Use the RB-110 10/0 Detail Liner to line the stems of the flowers Allow to dry.
  23. Dip into NT-CLR.
  24. Stilt and fire to cone 05/06.

Supplies

Form

  • MB-1353 8” x 10” Clay Canvas

Color

  • SC-6 Sunkissed
  • SC-11 Blue Yonder
  • SC-12 Moody Blue
  • SC-16 Cotton Tail
  • SC-15 Tuxedo
  • SC-35 Gray Hare
  • SC-45 Blue Heaven
  • SC-60 Silver Lining
  • SC-76 Cara-bein Blue
  • FN-001 White
  • NT-CLR Clear One Dipping Glaze

Decorating Accessories

  • RB-106 #6 Script Liner
  • RB-144 #4 Soft Fan
  • RB-110 #10/0 Detail Liner

Miscellaneous Accessories

  • Blue Shop Paper Towel
  • Flexible Plastic Card or Squeegee
  • AC-224 Plastic Tips
  • 12″ Ballon
  • 5 Q-Tips
  • Sponge
  • Palette
  • Water
  • Water-based Marker
Top