Begin with properly fired cone 04 bisque. Moisten a sponge and wipe bisque to remove any dust.
Using the Soft Fan with FN-009 Black, apply 2 coats to front and back of the tray. Allow glaze to dry between coats.
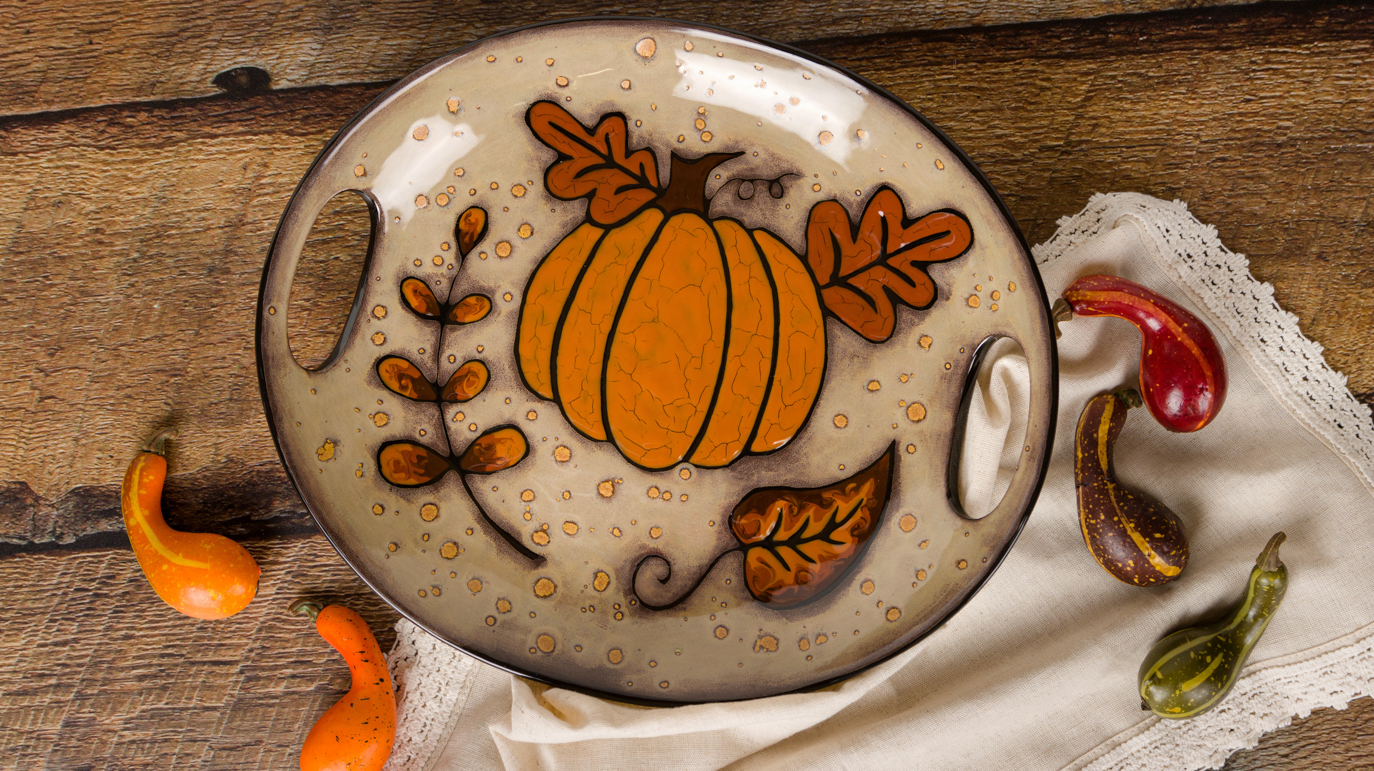
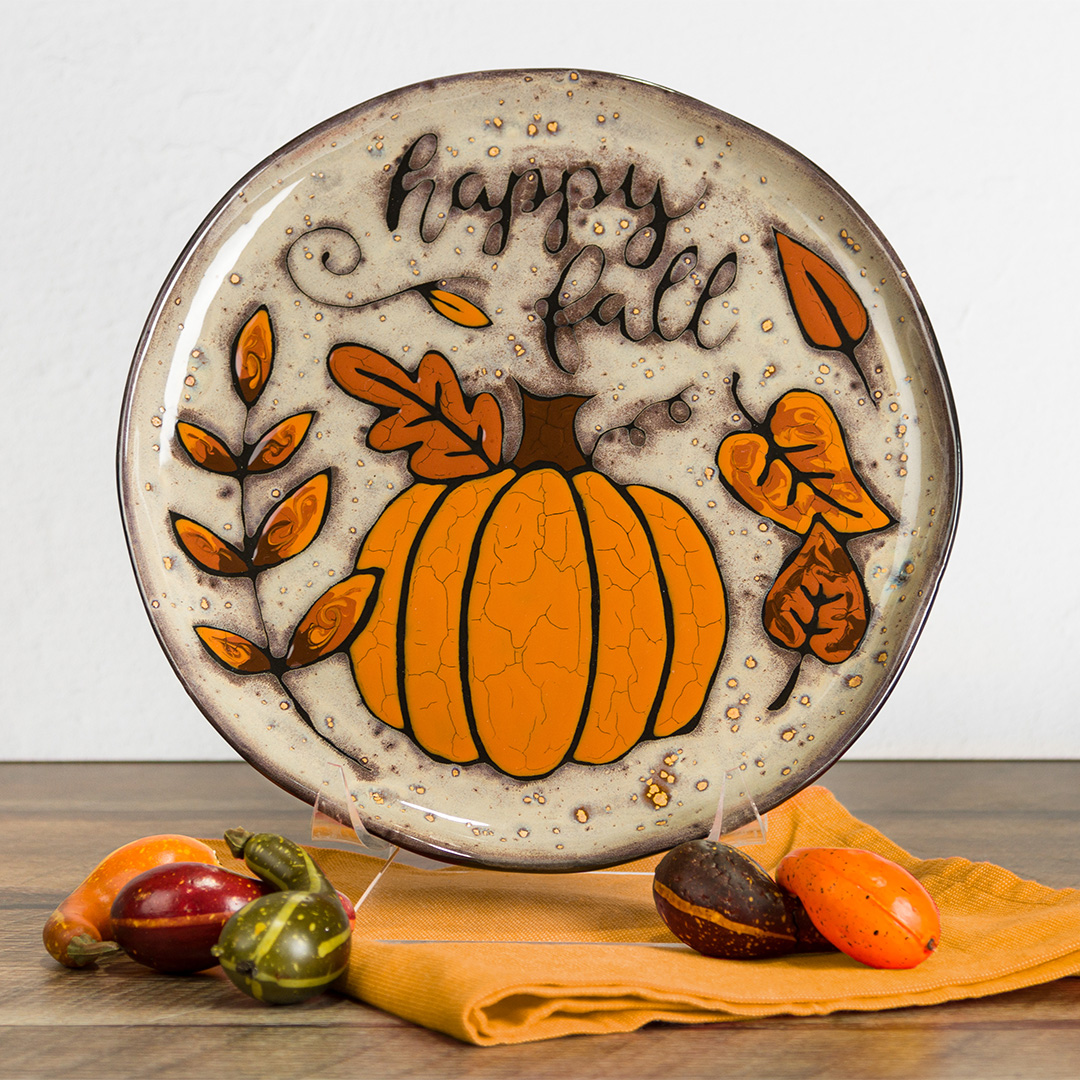
Once the front of the tray is bone dry, place AC-230 Clay Carbon Paper in the center of the tray. Place the pattern on top and trace with the pencil.
Using the Detail Liner with AC-302 Wax Resist, apply 1 coat over the pattern.
Replace the glaze caps on the 2oz Stroke & Coat bottles with AC-224 Plastic Detailer Caps.
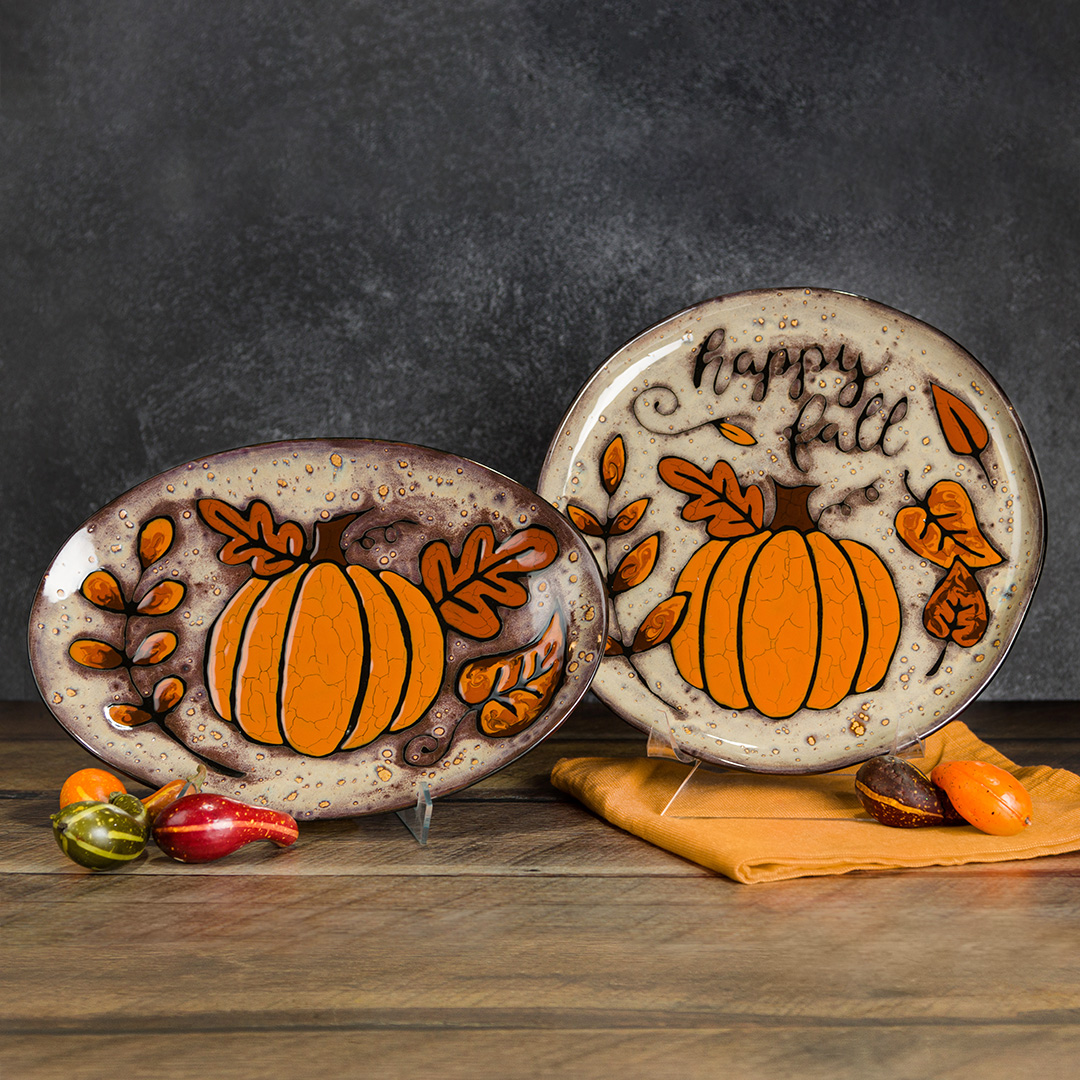
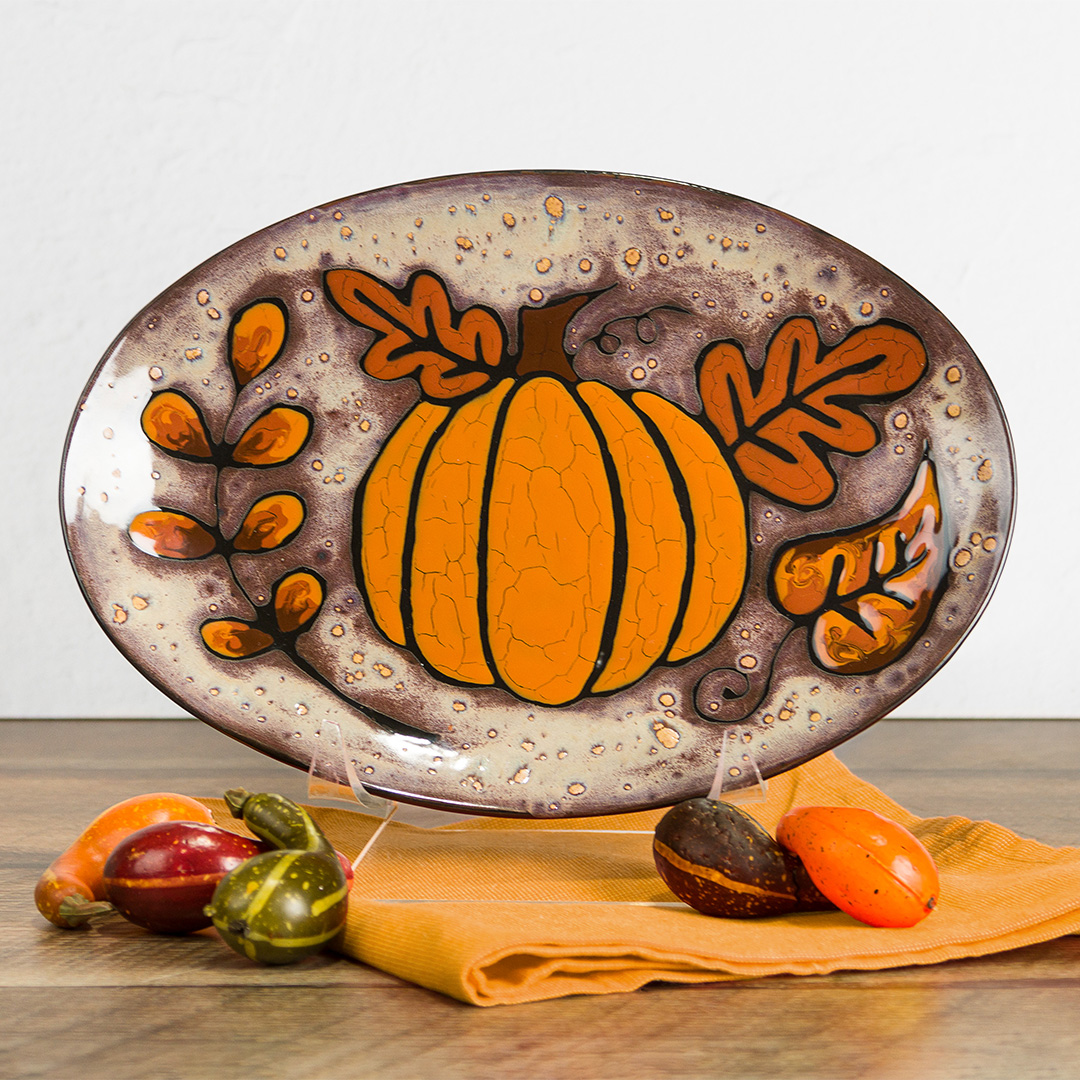
Squeeze a thick puddle coat of glaze onto the corresponding sections of the tray. Work in sections. Glaze approximately 1/3 of the tray and move to the next step. Refer to the patterns for color placement. NOTE: If the glaze is too heavy, it will crawl. If it is too light, you will not achieve the batik look.
Use a hair dryer on low to force dry the top layer (skin) of the glaze. Make sure not to put the hair dryer too close while it is wet or it will move the glaze. Dry until you see cracking in the skin.
Repeat steps 8 & 9 until the entire pattern is glazed. Work in sections to prevent the glaze from drying prematurely, which will cause less cracks.
Using the Script Liner with EL-204 Glowing Embers, apply 2 coats to the background. Allow glaze to dry between coats. Apply a 3rd coat, but only in the center of each background section.