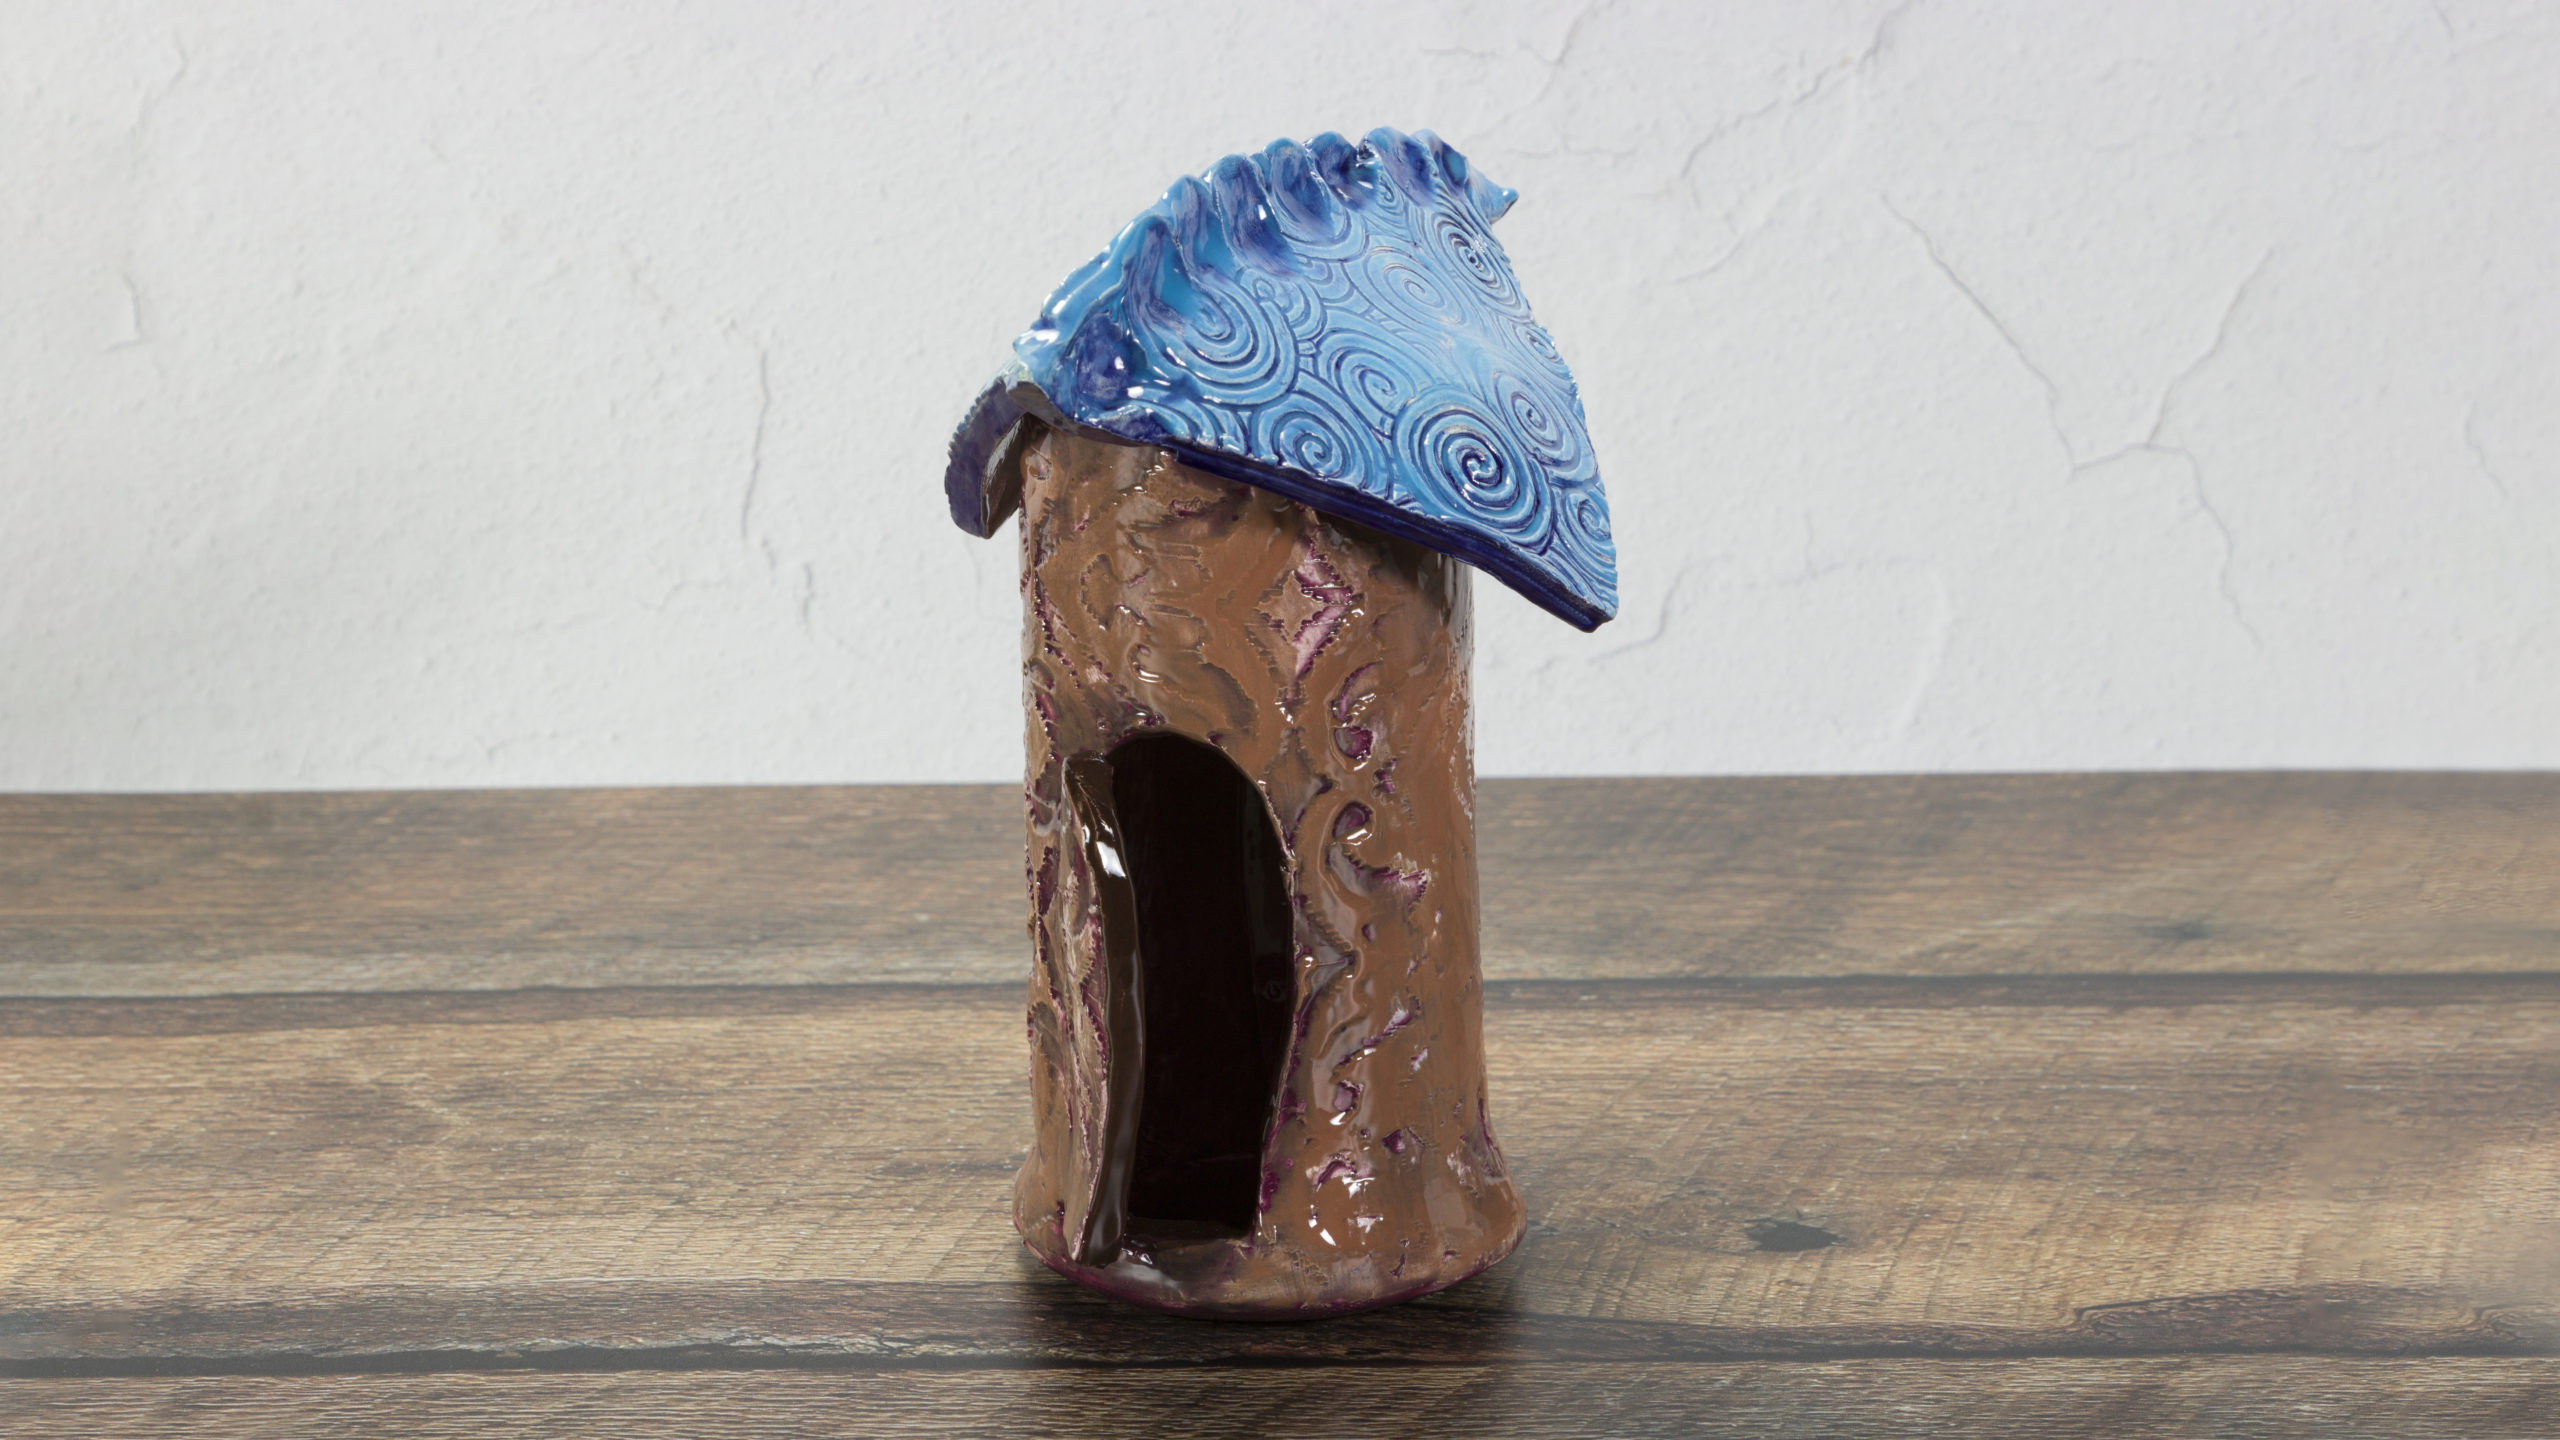
Bottle House

Designer: Kaitlyn Miller

Share

Instructions

Handbuilding

  1. Separate out ¼ of your clay and set aside.
  2. Smack the remaining ¾ of your clay and roll out a slab that is 1/8” thick that measures at least 7”x11”.
  3. Compress slab with credit card or rib.
  4. Cover bottle with one layer of newsprint, flooding along the bottom of the bottle.
  5. Roll slab around wrapped bottle until the bottle sides of the bottle is fully covered by clay.
  6. Cut slab a pencil thickness past the point where the end of the slab meets the clay to allow room for clay to overlap.
  7. Smoosh clay with your fingers pulling clay over the seam until smooth, use credit card or rib to even out clay.
  8. Roll out another 1/8” thick slab and compress.
  9. Trace bottom of the bottle on the slab leaving the same amount of space for overlap.
  10. Cut circle and attach to clay cylinder by pulling and smooshing the clay up the sides of the form.
  11. Smooth out sides of your piece with a credit card or rib by compressing the sides from the bottom up. Be sure to keep the bottle flat on the table when doing this.
  12. Apply stamp mat to outside of the cylinder by wrapping around and gently applying pressure. You can use your credit card or rib again to evenly apply pressure by smoothing over the back of the stamp mat always pulling the rib up towards you from the base.
  13. To create a clean foot, hold the bottle with two hands and rock it forward onto its bottom edge and proceed to roll all the way around the bottom rim.
  14. When ready, remove the bottle by pulling up and twisting. Then pull paper out.
  15. To create roof, cut an angular shape out of the remaining slab (you may need to re- roll if your scraps are not big enough. Option to cut two shapes and pinch together at one side to create a peak roof.
  16. Attach roof to top of cylinder by slipping and scoring at attachment points.
  17. Cut door out with needle tool. Option to leave one side un-cut and fold back to create an open door.
  18. Smooth any cracks or imperfections with fingers and a little bit of water if needed.
  19. Allow to dry fully.
  20. Bisque fire to Cone 04.

Glazing:

  1. Antique textured area of house by covering with one thick coat of the Blueberry Hill (SC-40), allow to dry and wipe away with a damp sponge.
  2. Once dry, glaze 1-2 coats of Brown Cow (SC-41) overtop allowing some of the purple to show underneath.
  3. Antique roof with Moody Blue (SC-12) using the same technique.
  4. Glaze 1-2 coats of Blue Yonder (SC-11) over top of roof once antiqued texture is dry.
  5. If door is open, option to glaze inside with 2-3 coats of Down To Earth (SC-34).
  6. Option to add additional decorative elements and details.
  7. Once dried fully fire to Cone 06.

Supplies

Form

  • Low-fire white clay (3lbs)

Color

  • SC-11 Blue Yonder
  • SC-12 Moody Blue
  • SC-41 Brown Cow
  • SC-40 Blueberry Hill
  • SC-34 Down to Earth

Decorating Accessories

  • RB-144 #4 Soft Fan
  • MT-012 Ikat Mat
  • MT-008 Sprial Mat

Miscellaneous Accessories

  • Fettling knife
  • Stroke & Coat bottle
  • Newsprint
  • Plastic card or rib
  • Paper for stencil
  • Needle tool
  • Slab roller or rolling pin
  • Pencil
  • Scissors
  • Sponge
Top