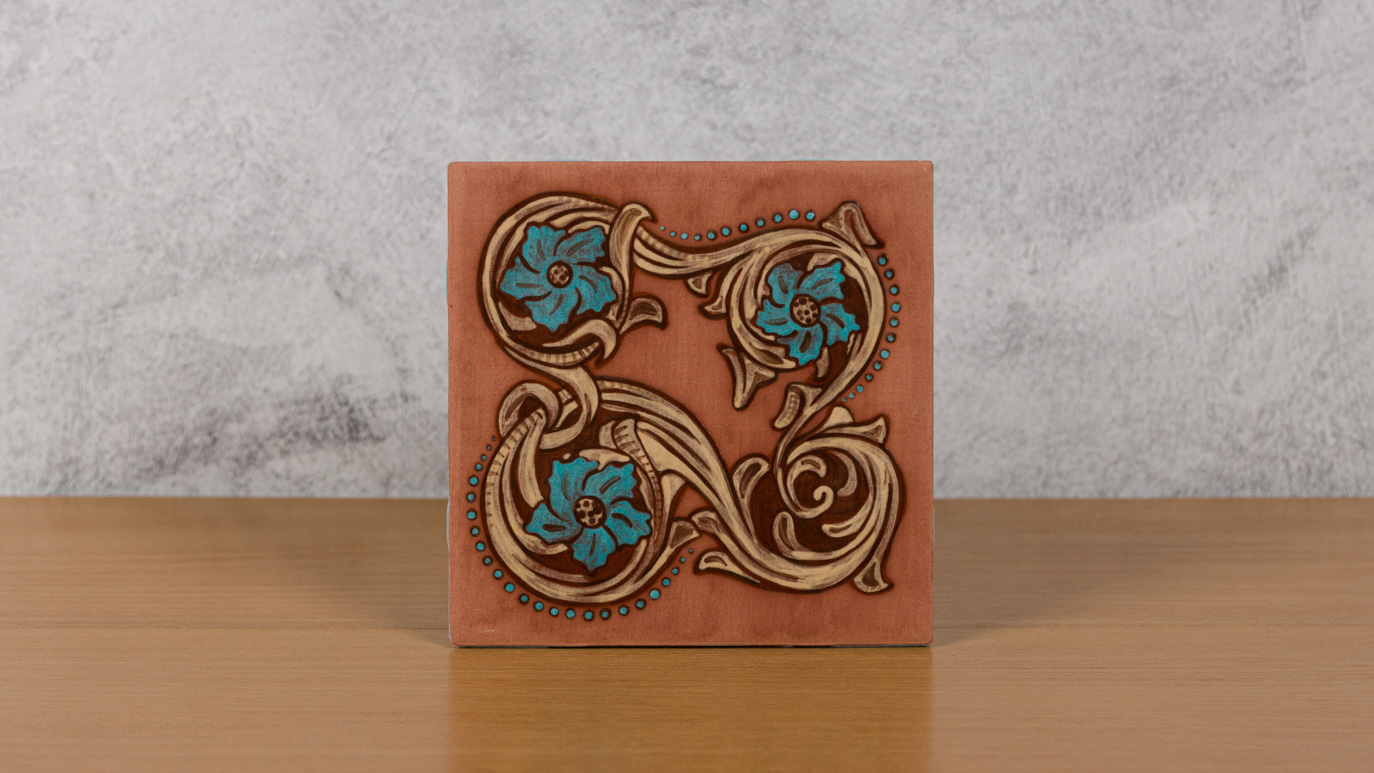
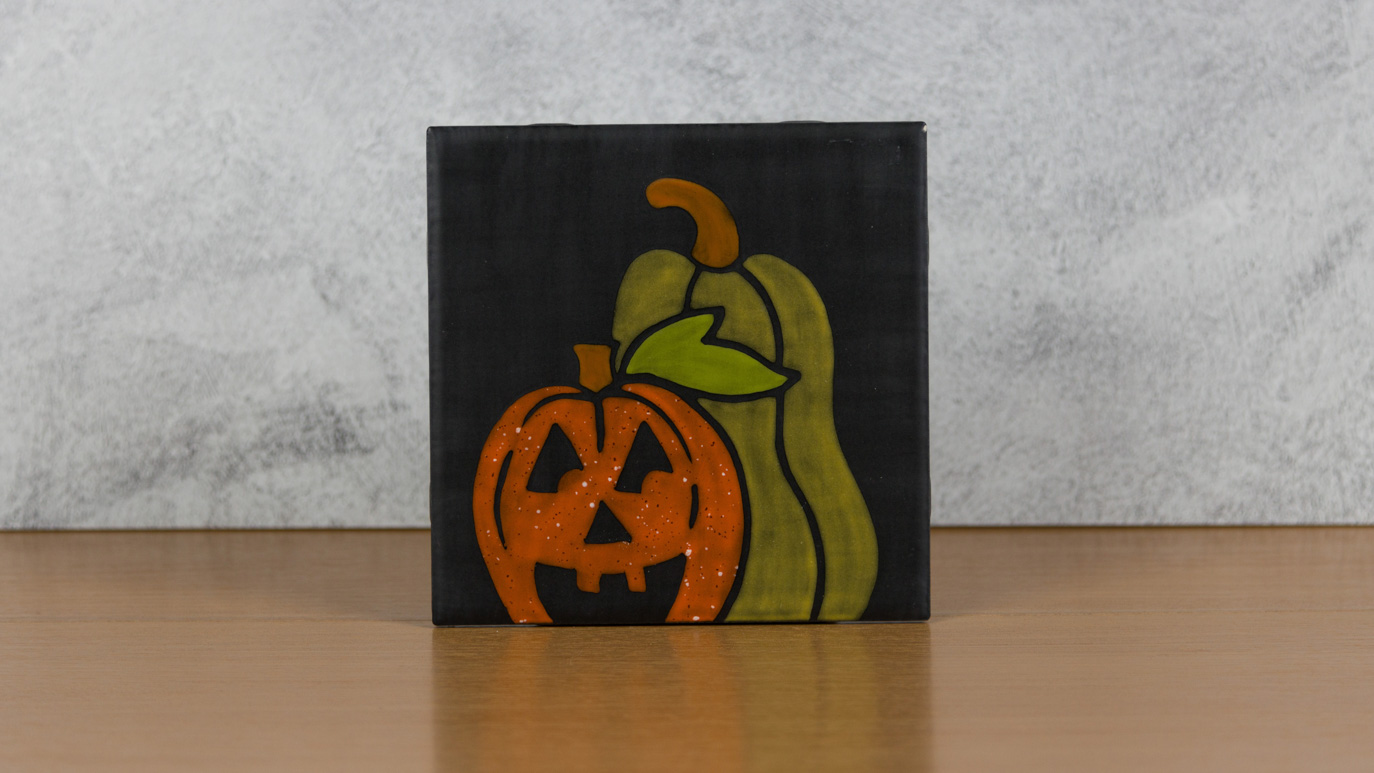
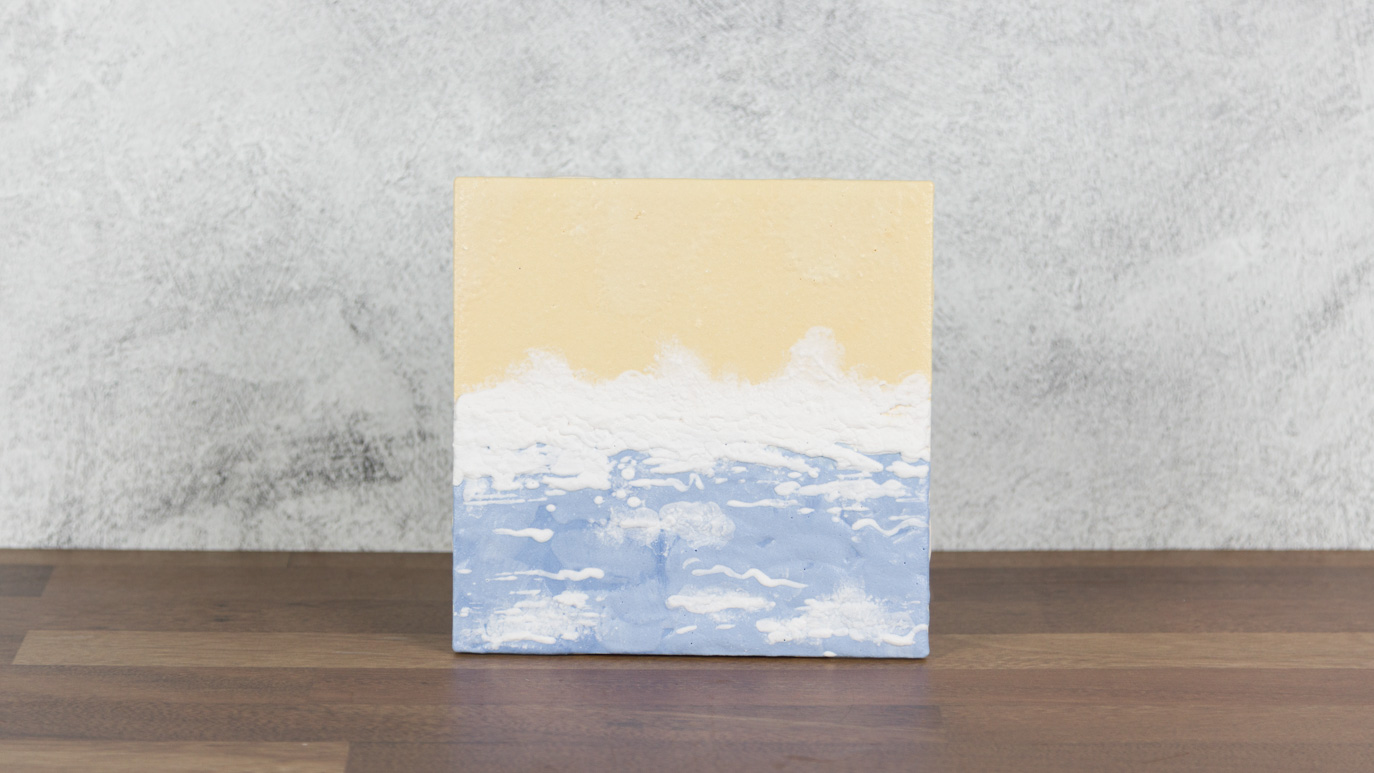
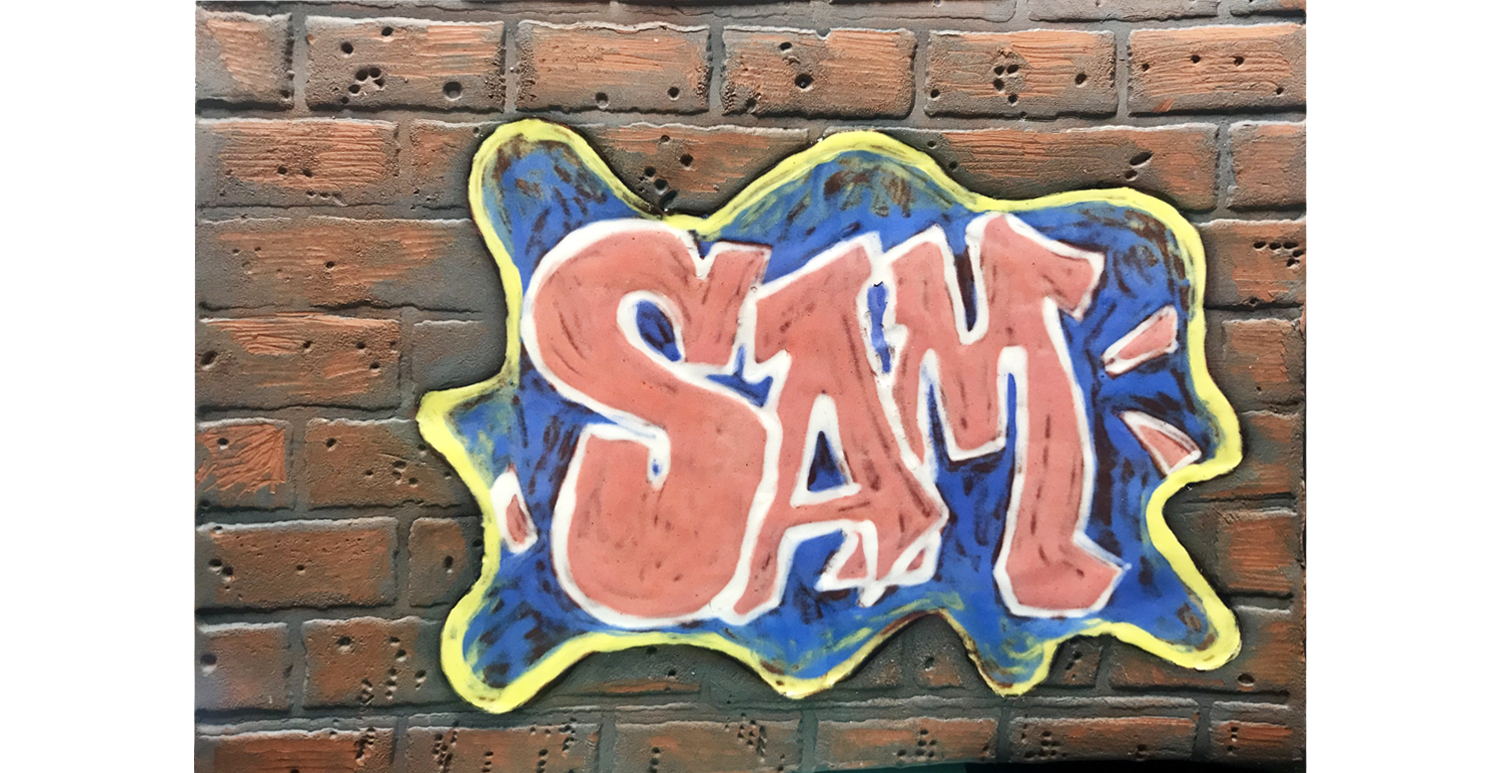
Burnished Underglaze Sheridan Style Tile

Designer: Bailie Benson

Share

Instructions

  1. Using a fan brush, apply 3 coats of UG 31, alternating application direction.
  2. To burnish underglaze, the color needs to be slightly damp yet not tacky to the touch. Make a ball out of a few tissues (or soft cloth) then wrap one sheet over the ball creating a powder puff ball.
  3. When the color has lost its sheen from the final coat of underglaze and the color is still damp but not tacky, begin to polish the surface. If the tissue grabs the surface of the tile wait a couple of minutes more before polishing.
  4. Start out buffing the surface ever so lightly. Once the sheen starts to appear you can apply more pressure to the surface to a semi-gloss surface. The appearance should look like a polished wax surface.
  5. Let dry.
  6. Transfer the pattern using a pencil and AC-230 Clay Carbon.
  7. Outline the transferred pattern lines and inside spaces with UG 34 using a thin liner brush.
  8. Fill in the outlines with UG 30 using the same liner brush.
  9. Fill in the flowers with UG 219.
  10. Go back with UG 34 and add line accents to create depth.
  11. Dip the rounded back end of a paintbrush in UG 34 to create the dots around the outside curves. Repeat over the top with UG219.
  12. When the underglaze has dried, go over the top of only the floral patterns with S2101 using a script liner brush.
  13. Allow to dry.
  14. Stilt and fire to cone 06.

Supplies

Form

  • 6” tile

Colors

  • UG-30 Sand
  • UG-31 Chocolate
  • UG-34 Chestnut Brown
  • UG-219 Marine Blue
  • S-2101 Crystal Clear Brushing

Decorating Accessories

  • RB-110 Liner
  • RB-144 #4 Soft Fan
  • RB-106 Script Liner
  • AC-230 Clay Carbon Paper
  • Soft cloth or tissue without moisturizer/lotion

Miscellaneous Accessories

  • Pattern
  • Pencil
  • Palette
  • Sponge
  • Bowl of water
Top