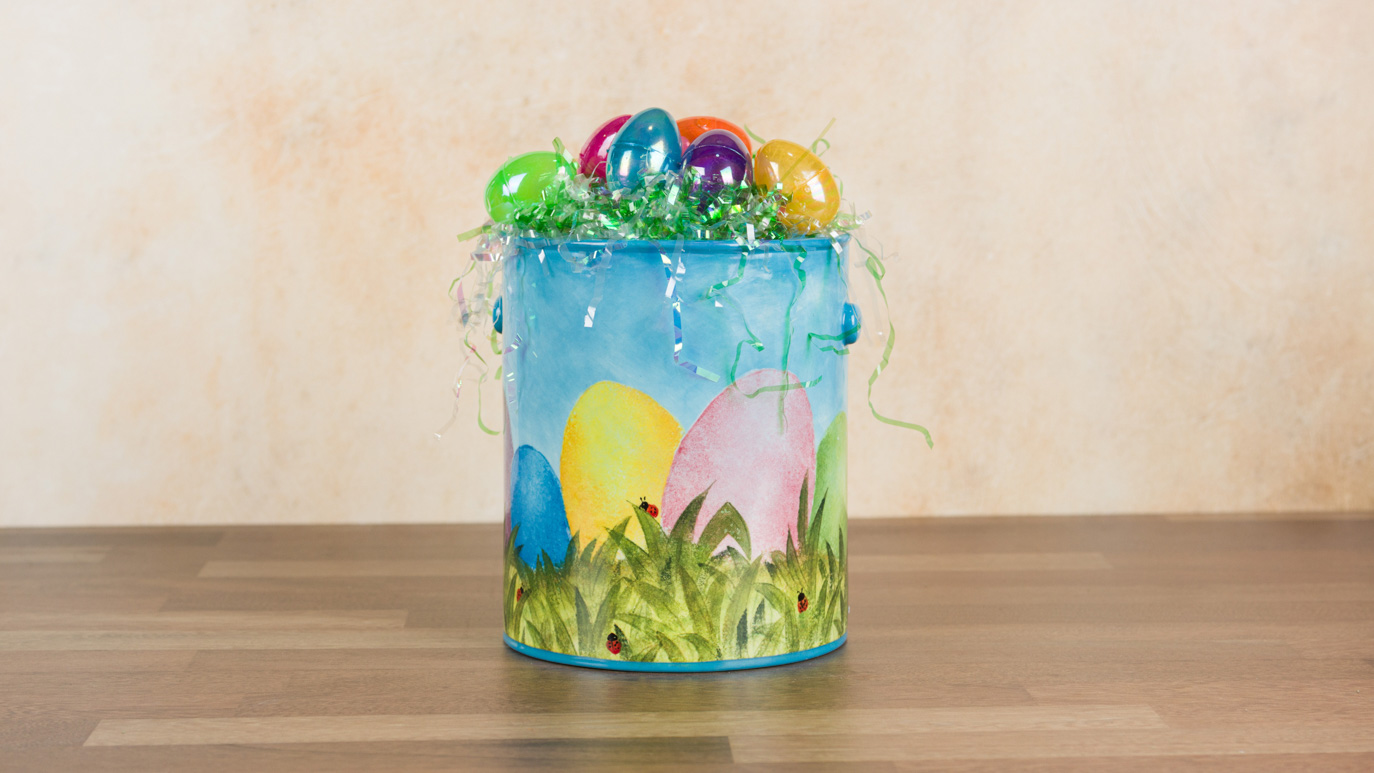
Easter Pail

Designer: William Pulse

Share

Instructions

  1. Wipe down the greenware with a damp Silk Decorating Sponge to remove any dust from the ware. Check the inside for any debris as well.
  2. Pour out some UG-51 China White and UG82 Tucson Turquoise into separate Plastic Cups. Apply 1 even coat of UG-51 China White starting at the bottom edge of the can working to the top edge using CB-604 Soft Fan. Tip one corner of the Soft Fan brush with UG-82 Tucson Turquoise and apply the color from the top edge downward using large “X” crisscross strokes to wet blend the color about 1/3 of the way down from the top rim edge. The color should be darkest next to the top edge and fade out to white. Repeat this step two more times. By the third coat the can should appear a light turquoise blue starting at the top rim fading downward to white. The blue area should be a soft mottling of color that fades into white from the top third of the can. Let dry.
  3. Using a pencil and AC-230 Clay Carbon to trace the pattern. This is only a guide. No detail of the grass area needs to be filled in.
  4. Trace the egg shapes onto the Shirt Cardboard using the Fine Tip Sharpie. Cut out the egg shapes allowing about 1/2” border around the edge using the Scissors. Save both pieces of the egg shapes. This will give you a positive and negative egg shape. Negative shape will be used to paint in the egg shape. The positive will be used to block out a previous egg shape.
  5. The basic painting of the pattern is completed using a Silk Decorating Sponge. This type of sponge will give you the finest texture of any sponge. Loading of the sponge is done by first moistening the sponge. Then loading of the sponge with color is done by tipping the edge of the sponge with color and then pouncing up and down to blend the color before painting. Start with the largest egg (Pink) and then completing the eggs to the left and finally the egg to the right of the pink egg. Make sure you let each coat dry before adding another coat or shading. Doing so before the first coat has dried will lead to removing the previous coat of color. When adding shading to an egg, start the pouncing of color on the edge of the stencil and moving inward. This will give you a gradation to the shading. If you color isn’t dark enough, let it dry and re-sponge an area. Use masking tape to secure the stencil to the ware but never over the EZ-Strokes areas painted. When you are painting one egg and need to block a previous painted egg, place the positive egg shape down first and then the negative over to complete the painting of an egg.
    1. Pink Egg: Mix equal parts EZ-030 Rose with EZ-013 White. White will help opacify any color. Sponge on one coat of color. Do not completely fill in the bottom edge of any egg when sponging. Shading is done with a mixture of EZ-030 Rose with a drop or two of EZ-057 Coral Red.
    2. Yellow Egg: Mix equal parts of EZ-101 Neon Yellow with EZ-013 White. Sponge on one coat. Apply a second coat of EZ-101, let dry and shade with EZ-034 Orange.
    3. Blue Egg: Sponge on EZ-027 Blue Turquoise. Shade with EZ-035 Dutch Blue.
    4. Purple Egg: Sponge on EZ-030 Rose. Shade with EZ-050 Plum Purple.
    5. Green Egg: Mix equal parts EZ-028 Leaf Green with EZ-013 White and sponge on one coat. Shade with EZ-028.
  6. To the ground area, sponge on EZ-018 Chartreuse with some shading of EZ-038 Mahogany around the bottom edges of the eggs. Color should be slightly brown up along the bottom edge of the eggs fading down to Chartreuse to the bottom of the can. Shading is done with the various “grass” stencils. You can use either side of the stencil as long as no wet color is on it. Shading is done with EZ-033 Ivy Green, EZ-024 Royal Blue Green and EZ-038 Mahogany. Use the Royal Blue Green and Mahogany in moderation when doing the shading. Use those colors when a sharp contrast is needed to distinguish the grass blades or over a darker color.
  7. Detail the grass with thinned EZ-033 Ivy Green and EZ-024 Royal Blue Green using CB-101 Liner
  8. Use CB-110 Liner to paint in the Lady Bugs with EZ-057 Coral Red. Detail with EZ-037 Black.
  9. Apply 3 coats of UG-19 to the top trim and edge of can, bottom edge trim and bottom as well as the side grommets using CB-106 Script Liner,CB-404 Pointed Round and CB-604 Soft Fan.
  10. Fire to Shelf Cone 04.
  11. Check the inside of the can for any fired debris before glazing. Thin some S-2101 Crystal Clear Brushing to a melted ice cream consistency. Pour the thinned glaze into the can. While working quickly, rotate the piece to cover the interior of the can. Pour out excess and drain upside down to dry.
  12. Apply 2-3 coats of S-2101 Crystal Clear Brushing to the outside of the can using CB-604 Soft Fan.
  13. Stilt and fire the piece to Shelf Cone 05-06.

Supplies

Form

  • CD1404 Gallon Paint Can, Greenware

Colors

  • EZ013 White
  • EZ018 Chartreuse
  • EZ024 Royal Blue Green
  • EZ027 Blue Turquoise
  • EZ028 Leaf Green
  • EZ30 Rose
  • EZ034 Orange
  • EZ035 Dutch Blue
  • EZ037 Black
  • EZ038 Medium Mahogany
  • EZ050 Plum Purple
  • EZ057 Coral Red
  • EZ101 Neon Yellow
  • UG-19 Ultra Blue
  • UG-82 Tucson Turquoise
  • UG-51 China White
  • S-2101 Crystal Clear Brushing

Decorating Accessories

  • CB-106 Script Liner
  • CB-110 Liner
  • CB-604 Soft Fan
  • AC-230 Clay Carbon

Miscellaneous Accessories

  • Pencil
  • Scissors
  • Thin Slick Cardboard (Post Card Thickness, Ad Flyer Mailers)
  • Silk Decorating Sponge
  • Tile or Pallet
  • Blue Masking Tape
  • Small Plastic Cups
  • Fine Tip Sharpie
  • Water
  • Pattern
Top