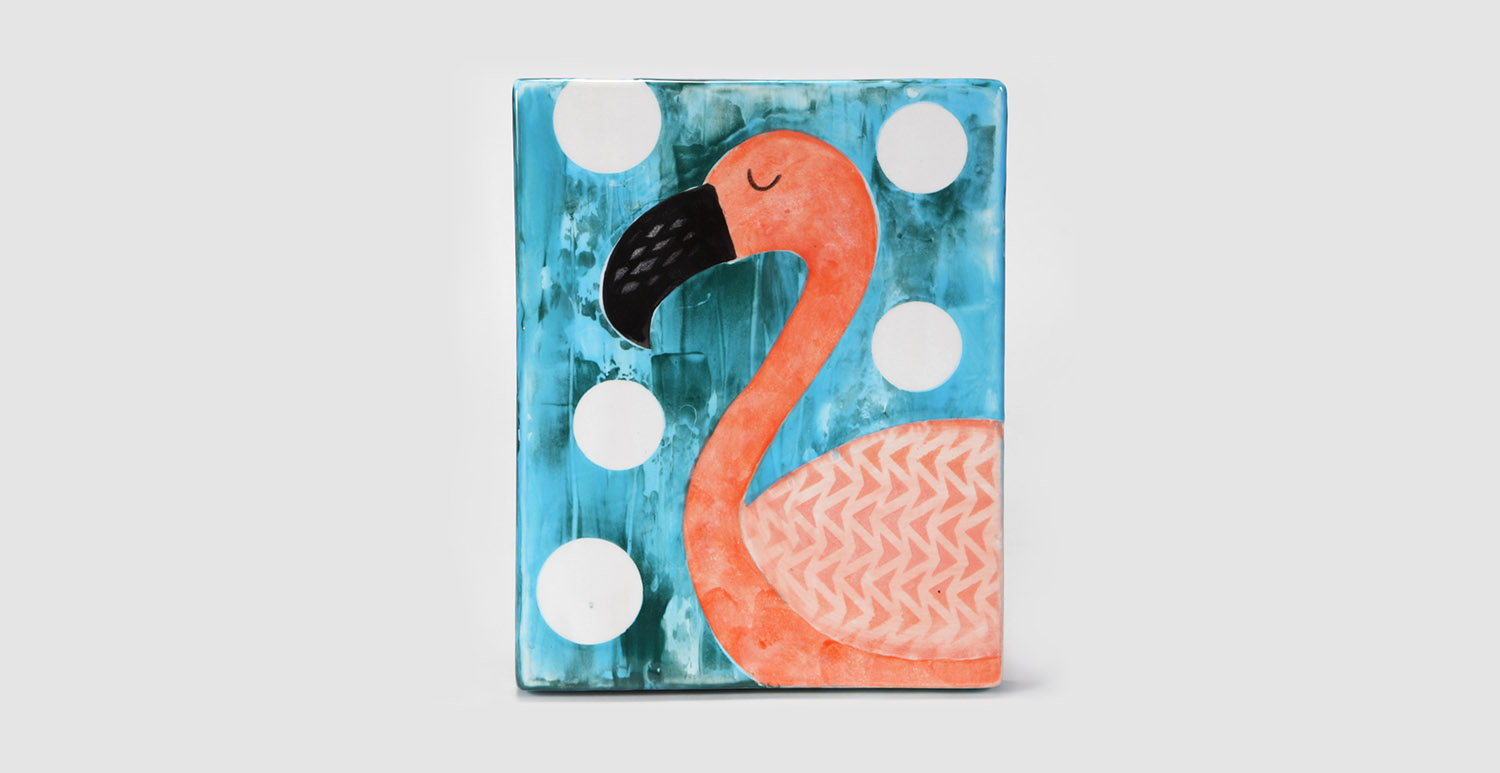
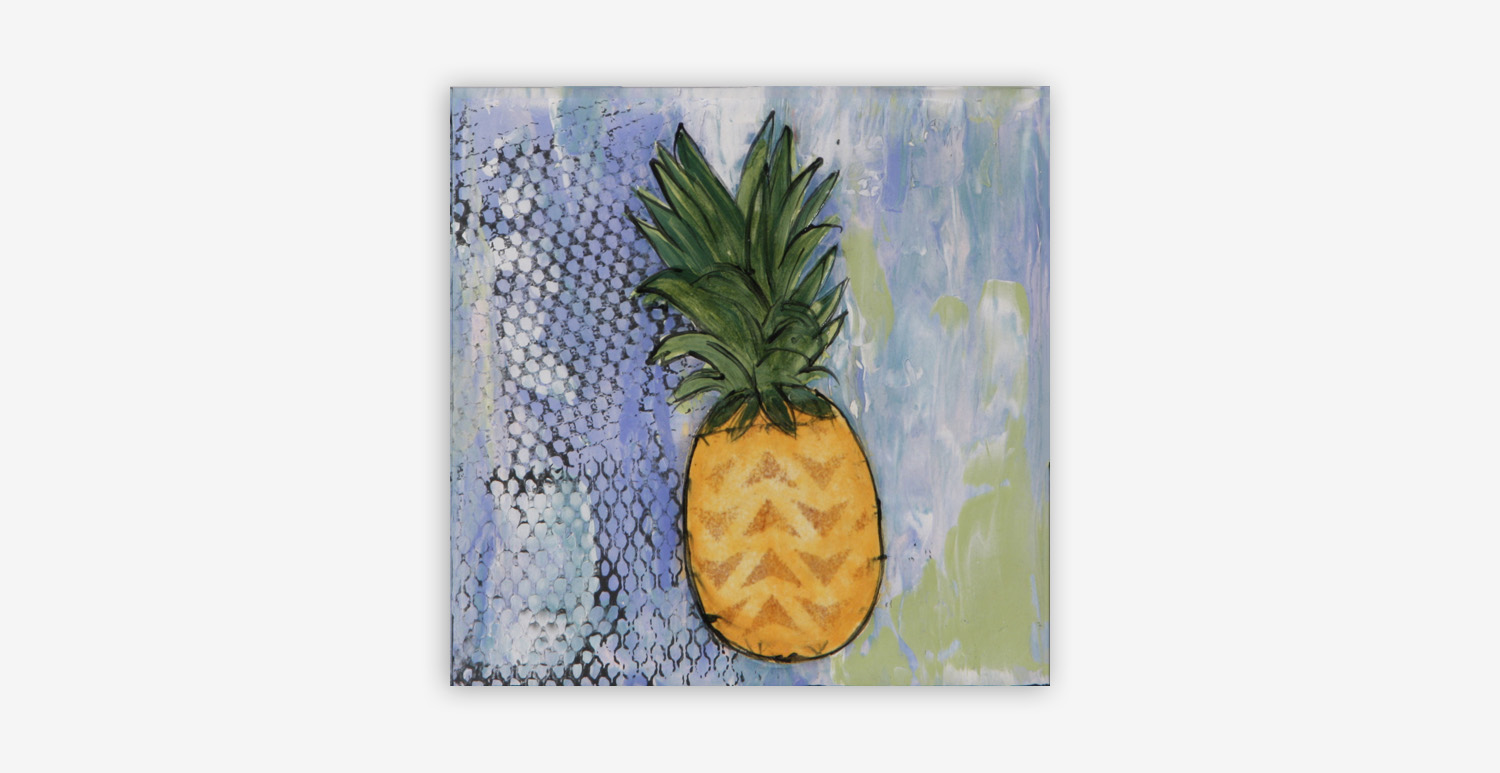
Festive Flamingo

Designer: Marcia Roullard

Share

Instructions

  1. Begin with properly fired shelf cone 04 bisque. Moisten a clean sponge and wipe bisque to remove any dust.
  2. Use the Soft Fan to apply two coats of FN-001 White to the canvas.
  3. Cut out the flamingo pattern, cutting the wing separately from the body. Punch out the circles from paper.
  4. Holding the paper flamingo body in position on the canvas, brush water under the paper area, then press the paper into the wet glaze. Add the wing next to the body and scatter the paper circles using water to adhere. Gently press the shapes with a paper towel to remove excess water. Note: Keep the negative cut out from the paper.
  5. Pour FN-001 White onto a tile and squirt SC-11 Blue Yonder next to the white. Using the plastic card, pick up both colors at once. Drag the color onto the canvas over the paper to create a watery look. Use the card to pick-up SC-10 Teal Next Time and SC-28 Blue Isle, then loosely apply one coat of these colors to the canvas.
  6. Remove the neck paper piece only. Carefully wet the area surrounding the flamingo and adhere the negative shape of the flamingo onto the canvas. Use the Script Liner to apply one coat of SC-89 Cutie Pie Coral to the neck and body.
  7. Use the wedge-shaped sponge to dab SC-89 Cutie Pie Coral, SC-22 Carrot Top and a little bit of SC-88 Tu Tu Tango onto the neck. Float SC-88 Tu Tu Tango around the edges of the neck to deepen the color.
  8. Remove the paper wing section. Cut out a neck and body section from the second pattern and place over the painted neck and body. Use the Soft Fan and Script Liner to apply one coat of SC-2 Melon-Choly to the wing. Place the Tire Tracks stencil on the wing area and use the foam roller to gently apply SC-89 Cutie Pie Coral. Remove the stencil and the paper pieces from the canvas.
  9. Use the Script Liner to apply two coats of SC-15 Tuxedo to the beak. Place the SL-444 Argyle Stencil over the beak. Gently roll or dab FN-001 White over a small portion of the stencil to create a highlight. (Alternatively, you can highlight the beak by brushing FN-001 White into the wet glaze on the middle section of the beak.) Use the Liner to apply SC-15 Tuxedo to create the eye.
  10. Fire to cone 05/06.

Supplies

Form

  • MB-1461 Clay Clipboard

Color

  • SC-2 Melon-Choly
  • SC-10 Teal Next Time
  • SC-11 Blue Yonder
  • SC-15 Tuxedo
  • SC-22 Carrot Top
  • SC-28 Blue Isle
  • SC-88 Tu Tu Tango
  • SC-89 Cutie Pie Coral
  • FN-001 White

Decorating Accessories

  • RB-144 #4 Soft Fan
  • RB-106 #6 Script Liner
  • RB-110 #10/0 Liner
  • SL-444 Argyle Stencil
  • SL-455 Tire Tracks Stencil (or SL-447 Fence Stencil)

Miscellaneous Accessories

  • Cosmetic Sponge Wedge
  • 1 3/4″ and 1 1/2″ Paper Punched Circles
  • Foam Roller
  • Sponge-on-a-Stick or a Flat Sponge
  • Old Hotel Room Key
  • Loyalty Card, or unused credit card
  • Paper
  • Pattern (print 2)
Top