Roll clay out into a slab that is about 1/8” thick and compress with rib
Using a fettling knife cut base tile shape to your desired size and save extra slab pieces
Use extra slabs to create hills in the foreground and middle ground of your image by flattening them more with your hands and cutting them to size
Slip and score to attach pieces to base slab
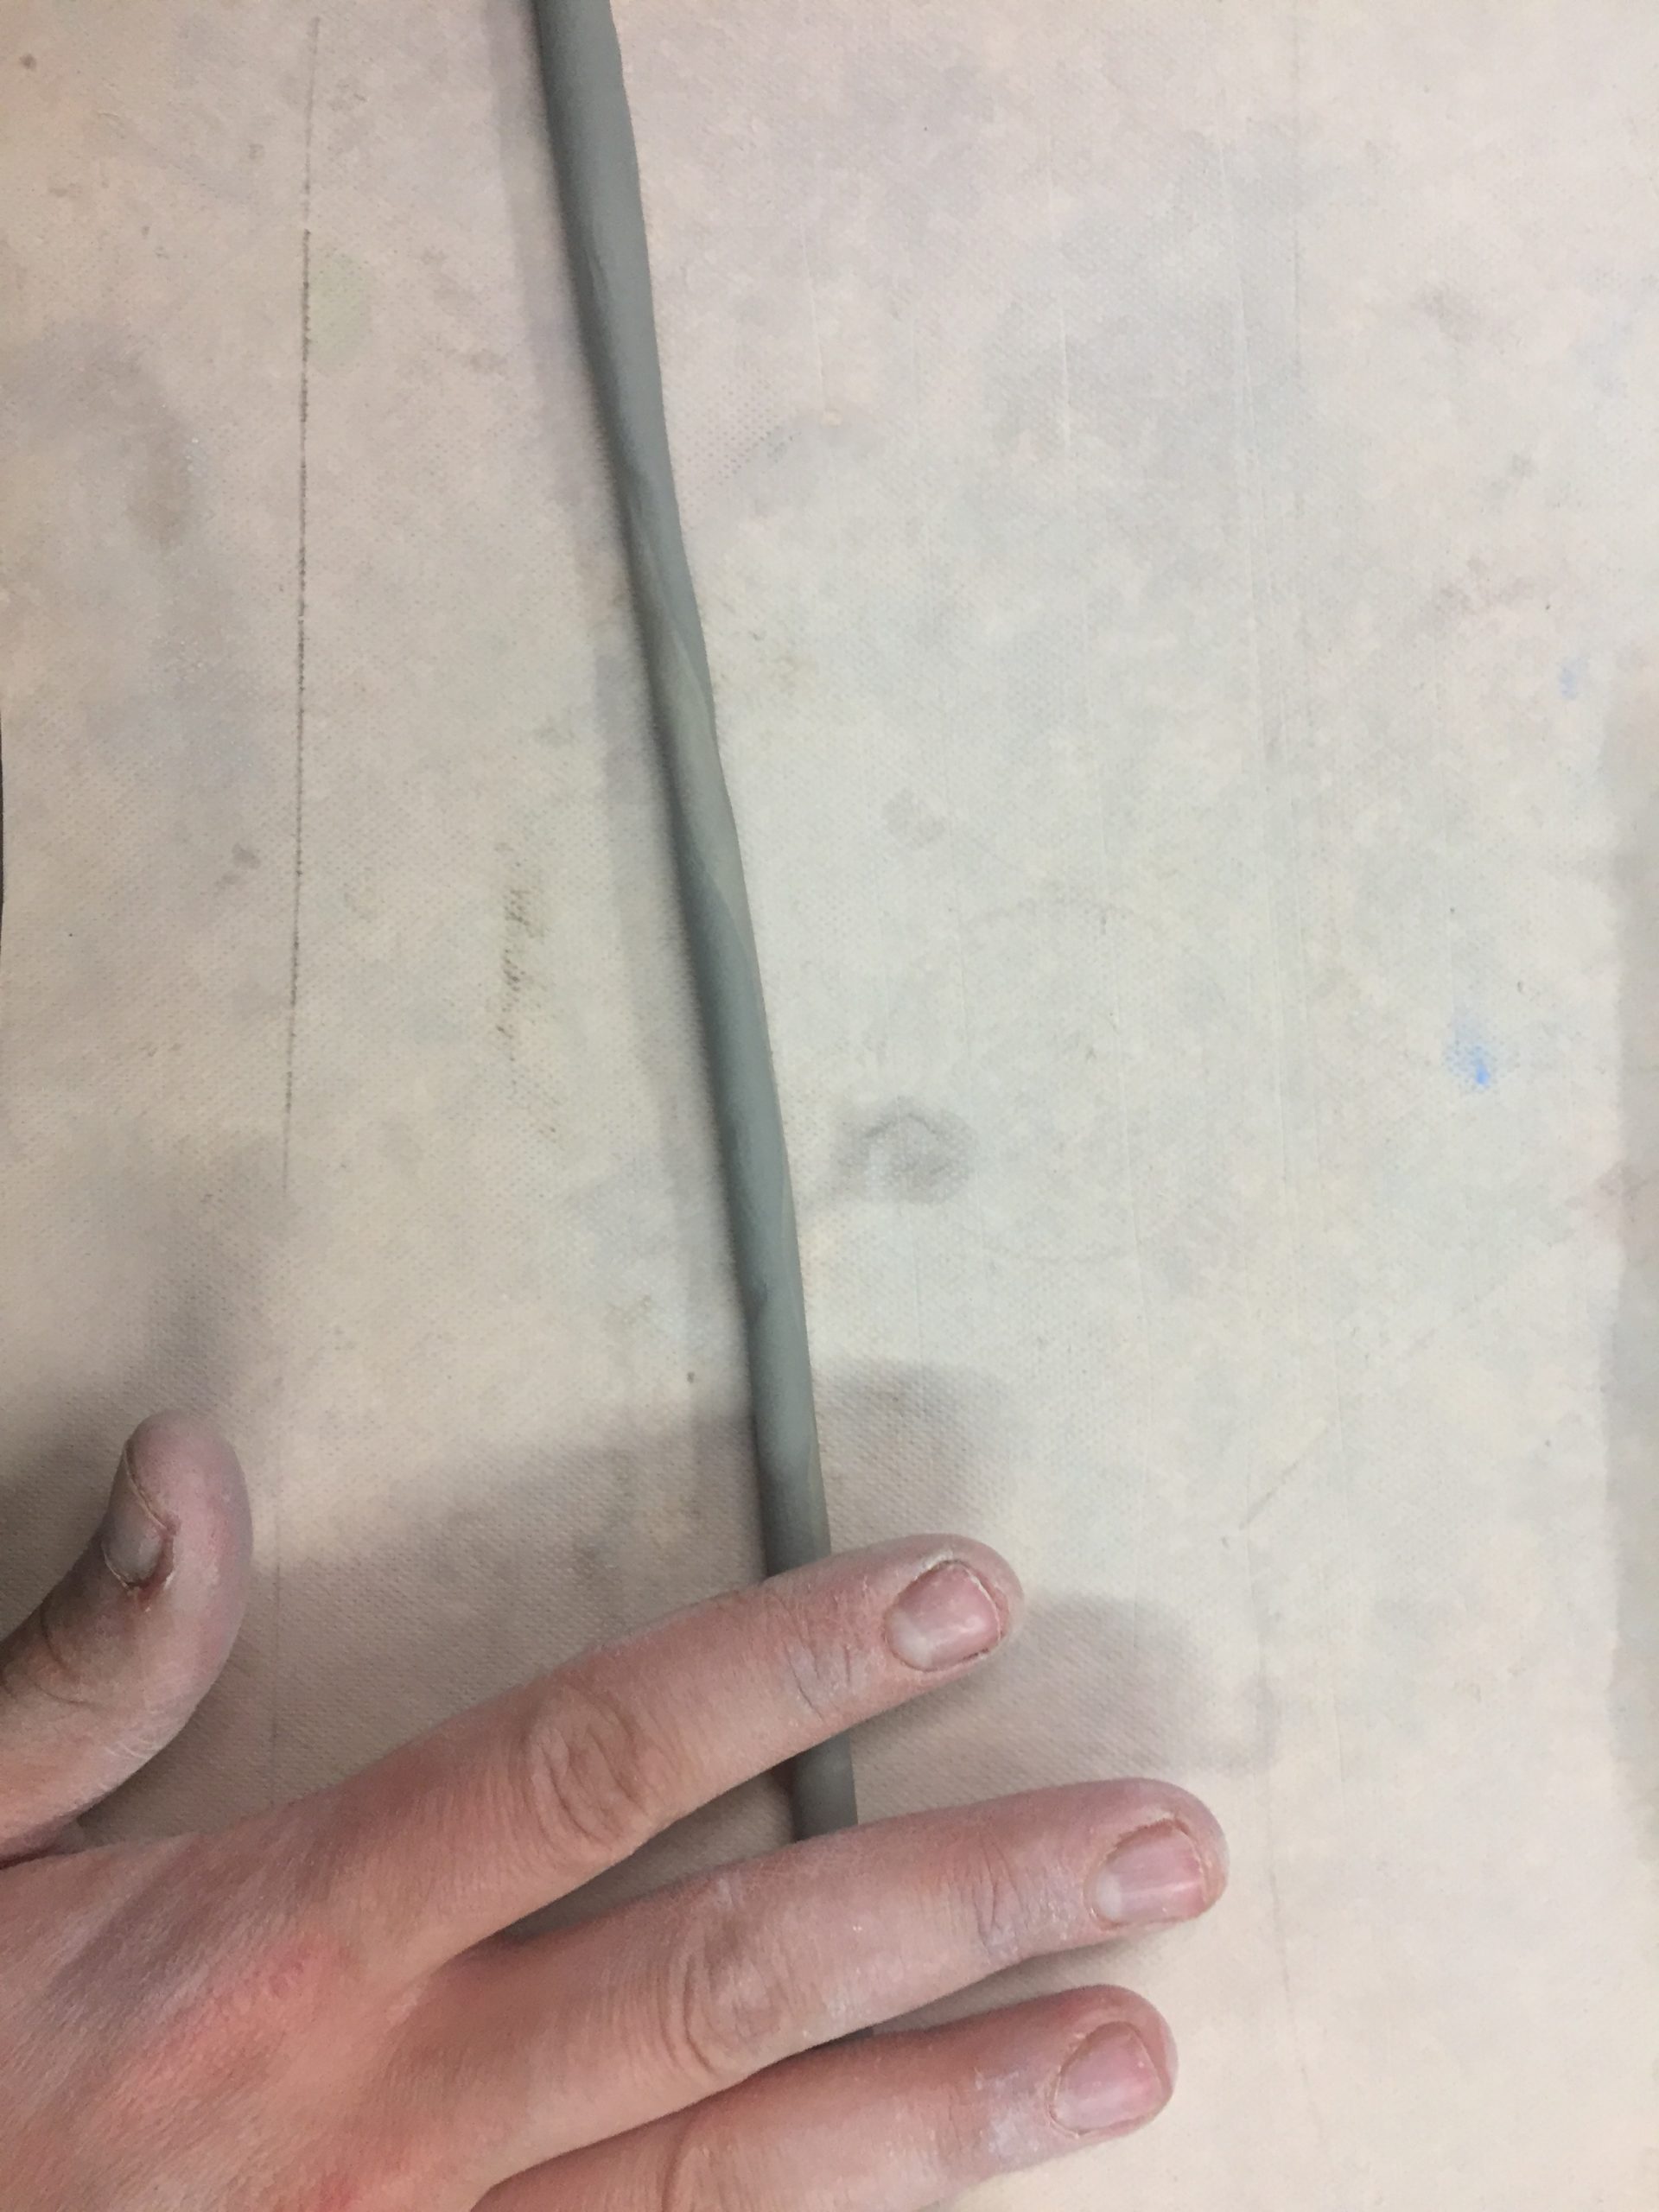
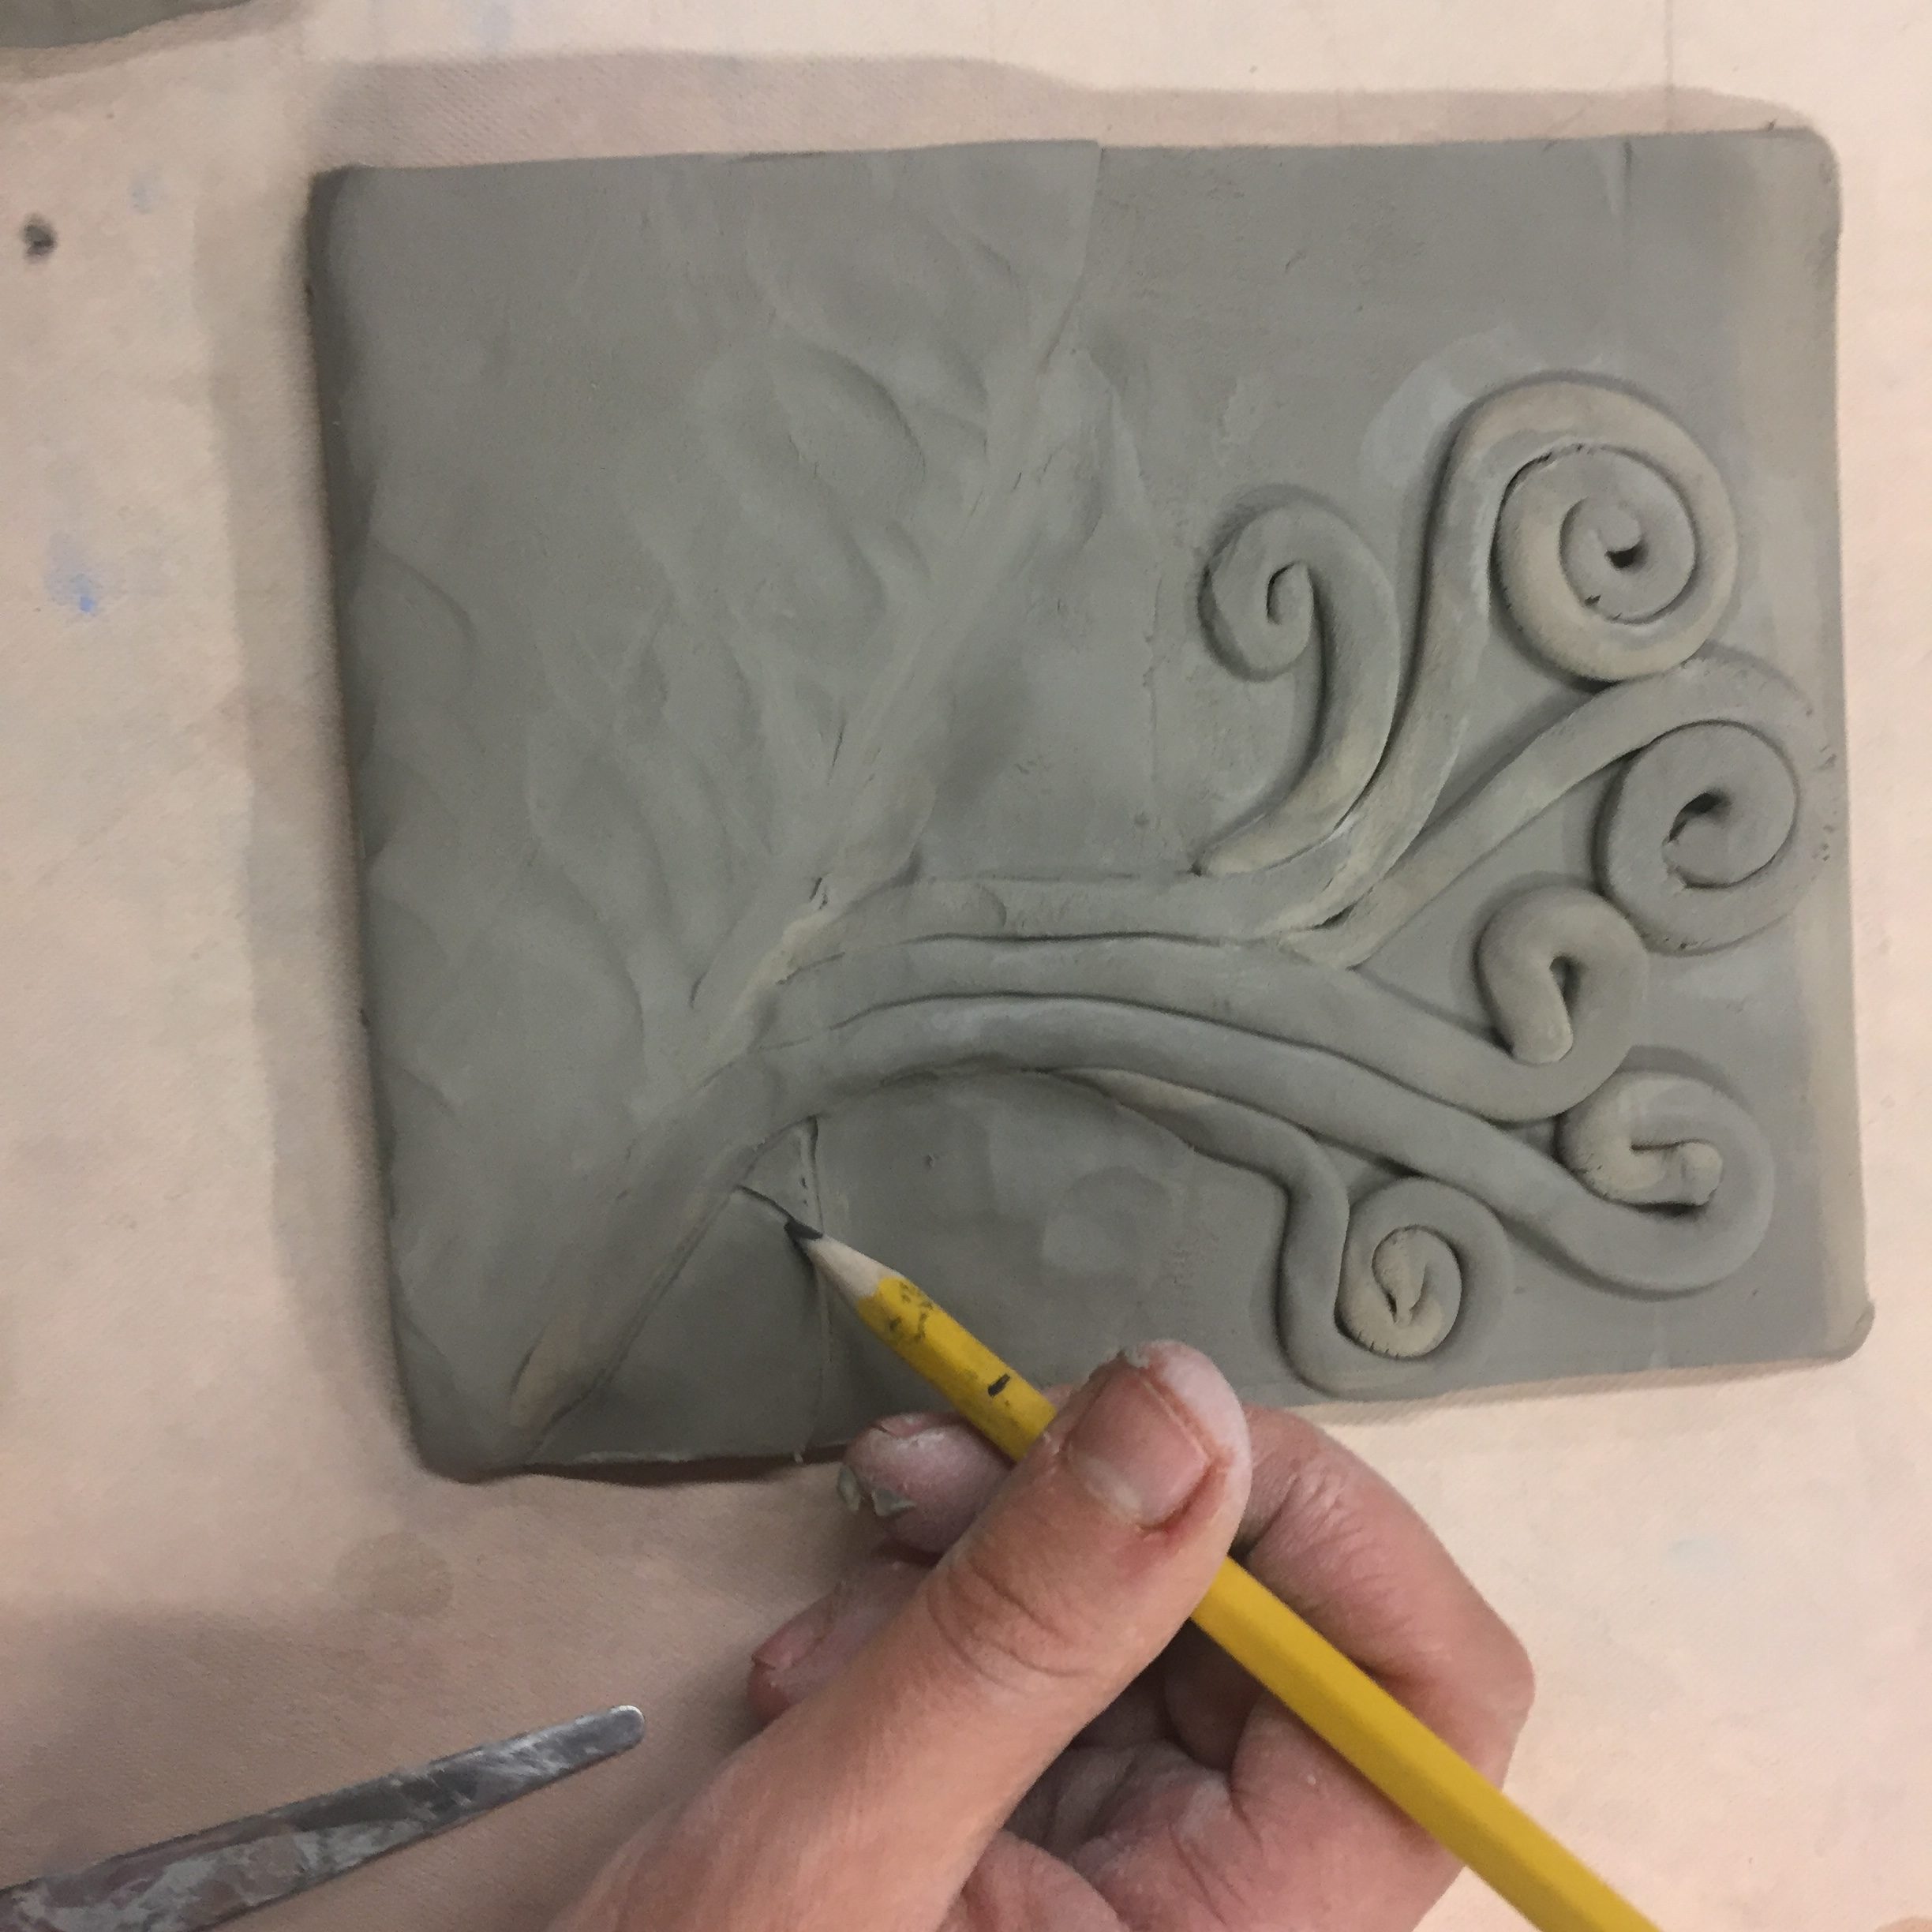
Roll out multiple coils to create tree design and attach by slipping as scoring
Add additional texture details to slab with your pencil by drawing in lines or creating a “hammered metal” texture in the sky
Allow tile to dry slowly
Once fully dry, bisque fore to Cone 04
Glaze:
Wipe down bisque with a damp sponge to remove any dust
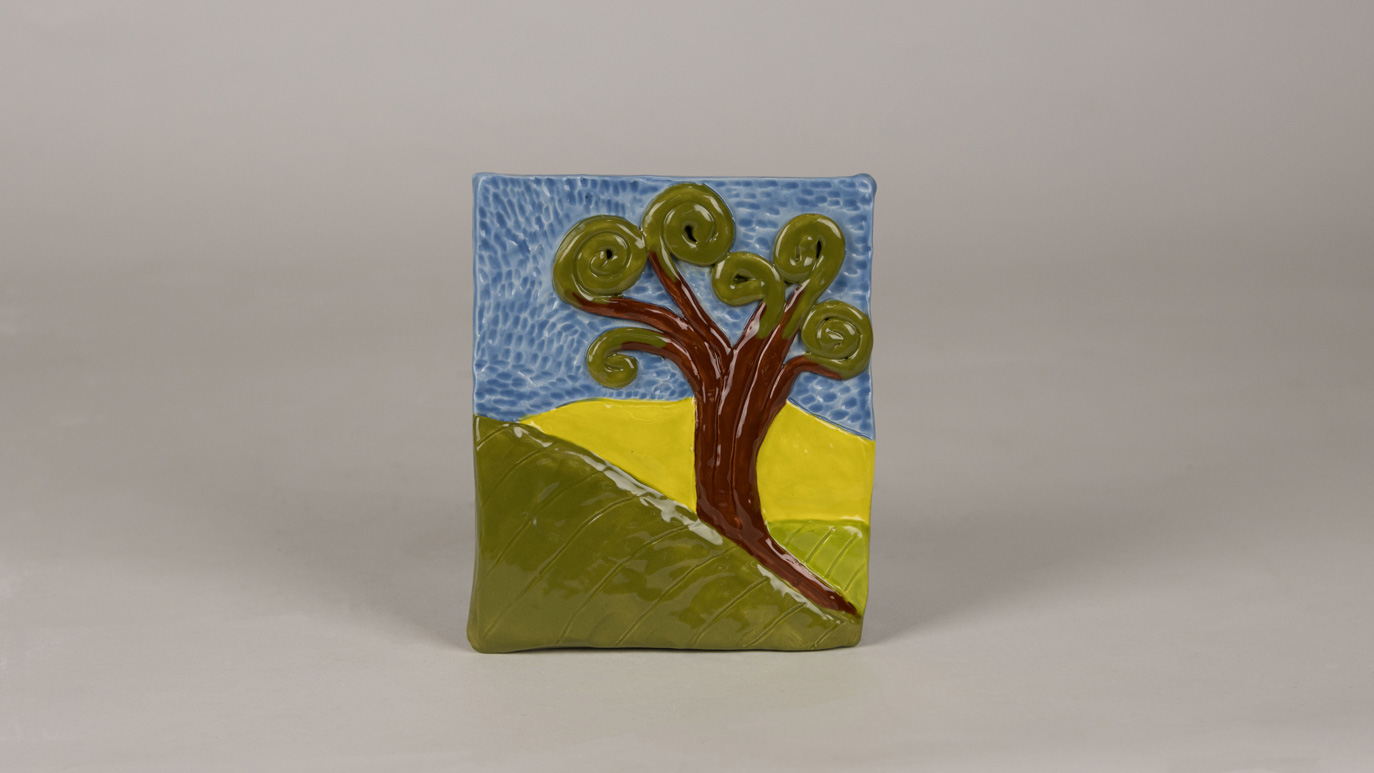
Using a soft bristled brush, apply 3 coats of FN-37 Chartreuse to the hill in the background, allowing glaze to dry in between coats
Using the same glazing technique, apply 3 coats of FN-7 Green to the middle ground hill and 3 coats of FN-21 Olive Green to the hill in the foreground
Apply 3 coats of FN-212 Blue Dimond to the sky, 3 coats of FN-29 Rich Chocolate to the tree truck and branches and 3 coats of FN-21 Olive Green to the tree’s leaves