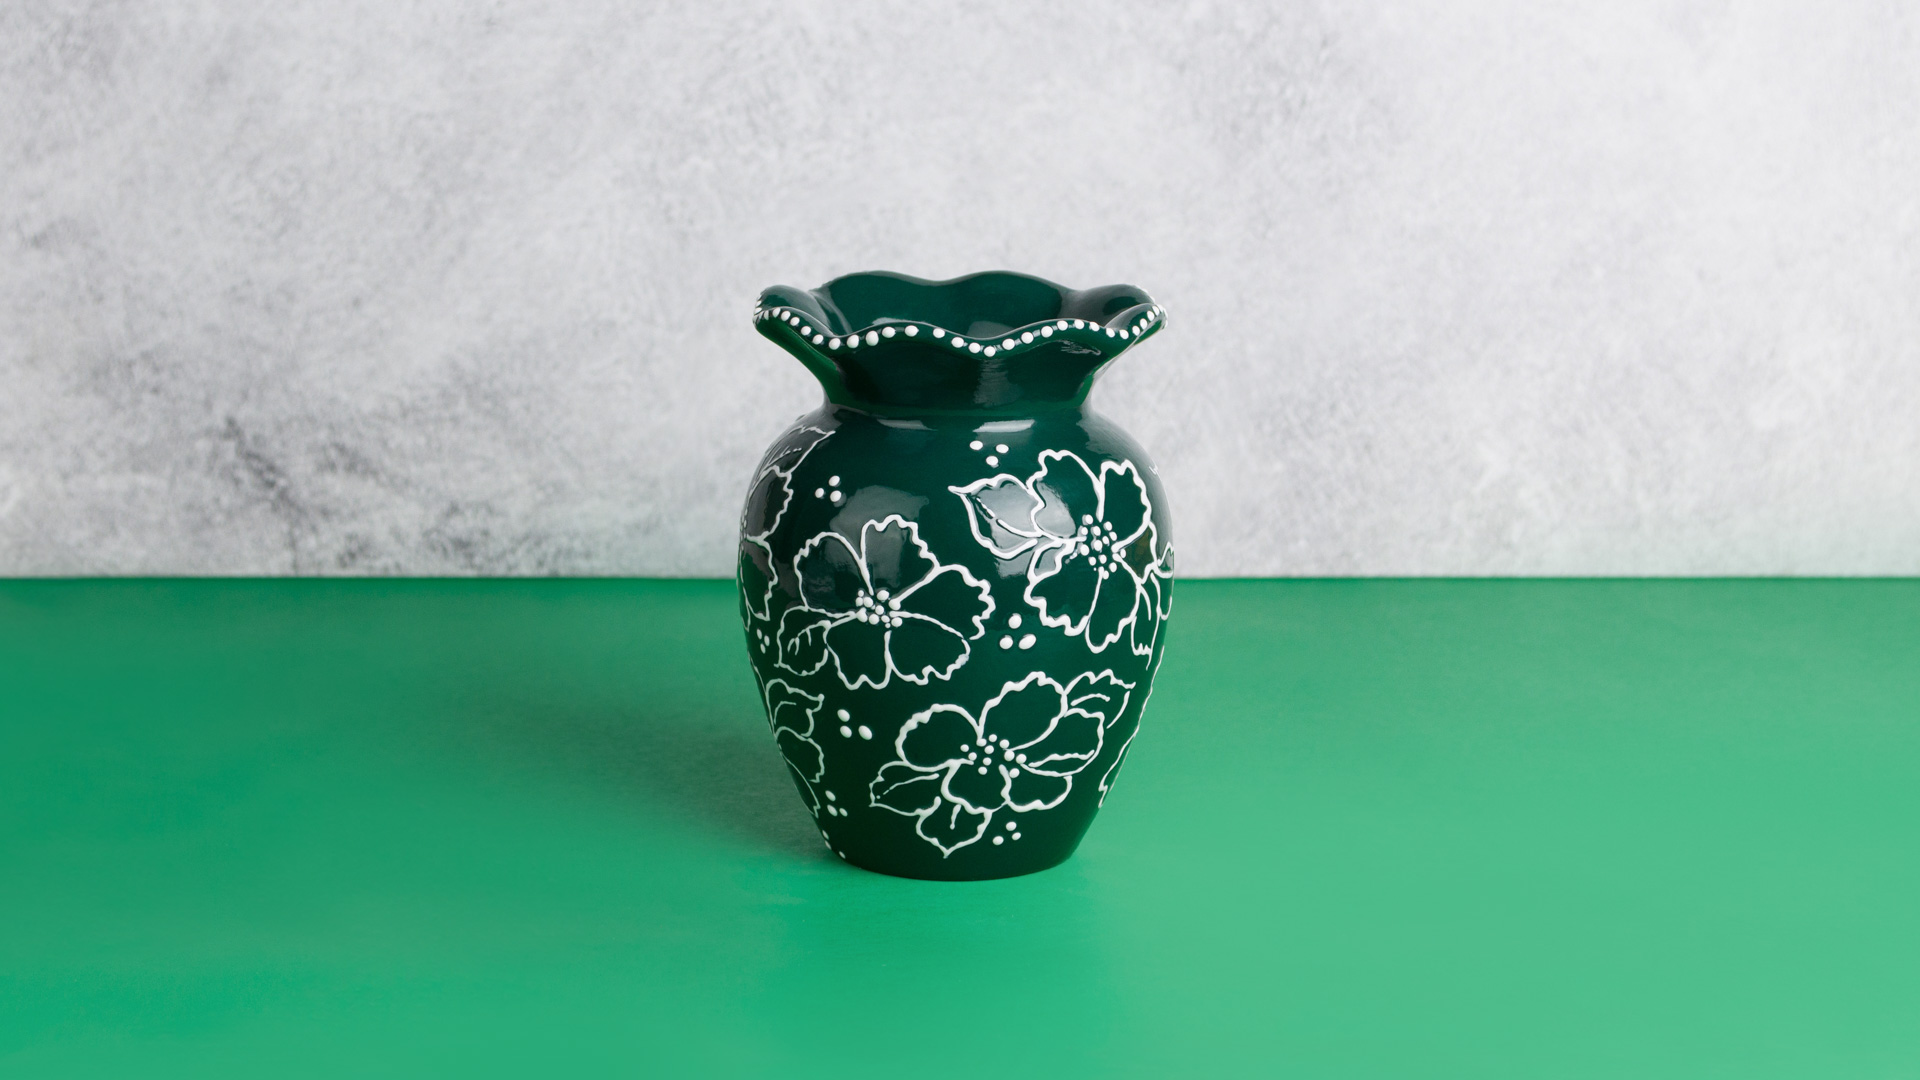
French Dimensions Flower Vase

Designer: David Hoff

Share

Instructions

  1. Check the vase over for any blemishes. If present, lightly sand to remove using the 100-grit sandpaper.
  2. Damp sponge the ware down to remove any fired dust and to condition the piece for decorating. To condition and clean the inside of vase pour a small amount of water into the vase. Quickly swirl the water around and pour out any remaining water.
  3. Place approximately one ounce of Blue Green in the paper cup. If needed add water or Thin ‘n Shade to thin to a cream like consistency.
  4. With a water dampened #8 Soft Fan, apply three coats of Blue Green to the entire outside of vase and to the inside lip. For the inside apply color about 2’’ inside the neck. Allow to dry between coats.
  5. Set aside to dry thoroughly.
  6. Using the provided pattern as a guide, lightly sketch the flowers and leaf pattern over the ware with a standard pencil. If you feel more comfortable with a traced pattern, use White Saral instead of Clay Carbon. Clay Carbon will not show up on such a dark base color. Cover the entire outside of vase with the design. (See the photograph for placement)
  7. The design work is completed using Pure White French Dimensions. Some tips, when using are as follows:
    1. Thoroughly shake and squeeze the bottle.
    2. Use the product at room temperature.
    3. Squeeze a small amount out onto a paper towel to ensure the right consistency is flowing from the nip.
    4. If color does not leave the bottle easily, the French Dimension may need some stirring. Use a wooden skewer to stir the product deep inside the bottle.
    5. To apply the French Dimension, hold the bottle at a 45-degree angle and gently apply pressure to the bottle with thumb and index finger.
    6. The nip should touch the ware as the color is applied.
    7. The angle is very important when adding the dots. If dots are applied with the bottle at 90-degrees to the surface, they will be more pointed and sharp.
    8. Periodically wipe the nip to remove any unwanted color that will accumulate on the outer edge of the nip.
    9. Work on one area at a time, allow that area to dry before moving on around the vase. It is very easy to smear the wet French Dimension.
  8. Outline flower petals first, then pull in the leaves with a center vein. (Complete 3 or 4 flowers then allow to dry.)
  9. After the petals and leaves are applied, add the tiny dots for the center of the flowers.
  10. Throughout the background add dots in groups of three.
  11. Add tiny dots around the top edge of the fluted vase.
  12. Fire ware to a shelf cone 04. Note ware does not need to be stilted since Fundamentals will not stick to the shelf when fired.
  13. Damp sponge ware after firing to remove any fired dust and to condition the piece for glazing.
  14. Pour a small amount of Crystal Clear Brushing in to a paper cup and thin with water to a light cream consistency. Roll the inside of the vase and drain off excess. Wipe back any drips or runs from the outside of ware.
  15. Apply 3 coats of the Crystal Clear Brushing to the outside of vase with the #8 Soft Fan. Glaze needs to dry between coats.
  16. Stilt ware and fire to shelf cone 06.
  17. Remove stilt marks with Dremel Tool or Stilt Stone.

Supplies

Form

  • MB885 Great Shape Vases

Colors

  • UG230 Blue Green
  • FD258 Pure White
  • S2101 Crystal Clear Brushing

Decorating Accessories

  • CB618 #8 Soft Fan

Miscellaneous Accessories

  • Sponge
  • Water
  • 100-grit Sandpaper
  • 2 3-oz paper cups
  • Paper Towels
  • Standard Pencil
  • Water Bowl
  • White Saral (if pattern need to traced on instead of sketched on)
  • Palette Knife
  • Pattern
Top