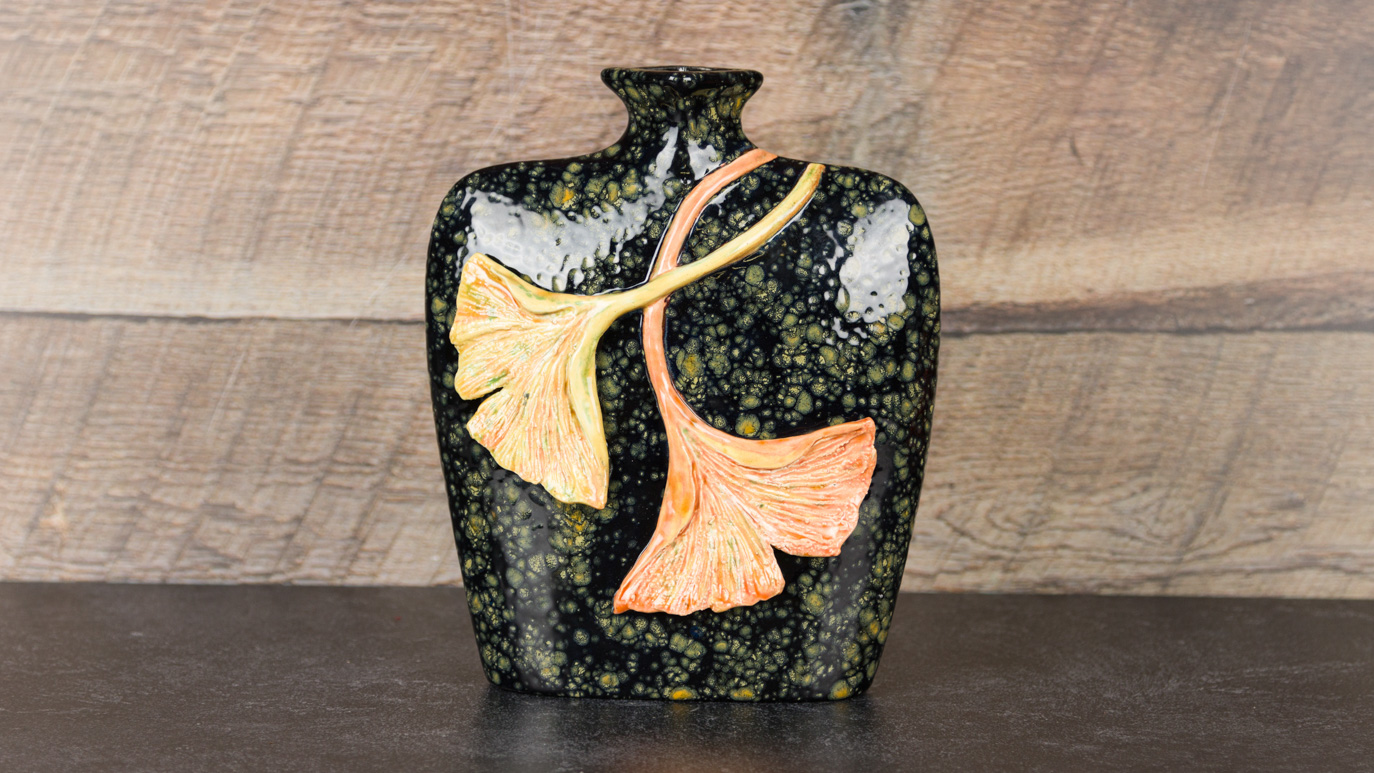
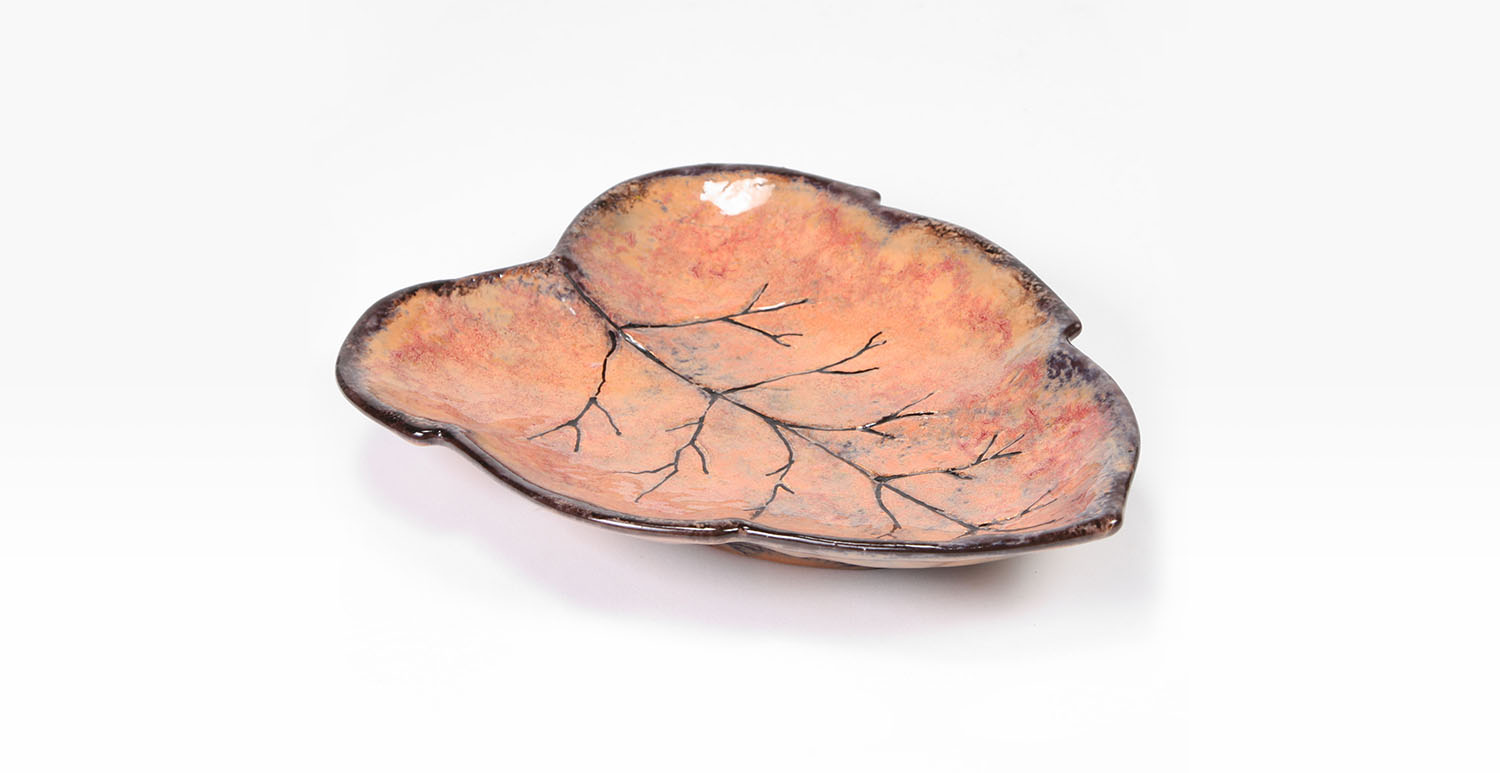
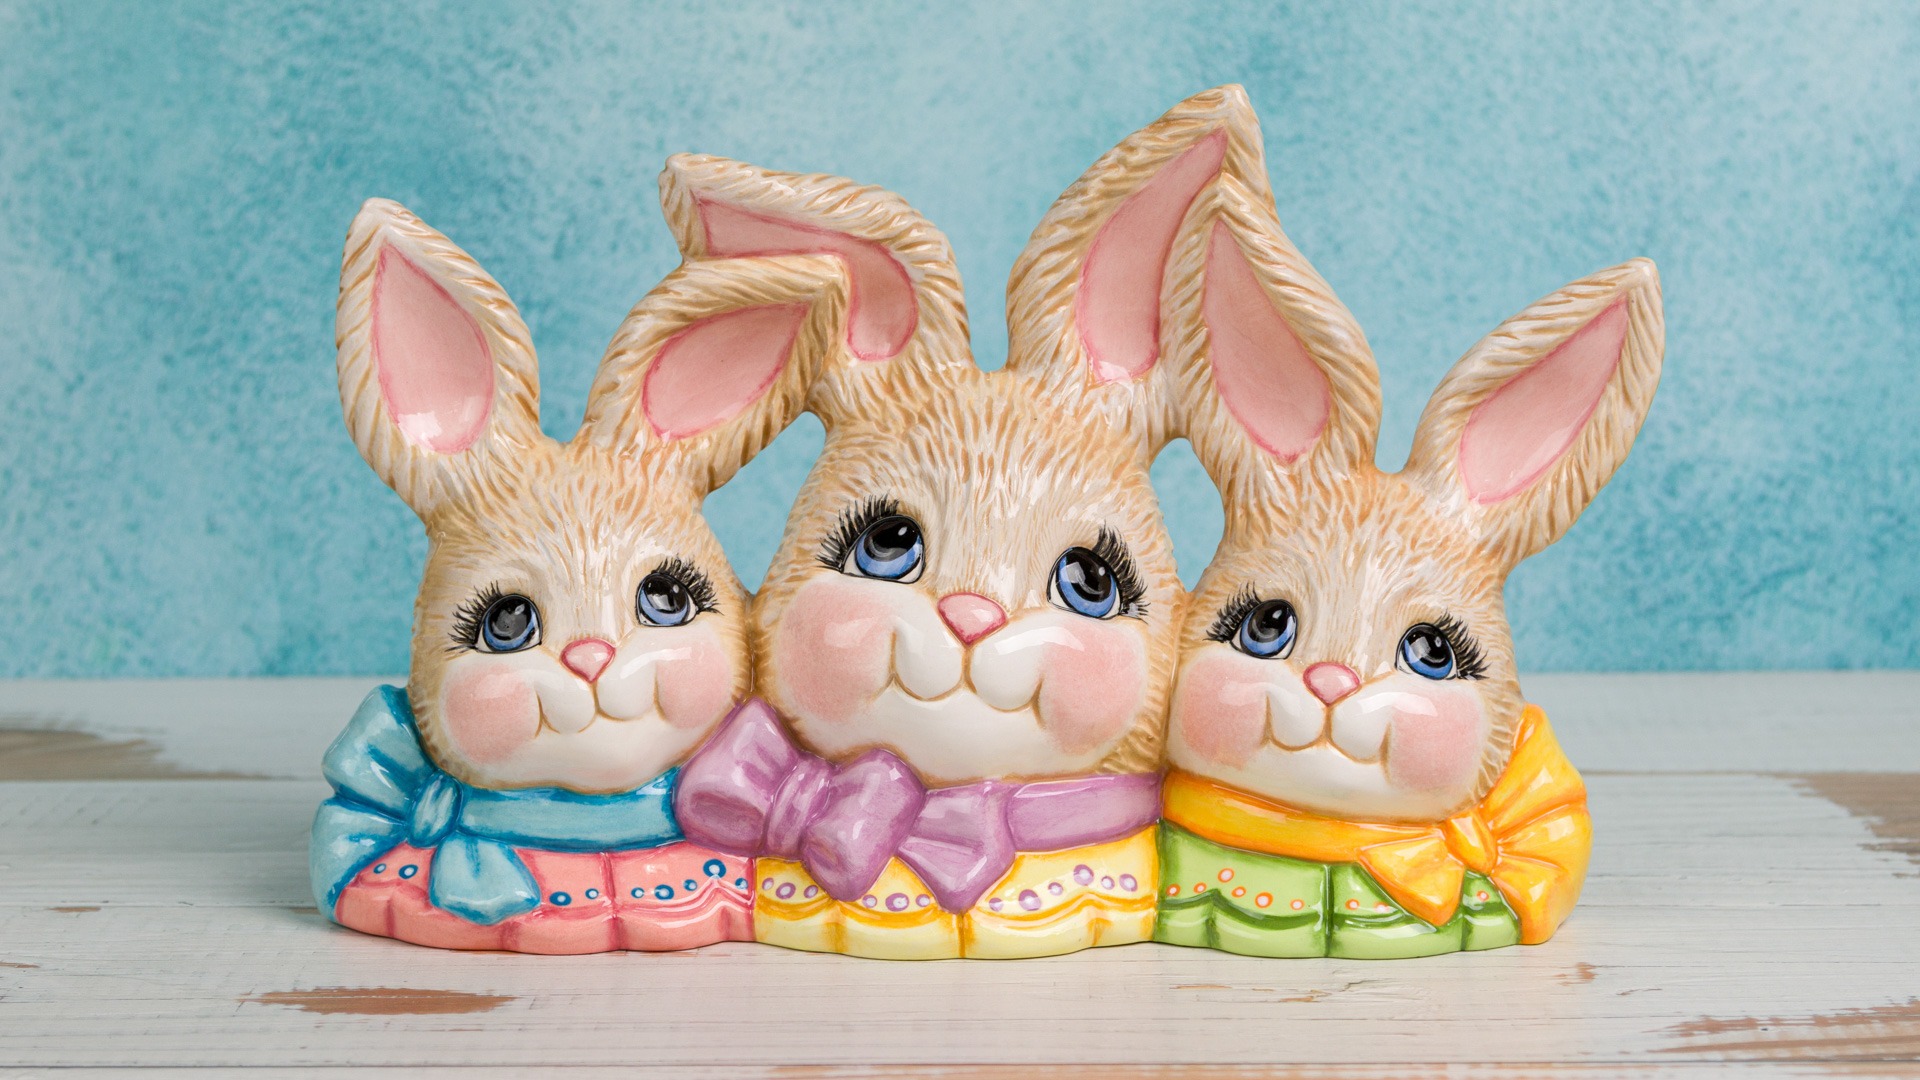
Gink-go Leaf Vase

Designer: William Pulse

Share

Instructions

  1. To the damp greenware remove the seams using a Clean Up Tool.
  2. Use the Pen to trace the pattern onto the ware.
  3. Take a piece of Moist Clay about ¼” thick and form a “fan” shape about the size of the leaf. Thin out the bottom of the fan shape by squeezing the edge between your thumb and index finger. This will give the illusion of a thinner leaf. The bottom edge should have a ruffle look to it. Use the Clean Up Tool to score (scratch) some lines where the leaves will be placed. Using CB-404 Pointed Round to apply Slip to the leaf and vase. Adhere the leaf to the vase. Repeat this for the second leaf. Do not completely attach the bottom edges of the leaf to the ware. Lift the edges and give them shape.
  4. Using the ¼” half round circle die in the Handheld Extruder loaded with Moist Clay to squeeze out about 7” long piece. Score the area where the stem will be place and attach with Slip. The one stem overlapping the other may will need some extra clay to build up the stem.
  5. Use a Modeling Tool to shape the turn-backs along the sides of the leaves. Use the curved end of the Clean Up Tool to scratch in the texture to the leaves excluding the turn-backs. Once the basic structure of the leave are completed, drape a Plastic Shopping Bag over the piece to retard the drying process.
  6. Once the piece has firmed up but isn’t completely dry is the time to finish cleaning up the vase and leaves that you have sculpted. Refine the edges of the leaves.
  7. Loosely drape the piece again with the Plastic Shopping Bag and let it completely dry. Check the piece for any imperfections before firing. Make any final modifications to the leaves. Make sure the piece is fully dry before firing.
  8. Fire the piece to Shelf Cone 04.
  9. Thin some FN-009 Black in a Plastic Cup to a melted ice cream consistency. Pour the thinned glaze into the vase. While working quickly, rotate the piece to coat the inside of the vase. Pour out excess glaze and invert it to drain. Wipe off any excess glaze from the ware using a moistened Synthetic Sponge.
  10. Apply 1 coat of FN-001White to the leaves and stem using a brush sized for the area.
  11. To the top leaf and stem apply 2 coats of EL-128 Wheat with CB-404 Pointed Round. Steak in some EL-142 Grass using CB-110 Liner in the leaf and along the edge of the stem next to the background. Apply some EL-143 Cactus Flower randomly toward the bottom edge of the leaf using CB-404 Pointed Round.
  12. To the bottom leaf apply 2 random coats of EL-143 Cactus Flower to where the leaf still has no glaze on it.. Apply two coats of Cactus Flower to stem. Use CB-110 Liner to streak in some EL-142 Grass green in the leaf and along the edge of the stem next to background. Apply some EL-128 Wheat to the leaf where you have no Cactus Flower and to the turn-backs using CB-404 Pointed Round.
  13. Share and Stir CG-798 Iris Black. Use CB-604 Soft Fan and CB-404 Pointed Round to apply 2-3 coats to the outside of the vase excluding the leaves and stems. Let dry.
  14. Stilt and Fire the piece to Shelf Cone 05-06.

Supplies

Form

  • CD815 Short Envelope Vase (Keep the piece damp after pouring)

Colors

  • CG-798 Black Iris
  • EL-128 Wheat
  • EL-142 Grass
  • EL-143 Cactus Flower
  • FN-001 White
  • FN-009 Black

Decorating Accessories

  • CB-110 Liner
  • CB-404 Pointed Round
  • CB-604 Soft Fan

Miscellaneous Accessories

  • Sponge
  • Water
  • Pattern
  • Moist Clay
  • Slip
  • Various Modeling Tools of your choosing
  • Clean Up Tool
  • Green Grit Cloth
  • Handheld Extruder ( ¼” Half circle die)
  • Plastic Cup
  • Scissors
  • Pen
  • Plastic Shopping Bag
Top