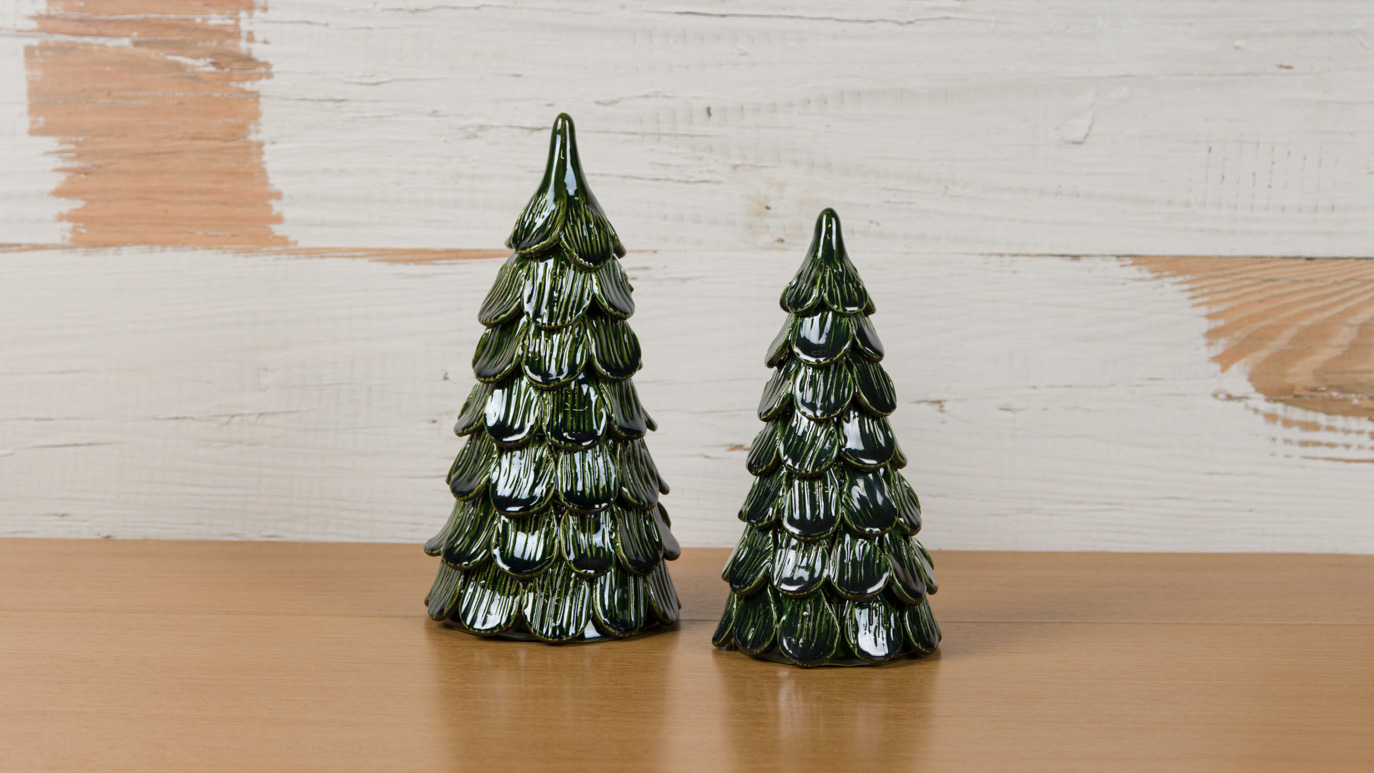
Handbuilt Elements Trees

Designer: Bob Moreni

Share

Instructions

  1. Begin by wedging the clay on a board covered with canvas.
  2. Roll out a piece of the clay between 2 – ¼” slat boards on the canvas covered board, creating 4 slabs of clay about 14” x 18”. Keep extra clay covered while not using to keep moist.
  3. Wrap a Styrofoam cone with a piece of paper towel. This will help the clay from sticking to the Styrofoam. One at 10” another at 8”
  4. Wrap the Styrofoam cone with a slab of clay. Score & slip the sides together. Trim excess clay with a knife. Do both cones. Keep covered when not working on one of them.
  5. With another slab of clay start cutting out the 1” diameter tear drops. For the bottom row of the larger tree, you need about 15 tear drops to start.
  6. Texture each of the teardrops with a plastic fork. Score & slip each tear drop onto the cone starting at the bottom of the tree and keep working up cutting and texturing more tear drops as you work your way to the top of both trees.
  7. On the smaller tree you will need to cut the top two rows with the ¾” cutter.
  8. Clean any rough edges with a damp brush.
  9. Allow to completely dry!
  10. Bisque Fire to cone 04.
  11. Using a CB-604 #4 Soft Fan, apply 3 coats of FN-219 Luster Green to the large tree and 3 coats of EL-161 Bottle Green to the smaller tree. Allow to dry!
  12. Stilt and fire to Cone 06/05.

Supplies

Form

  • 10# Moist Low Fire White Clay Slip

Colors

  • FN-219 Luster Green
  • EL-161 Bottle Green

Decorating Accessories

  • CB-604 Soft Fan

Miscellaneous Accessories

  • Sponge
  • Water
  • ¼” Wooden Slat Boards
  • Rolling Pin
  • 2 Styrofoam Cones
  • 1” Diam & ¾” diameter Tear Drop
  • Hors d’oeuvres Cutters
  • Paper Towels
  • Plastic Fork Scoring Tool
  • Old Brush
  • Board covered with Canvas Clay knife
Top