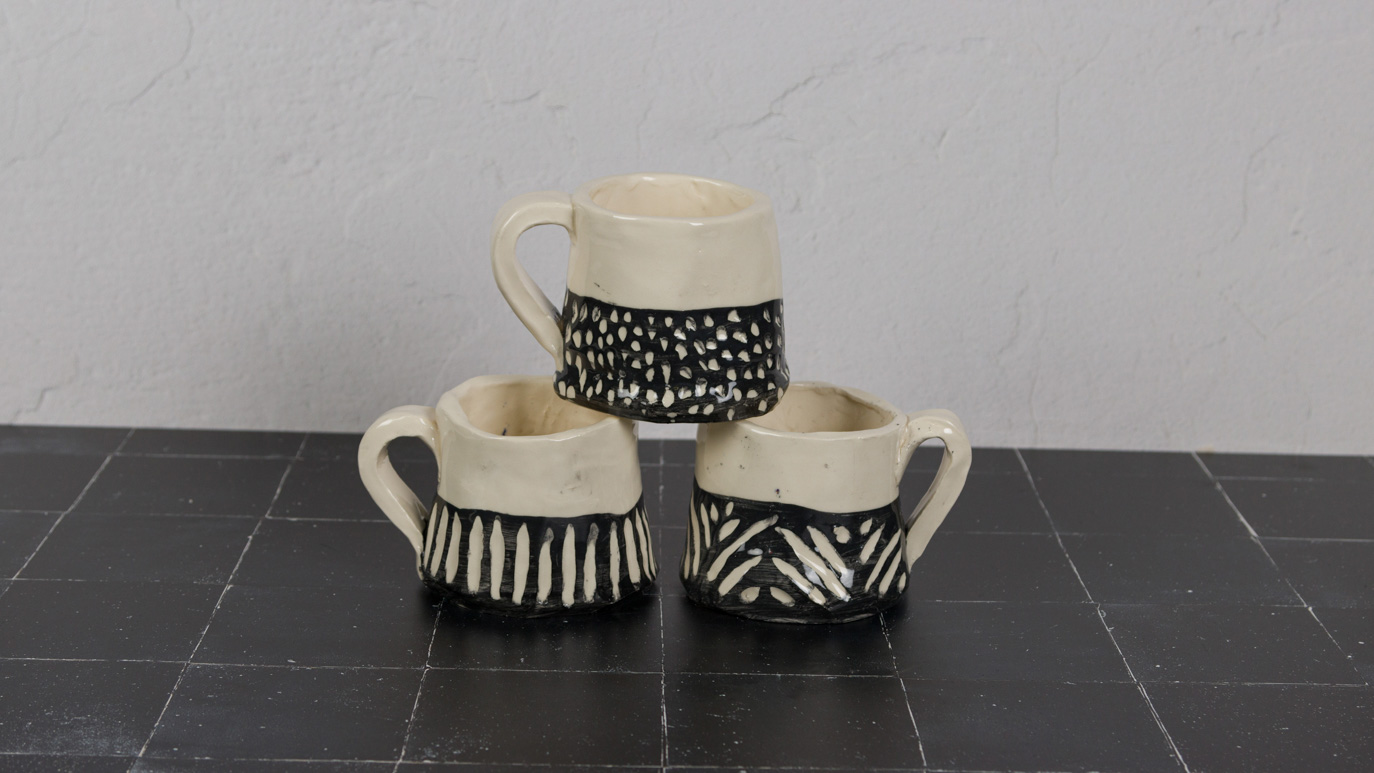
Handbuilt Underglaze Texture Mugs

Designer: Kaitlyn Gilham

Share

Instructions

Build:

  1. Roll your clay out in a slab that is about 7 inches wide and ¾” thick.
  2. Smooth your slab out with your rib.
  3. Cover your cup with paper to keep clay from sticking to it.
    1. You can also use a soda can.
  4. Wrap your clay slab around the outside of the covered cup to create a cylinder.
  5. Cut the end of the slab so your clay overlaps only ¼”.
  6. Attach ends together by smoothing them together with your finger.
    1. Use your rib to smooth it further.
  7. .Once cylinder is created remove the cup from your clay 
    1. You may need to twist to get it out.
  8. Using your left over slab pieces (you may need to roll out a new piece) cut the base for your mug by placing your cylinder on top and tracing a circle.
  9. Attach base by slipping and scoring pieces together.
  10. Smooth attachment with water and a sponge.
  11. Create handle by cutting a strip of clay from your remaining slab.
  12. Curve your piece into a handle shape (like an ear) and attach to the side of your mug by slipping and scoring.
  13. Allow to dry until leather hard.
  14. Apply 2 coats of Jet Black underglaze (UG-50) to the bottom half of your mug.
  15. Once underglaze is dry, carve your desired texture design using a loop tool.
  16. Allow to dry fully.
  17. Bisque fire to Cone 04.

Glaze:

  1. Wipe your bisqueware with a damp sponge.
  2. Clear coat your mug by dipping it into clear glaze (S-2000).
  3. Use stilts to glaze fire your piece to cone 06.

Supplies

Form

  • About 1 1/2 pounds of low-fire white clay- per piece (Laguna’s EM-210)

Colors

  • UG-50 Jet Black
  • Clear Dipping Glaze (S-2000)

Decorating Accessories

  • Soft bristle brush
  • Loop tool or other carving tool

Miscellaneous Accessories

  • Needle tool
  • Slab roller or rolling pin
  • Cup to use as mold
  • Scrap paper
  • Sponge
  • Water
Top