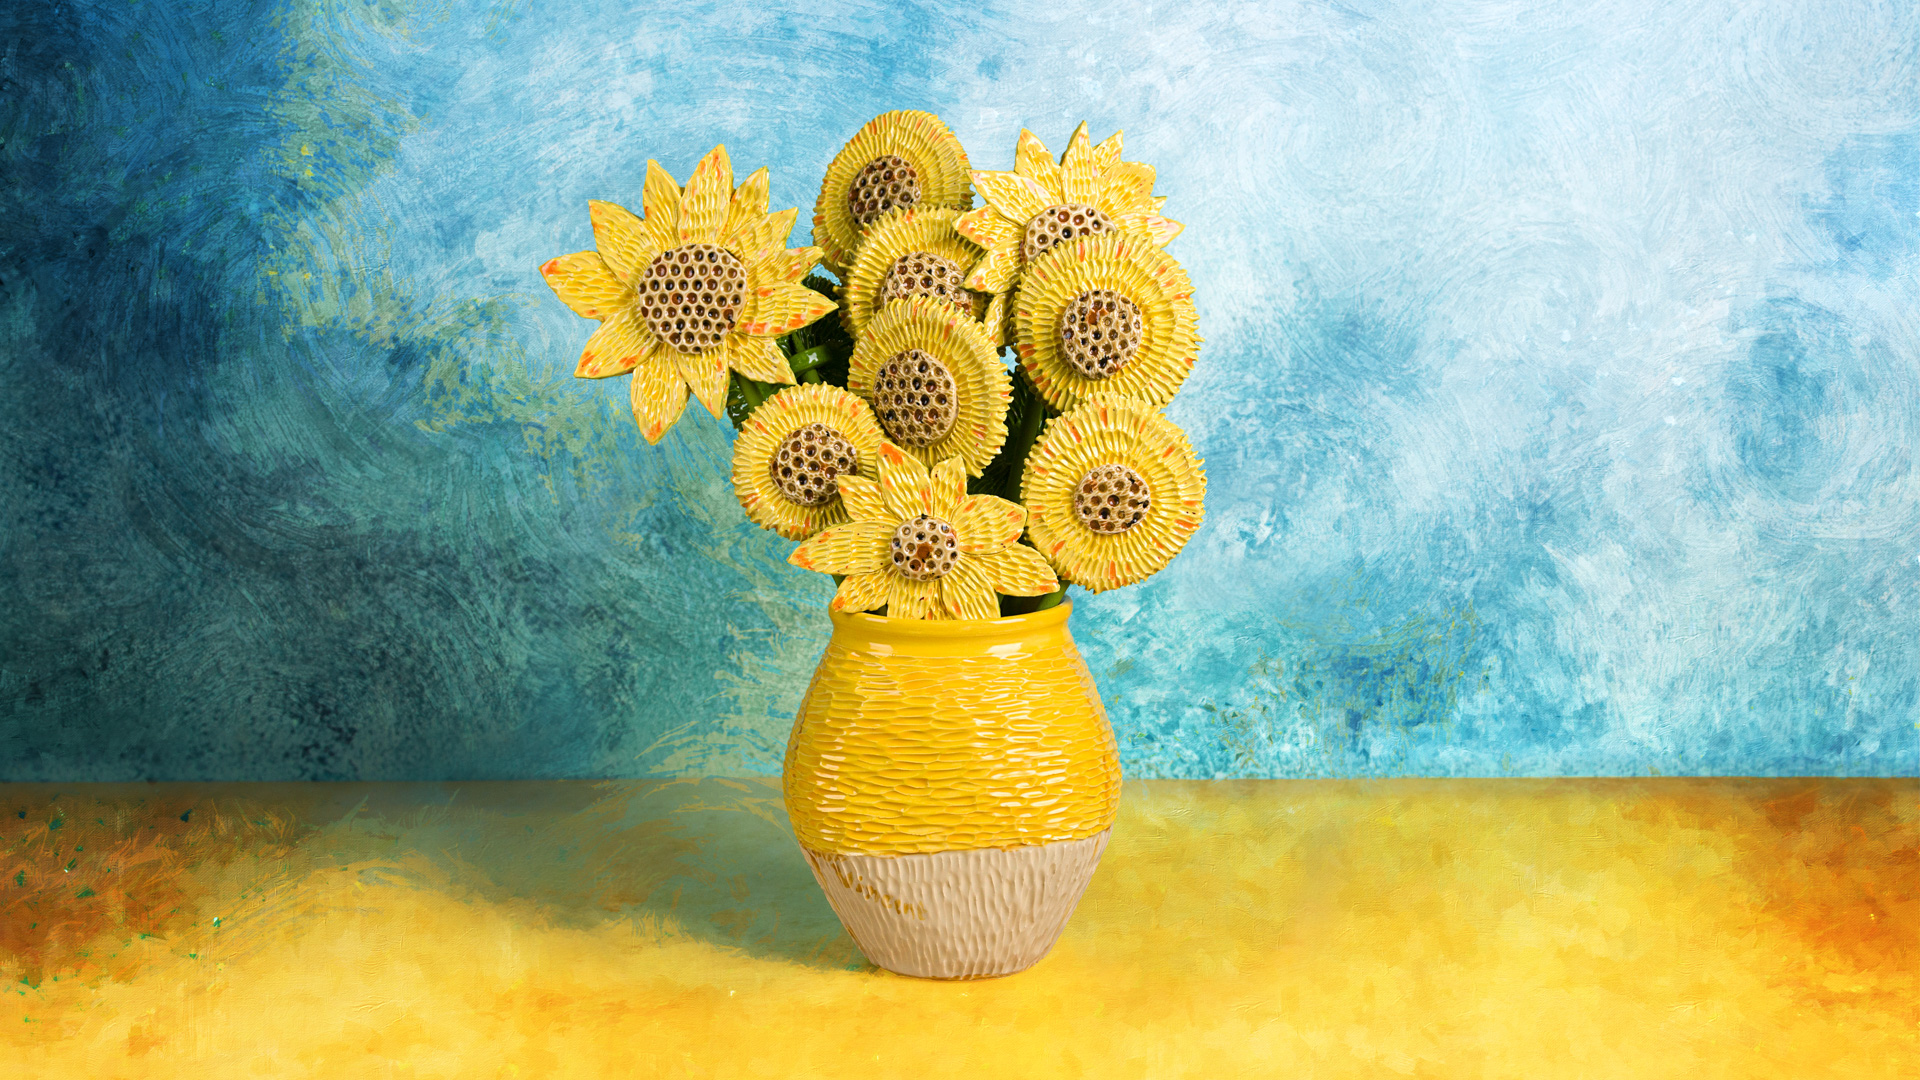
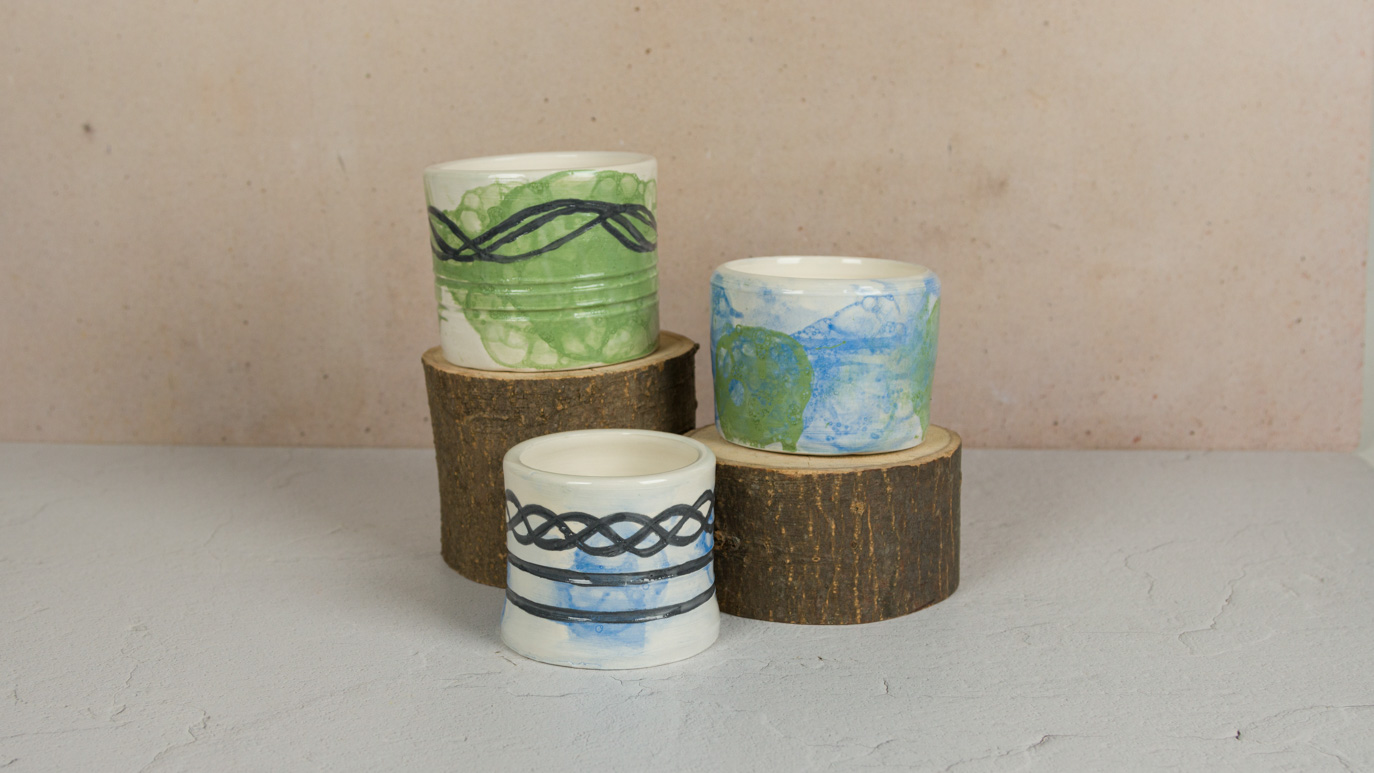
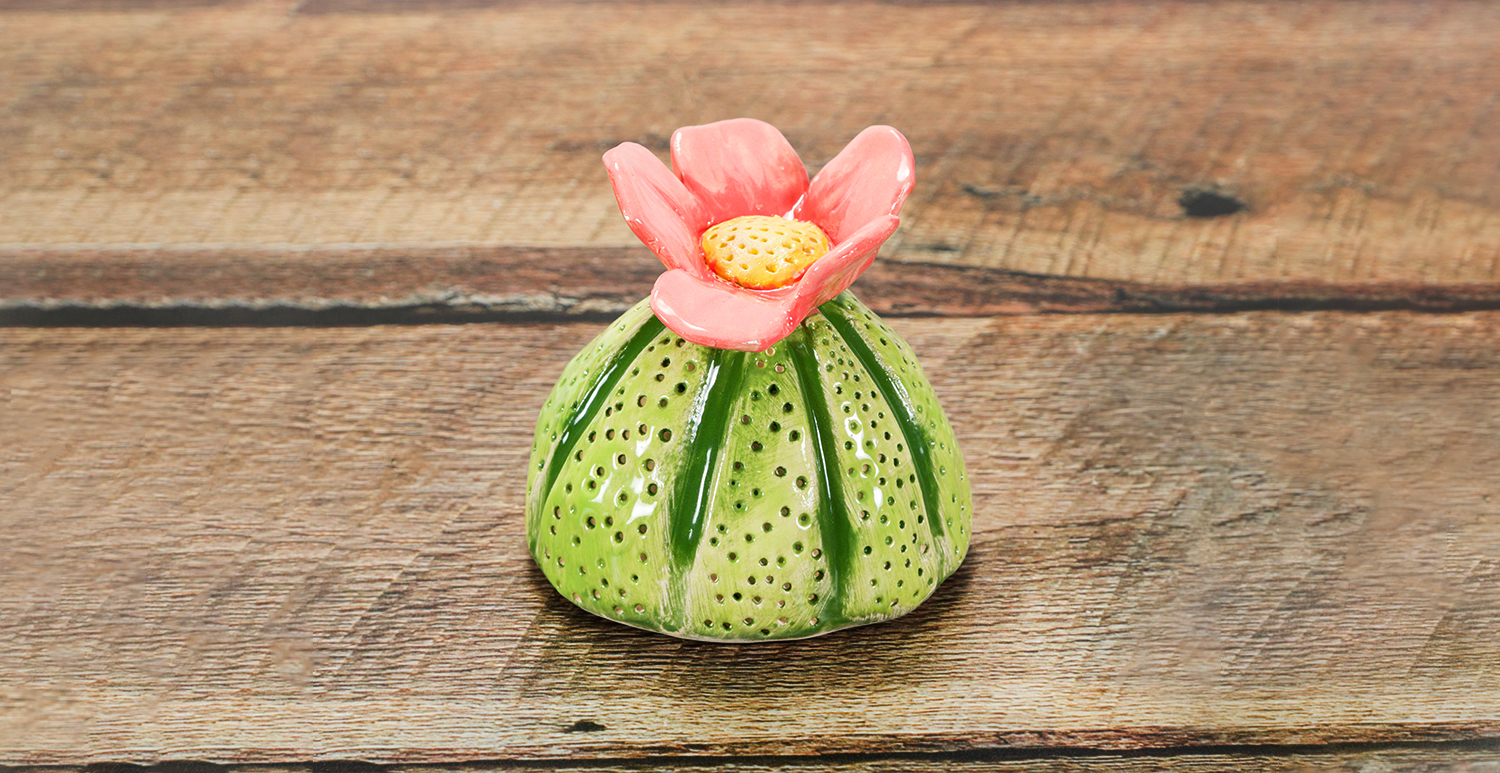
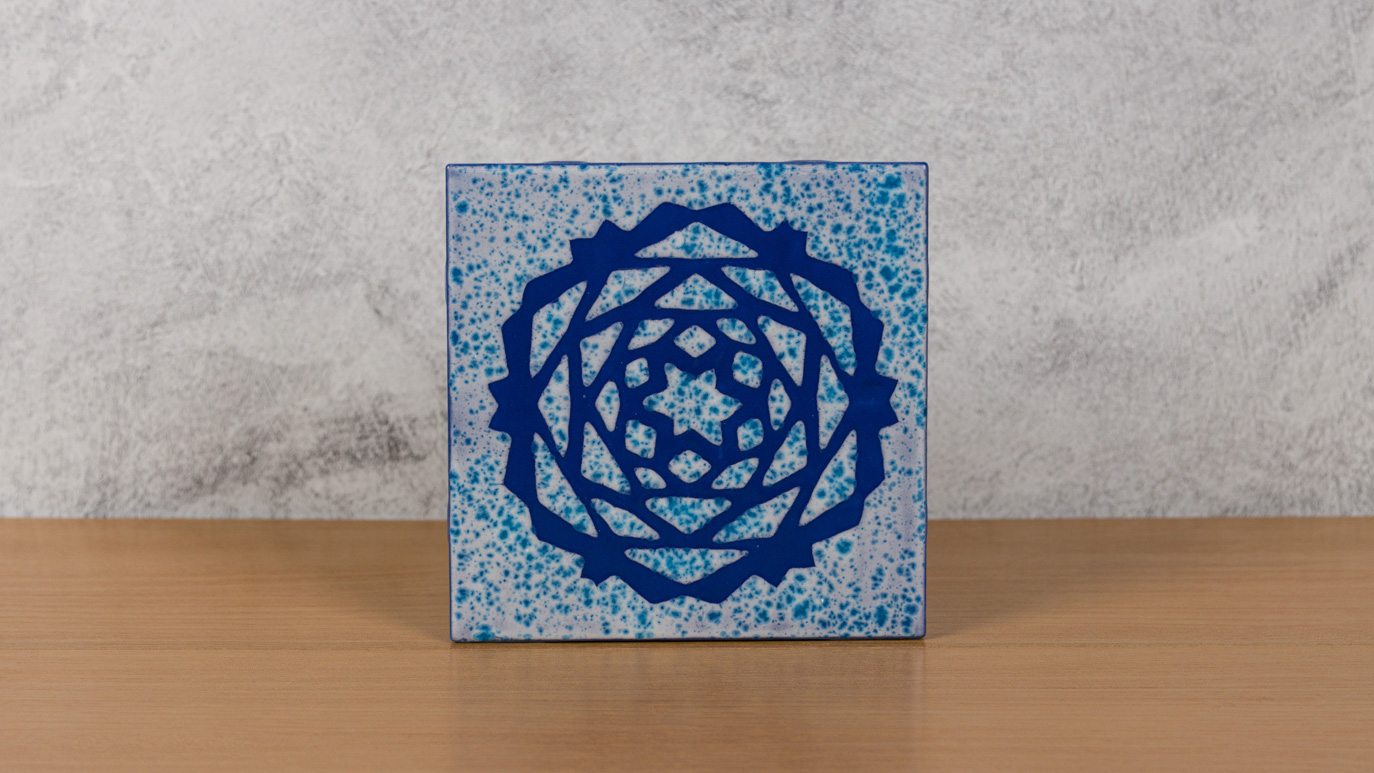
Handbuilt VanGogh Vase and Flowers

Designer: Bailie Benson

Share

Instructions

Vase

  1. Wheel throw, coil build, or begin with a pre-formed vessel at the leather hard stage.
  2. Using a paddle or flat ruler, pat the sides of the leather hard vessel to flatten the front and back.
  3. Using a carving tool, carve out chunks of texture over the whole form to give the illusion of brush stroke texture.
  4. Allow form to completely dry.
  5. Bisque fire to cone 04.
  6. Apply three coats of SC042 to the top half of the vessel with the CB624 fan brush.
  7. Allow to dry.
  8. Apply three coats of SC054 to the bottom half of the vessel with the CB624 fan brush.
  9. Allow to dry.
  10. Apply a single thin layer of SC024 to the top half of the vessel over the SC042.
  11. Apply highlights to the top portion of the vessel with SC016 to mimic the highlights seen in the paintings.
  12. Using the RB100 detail brush, apply accent lines of SC05 along the edges of the vessel and add “Vincent” where VanGogh would have signed his work on the painting.
  13. Allow to dry.
  14. Stilt and fire to cone 06.

Flowers

  1. Roll out one large slab of clay to make multiple flowers, or multiple small slabs for individual flowers.
  2. Compress the clay slabs front and back with a plastic card.
  3. Using a needle tool or toothpick, lightly draw a flower shape on the clay. You can do round flowers, petal flowers, or a mix of both.
  4. Cut out the drawn flower shape and remove excess clay.
  5. If you’re doing a flower with petals, carve away a thin layer of clay on the background petals to make them appear farther away.
  6. For both round flowers and petal flowers, add in the same carved texture that was added on the vessel to emulate brush stroke texture to the front and back of each flower.
  7. Roll a ball of clay and flatten to create the inner part of the flower.
  8. Add dots with the back end of a pencil or paintbrush to the flattened round piece of clay.
  9. Scratch and attach the inner portion to the flower.
  10. Scratch and attach a coil to the back of each flower using a pencil or dowel rod to create a bump of space between the coil and flower. This will create the slot to put the dowel rod stem into the flower later.
  11. Allow to fully dry.
  12. Bisque fire to cone 04
  13. Using the CB624 fan brush, apply 3 coats of SC026 to the backs of the flowers.
  14. With the same brush, apply 2 coats of CG963 to the back of the flowers as well.
  15. Using the CB624 fan brush, apply two coats of SC042 to the front of the flowers (petal area), leaving the raised center portion of the flower unpainted.
  16. Apply one thin layer of SC006 to the petals to add a little bit of bright yellow highlight.
  17. Apply two coats of S2729 to the petals.
  18. In the center seed area of the flowers, apply 3 coats of S2725 with the CB624 fan brush.
  19. Allow to dry.
  20. Stilt and fire to cone 06.
  21. Assemble! Use found sticks or painted dowel rods to become the flower stems. Floral foam in the bottom of the vessel helps the flowers stand up straight.

Supplies

Form

  • Low fire clay

Colors

  • S2729 Citrus Splash
  • S2725 Safari
  • CG963 Lemon Lime
  • SC054 Vanilla Dip
  • SC005 Tiger Tail
  • SC024 Dandelion
  • SC006 Sunkissed
  • SC042 Butter Me Up
  • SC026 Green Thumb
  • SC016 Cotton Tai

Decorating Accessories

  • CB624 Glaze Fan brush
  • RB106 Script Liner brush
  • RB100 Detail Brush 

Miscellaneous Accessories

  • Sponge
  • Water
  • Rolling pin
  • Plastic card
  • Carving tools
  • Toothpick
Top