- Check the ware over for any blemishes and remove if present by sanding with 100-grit sand paper.
- Using provided pattern, clay carbon and red pen, carefully trace the design on to the ware. For best result be sure and trace everything on the pattern.
- Damp sponge ware to remove dust and to condition the piece for decorating. Sponging will not harm the traced design if the clay carbon has been used.
- On the page protector palette place a small amount of Cobalt Jet Black and thin with water to a thin creamy consistency. If color is too thick it will not flow off the Liner easily.
- Dampen the Liner of choice with water and pinch out excess.
- Fully load the Liner with the thinned Cobalt Jet Black. Pull the brush across a clean area of the palette to reshape the fine tip.
- Holding the Liner as upright as possible, proceed to completely outline the entire traced design with very fine lines. Keep lines as fine as possible, thus creating a pen and ink style of detailing.
- Fire the ware to shelf cone 06 or 04, thus setting color.
- Place the needed Stroke ‘n Coats on the palette and slightly thin with water.
- Using the Shader and the Rounds to apply the colors as follows:
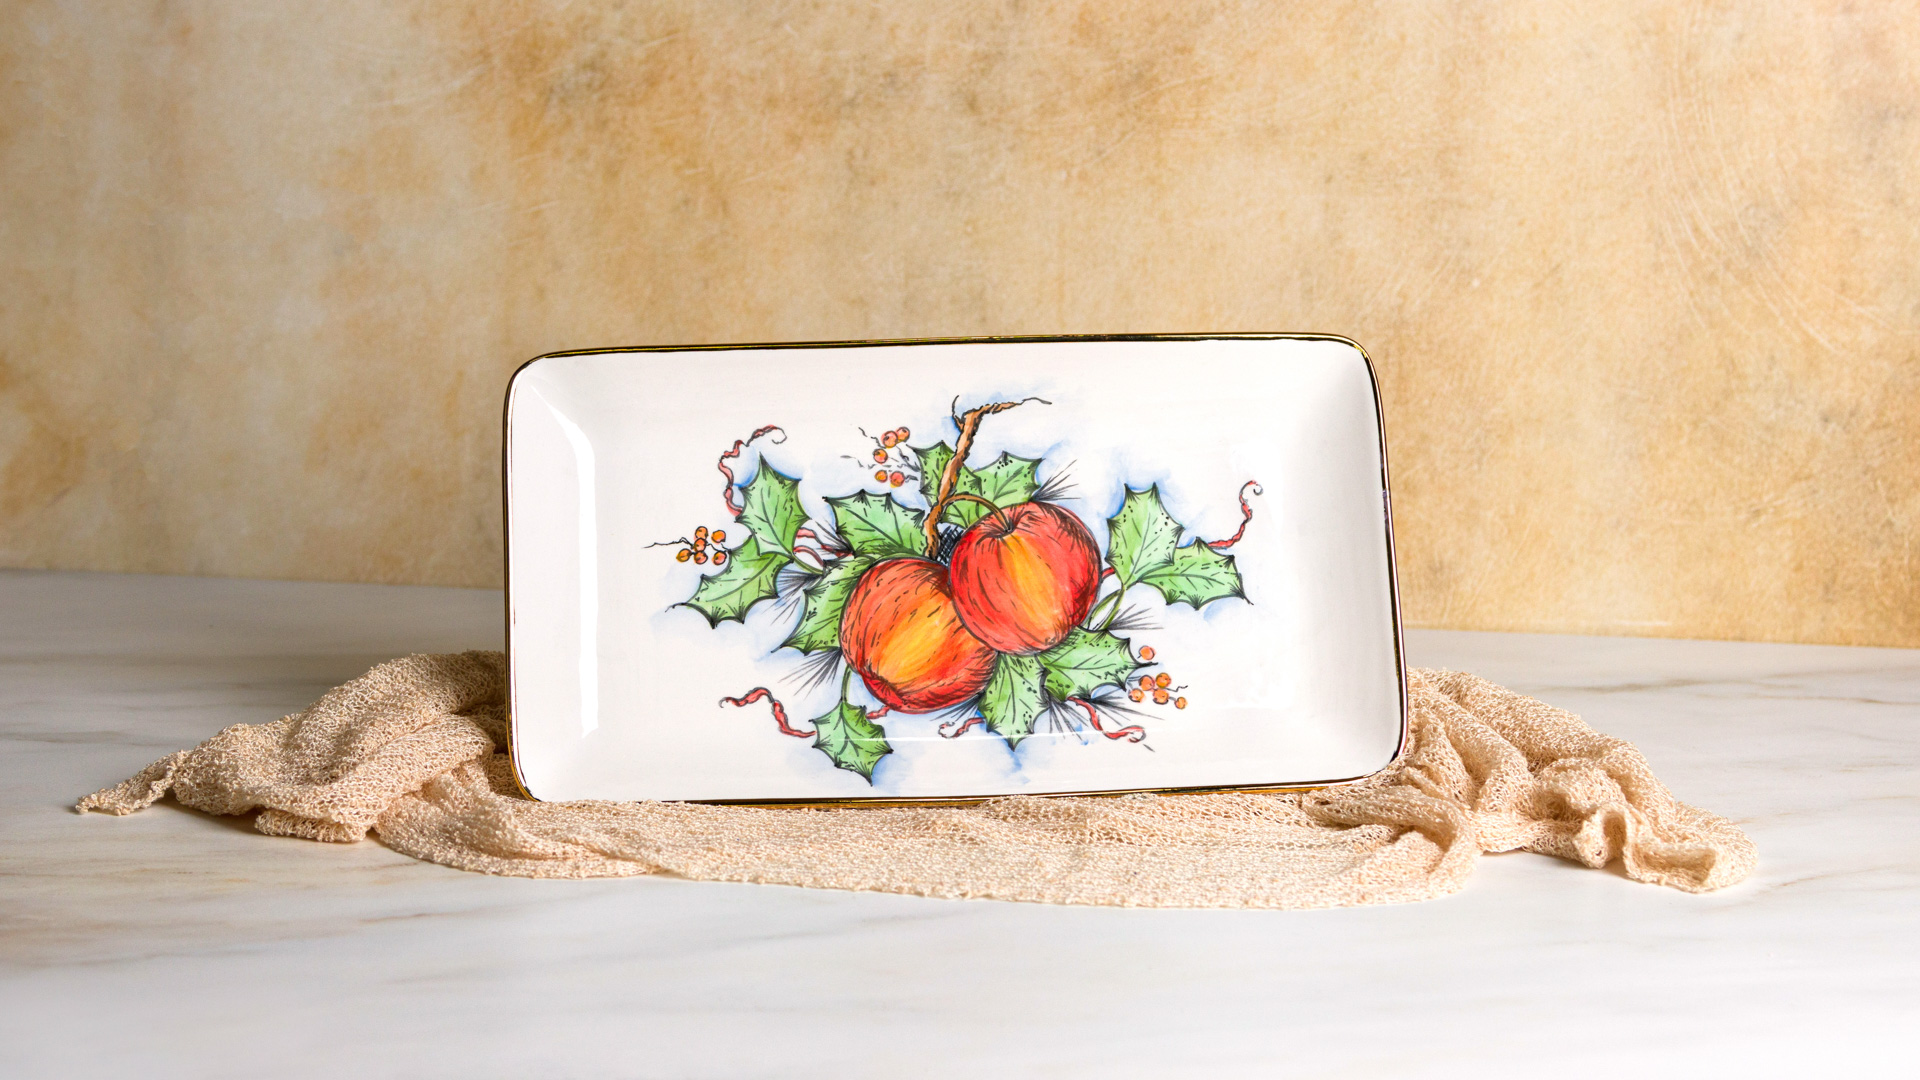
- Thinly and smoothly apply one thin coat of Leapin’ Lizard to all the Holly Leaves, following the contour of each leaf. Use the Round of choice. Allow to dry.
- Blend in Green Thumb to one side of each holly leaf and additional shading where one leaf is overlapped by another and the where the apples overlap the leaves. Smooth the shading color out into the Leapin’ Lizard.
- Holding the #6 Pointed Round upright, carefully puddle in one coat Crackerjack Brown to the branch and apple stem.
- When the Crackerjack Brown has set. To one side of the branch puddle in Brown Cow.
- With the #4 Liner fully loaded with Hot Tamale, carefully fill in the berries and the thin ribbon throughout the design.
- Complete the apples with the #10 Shader using Dandelion, Cant-elope, Candy Apple and Hot Tamale. The colors are blended thinly with the Dandelion and Cant-elope applied to the middle of both apples and feathered out to the left and right of center. Proceed to load Shader with Candy Apple and side load with Hot Tamale. Keeping the Hot Tamale to the outer edge of the apples begin to blend the reds from the outer, inward toward the middle of each apple. The yellow/orange tones will show through the applied reds. Since apples are the focal point to the project a second blended coat will be need. Please note: Since the Stroke and Coats are applied so thinly the fired Cobalt Jet Black will show through the color after the glaze firing.
- Thin down both the Blue Dawn and The Blues to a wash consistency. Fully load the #8 Pointed Round with water (brush needs to have plenty of water) proceed to tip load with both of the blues. Laying the brush nearly flat against the ware and the tip of the brush directed toward the outline of design, float the blues around the entire design. Some areas should appear to be deeper blue in tone and other areas are lighter. Reload the pointed Round as needed and be sure to load first with the water, tipping with the Blue Dawn and The Blues.
- Allow the Stroke & Coats some drying time.
- Place an ounce of the Crystal-Clear Brushing in to a paper cup.
- If extremely thick thin with a few drops of water and thoroughly mix with Palette Knife.
- With the Soft Fan apply three coats to the entire piece. Allow some drying time between coats.
- Stilt the glazed piece and fire to shelf cone 06.
- Remove stilt marks with Stilt Stone or Dremel Tool.
To add the Premium Gold rim
- With a soft cloth or paper towel wipe the rim down, thus removing any hand grease or film.
- Gently dip a cotton swab into the bottle of Premium Gold. Allow the liquid gold to seep into the cotton.
- Holding the loaded cotton swab at a 45-degee angle to the rim, pressing firmly against the area, pull the cotton swab around the rim. Work slowly as the Premium Gold is applied. (Color should be flag red in appearance). One coat is sufficient and the cotton swab will need to be reloaded, possibly two more times.
- Allow the Premium Gold to dry.
- Stilt and fire to shelf cone 018.
- Remove any stilt marks with Dremel Tool or Stilt Stone.