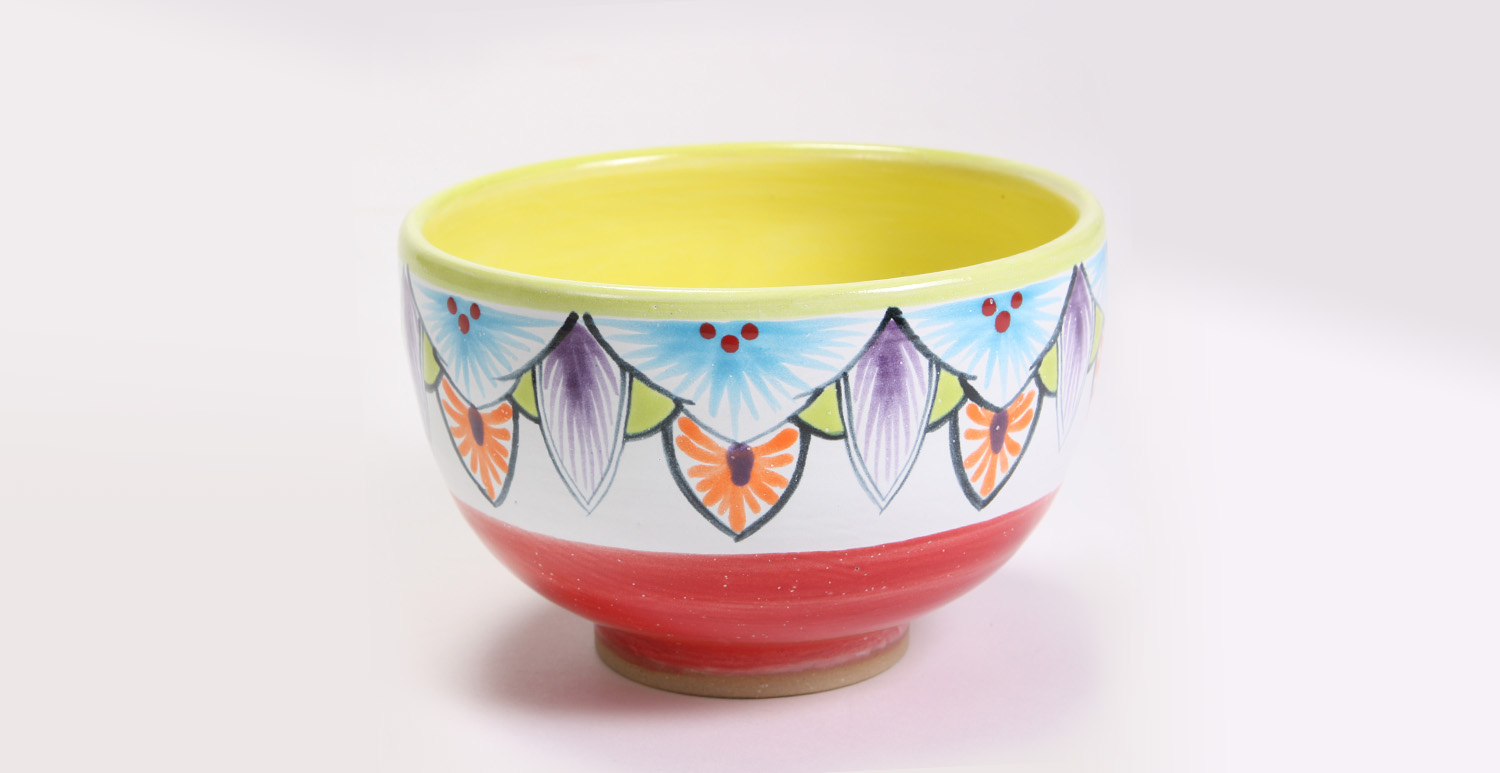
Majolica Gloss Bowls

Designer: Carmen Allen

Share

Instructions

  1. Begin by applying 2 coats of SW-501 White Gloss to the entire bowl except the bottom.
  2. Once the base layers have dried, use a banding wheel to draw spacing lines about 1/2″-1″ apart depending on the size of your bowl. It helps to start in the center and work your way out and if you’re working on the outside, start on the top and work your way down.
  3. Divide bands into 8-12 even sections and draw various shapes into the sections having them meet at the edge. We used triangles and half circles for most of the sections and applied 3-5 rows of shapes.
  4. Use a CB-106 #6 Script Liner or CB-110 #10/0 Mini Liner to fill in the shapes with various brushstrokes. Apply 1 coat to show the texture of the brushstroke and 2-3 for opaque coverage.
  5. Use a CB-604 #4 Soft Fan to apply 1-2 coats of glaze to add colored bands around the details.
  6. Use a CB-110 #10/0 Mini Liner to apply 1 coat of SW-508 Black Gloss to outline the details.
  7. Allow to dry completely and use a sponge to wipe any excess glaze that may have gotten on the bottom.
  8. Fire to shelf cone 5/6.

Supplies

Form

  • Mid-range Red Stoneware Clay

Colors

  • SW-501 White Gloss
  • SW-502 Yellow Gloss
  • SW-503 Orange Gloss
  • SW-504 Red Gloss
  • SW-506 Bright Blue Gloss
  • SW-507 Bright Green Gloss
  • SW-508 Black Gloss

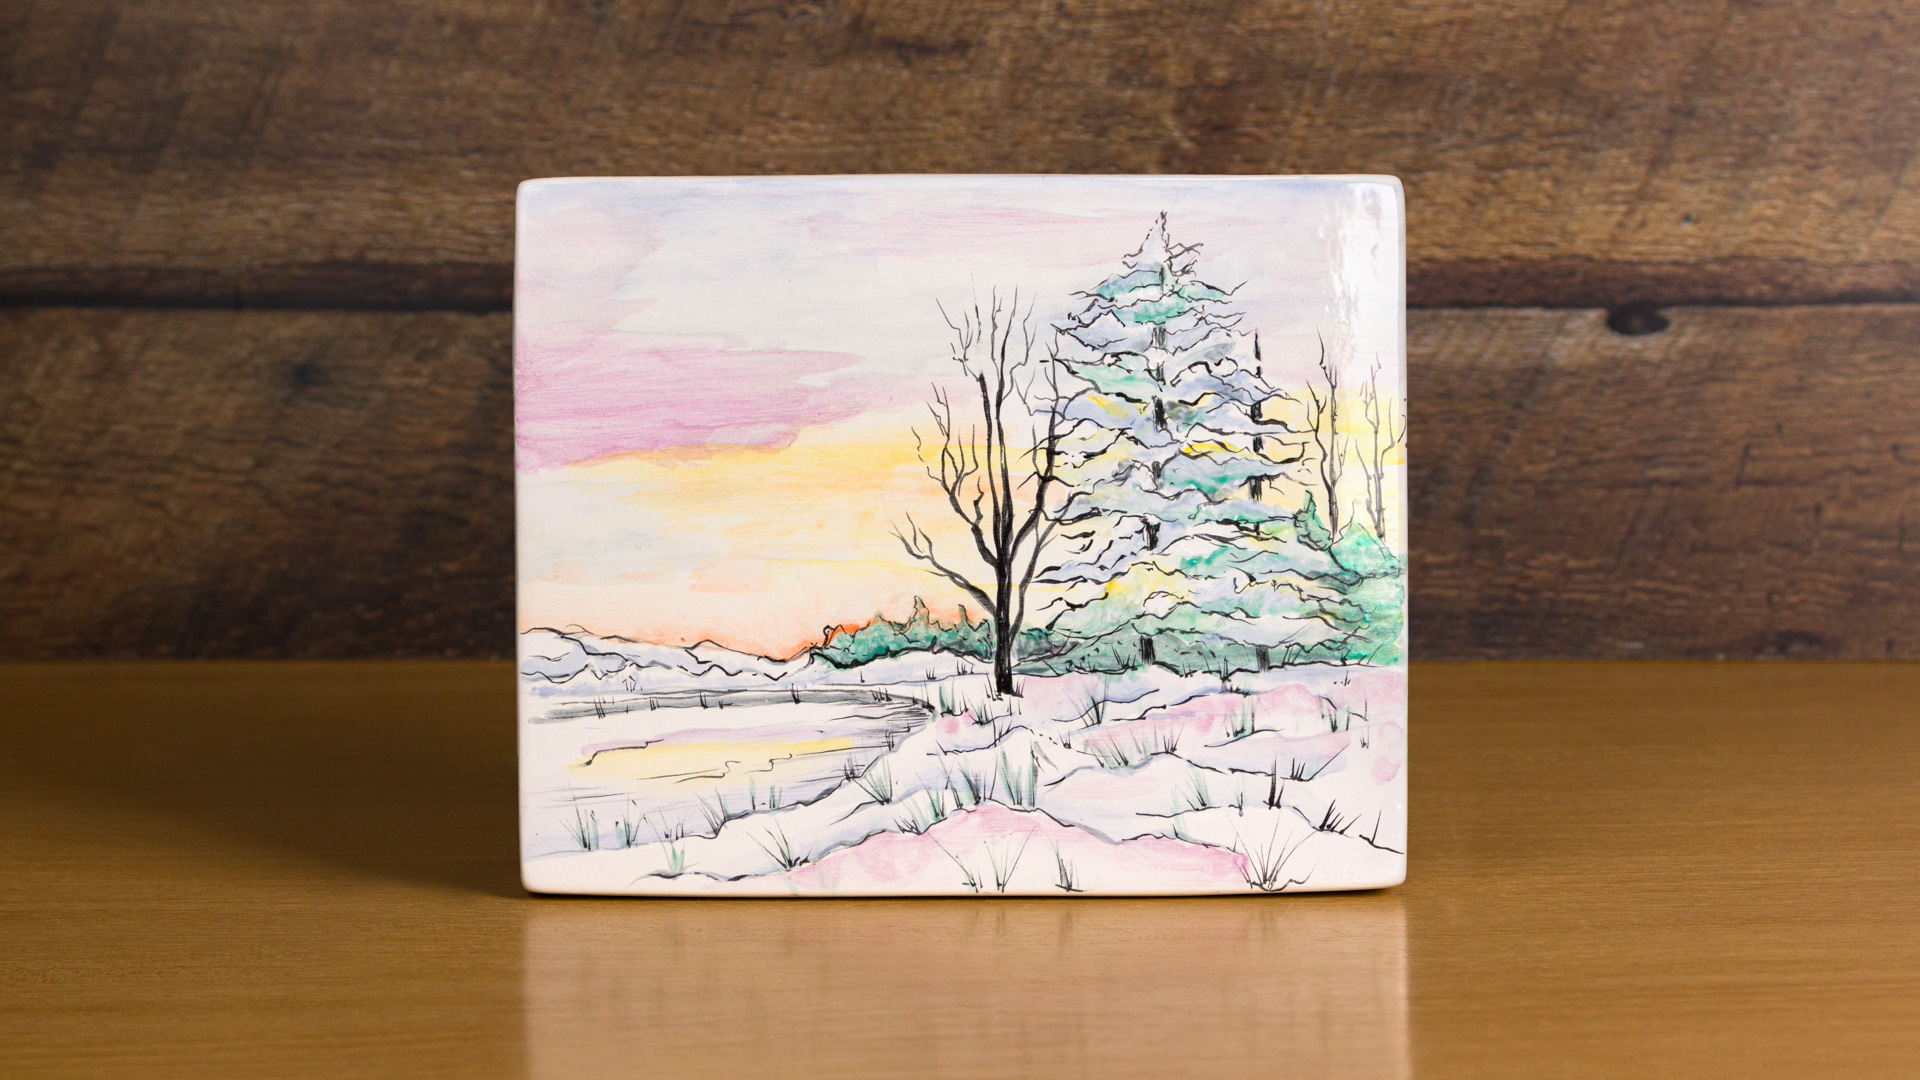
Decorating Accessories

  • CB-604 #4 Soft Fan
  • CB-106 #6 Script Liner
  • CB-110 #10/0 Mini Liner

Miscellaneous Accessories

  • Sponge
  • Banding Wheel
Top