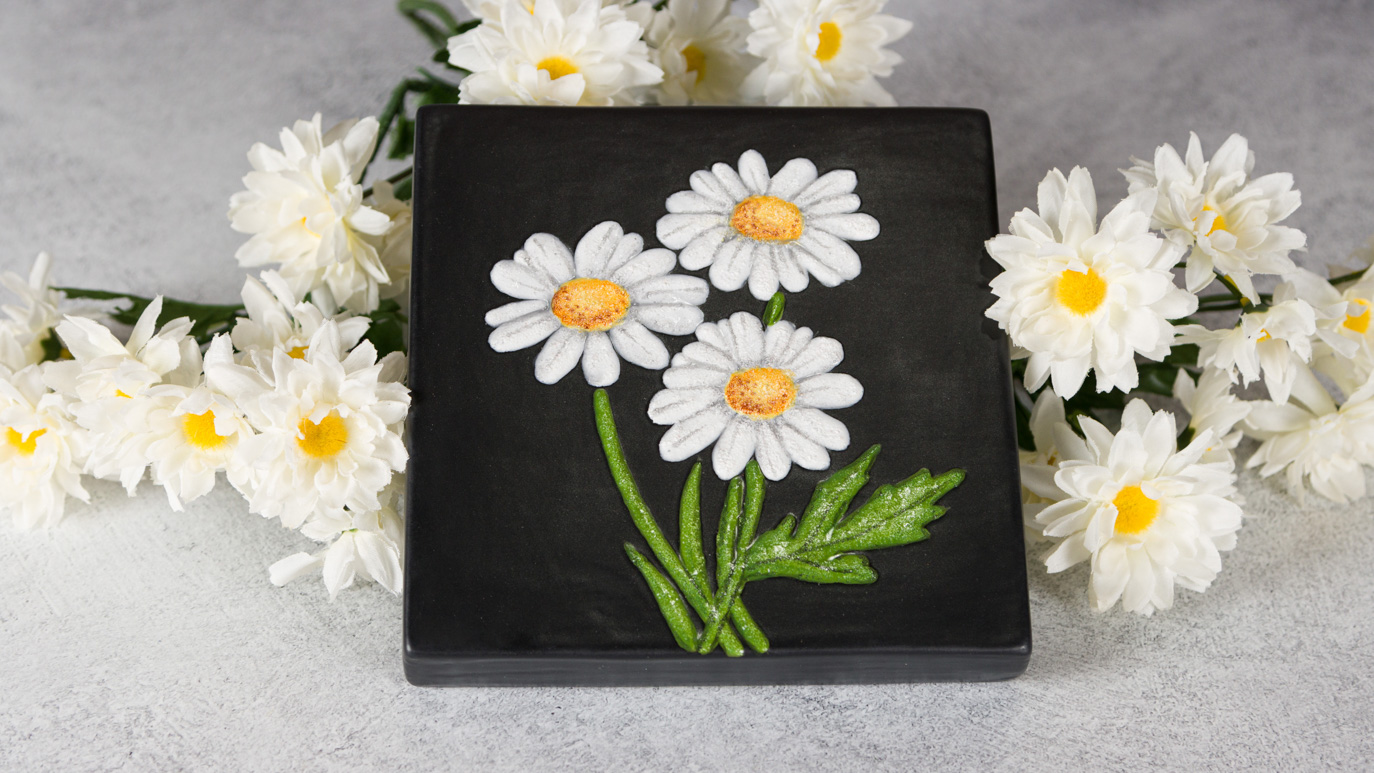
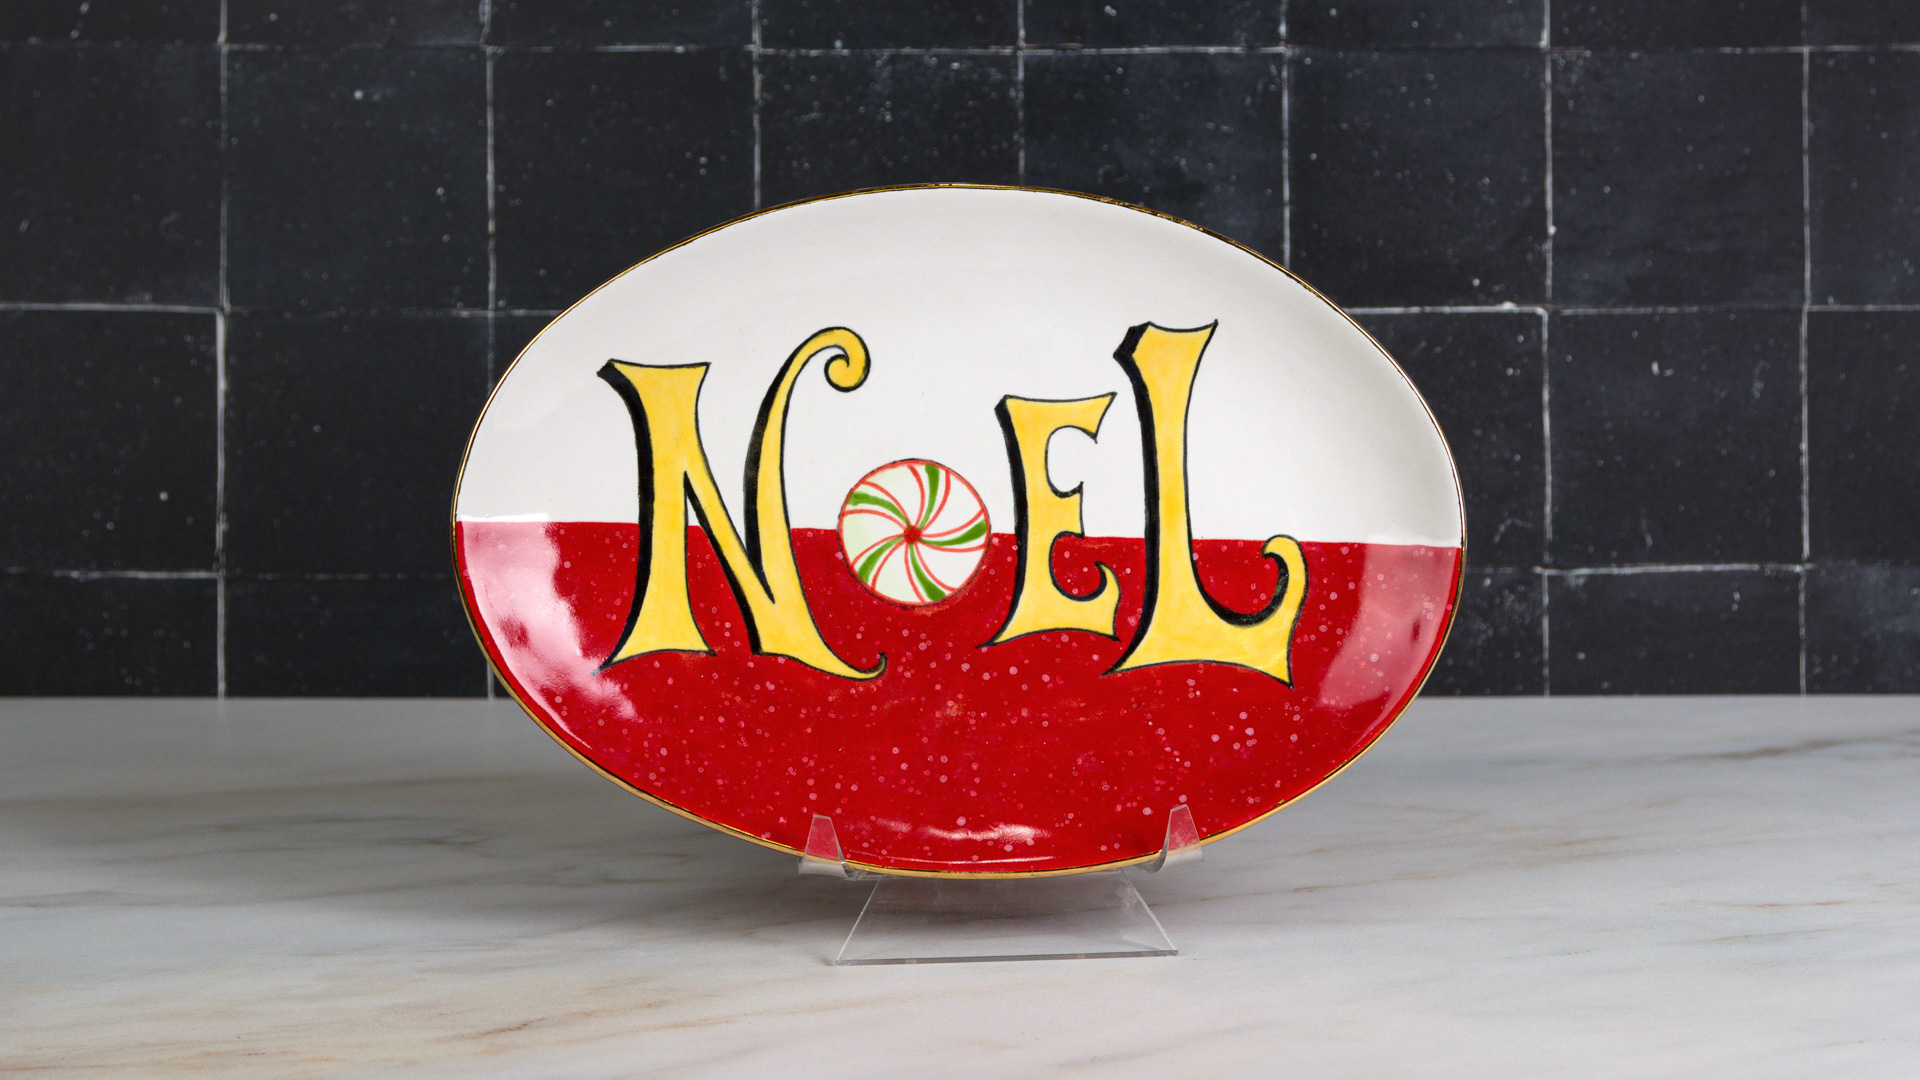
Noel Plate

Designer: William Pulse

Share

Instructions

  1. Use a damp Synthetic Sponge to wipe down the plate to remove any dust.
  2. Apply 3 coats of FN-001 White to the entire plate. Let dry.
  3. Use Scissors to cut out pattern. Using AC-230 Clay Carbon and a pencil to transfer the pattern to the plate. Align the pattern to where the center line divides the plate into equal parts. The pattern will aid you with the approximate positioning with the noted dotted lines for the edge of the plate.
  4. Using CB-404 Pointed Round tipped with SC-93 Honey Dew List to shade the left inner edge of the peppermint.
  5. Use CB-110 Liner to paint in the middle lines radiating from the center of the peppermint with SC-26 Green Thumb. 1 to 2 coats of color will be needed for solid coverage. To paint in the two other lines, use SC-73 Candy Apple Red with the same brush. Outline the peppermint with SC-73.
  6. Use CB-404 Pointed Round and CB-110 Liner to paint in the yellow portions of the lettering with 2-3 coats of SC-24 Dandelion.
  7. Use the ¾” Blue Masking Tape to section off the lower section of the pattern. The bottom edge of the tape will run along the top edge of the marked off lower portion of the pattern. Make sure the tape is completely adhered to the surface of the ware to prevent bleeding of the color.
  8. Apply 2-3 coats of SP-74 Speckled Hot Tamale using any brush listed to apply the color. Make sure that the crystal specks in the color are evenly dispersed on the background area. Once the third coat of color has been applied and has dried to a dark dull look, you can remove the tape before the color has completely dried to overcome any chipping of the color.
  9. Detail the lettering with SC-15 Tuxedo using CB-110 Liner. 1-2 coats should be enough to achieve solid coverage. This is where you can clean up any edges in the lettering and background areas. Water down some SC-15 and very lightly outline the outer edge of the peppermint with one coat of color.
  10. Stilt and Fire the plate to Shelf Cone 05-06.
  11. Clean the area to apply the Gold Luster with the Denatured Alcohol and lint free cloth. Let dry before applying the Gold Luster.
  12. Using the OB-916 G #6 Filbert Brush to apply OG-805 Gold Luster to the rim of the plate. Load the brush with the Gold Luster and hold the side of the brush along the plate’s rim to achieve a fine border line. You can use a Q-Tip swab in the same manner to apply the Gold Luster. Use OA-901 Essence to clean the Gold Luster Brush.
  13. Stilt and Fire the plate to Shelf Cone 018.

Supplies

Form

  • MB-131 Oval Plate

Colors

  • FN-001 White
  • SC-15 Tuxedo
  • SC-24 Dandelion
  • SC-26 Green Thumb
  • SC-73 Candy Apple Red
  • SC-93 Honey Dew List

Decorating Accessories

  • CB-110 Liner
  • CB-404 Pointed Round
  • CB-602 Soft Fan
  • CB-604 Soft Fan
  • OB-916G #6 Filbert

Miscellaneous Accessories

  • Sponge
  • Water Bowl
  • AC-230 Clay Carbon
  • Pencil
  • Scissors
  • Q-tip Swab (optional)
  • Denatured Alcohol 91%
  • Lint Free cloth
  • Blue masking tape
  • Pattern
Top