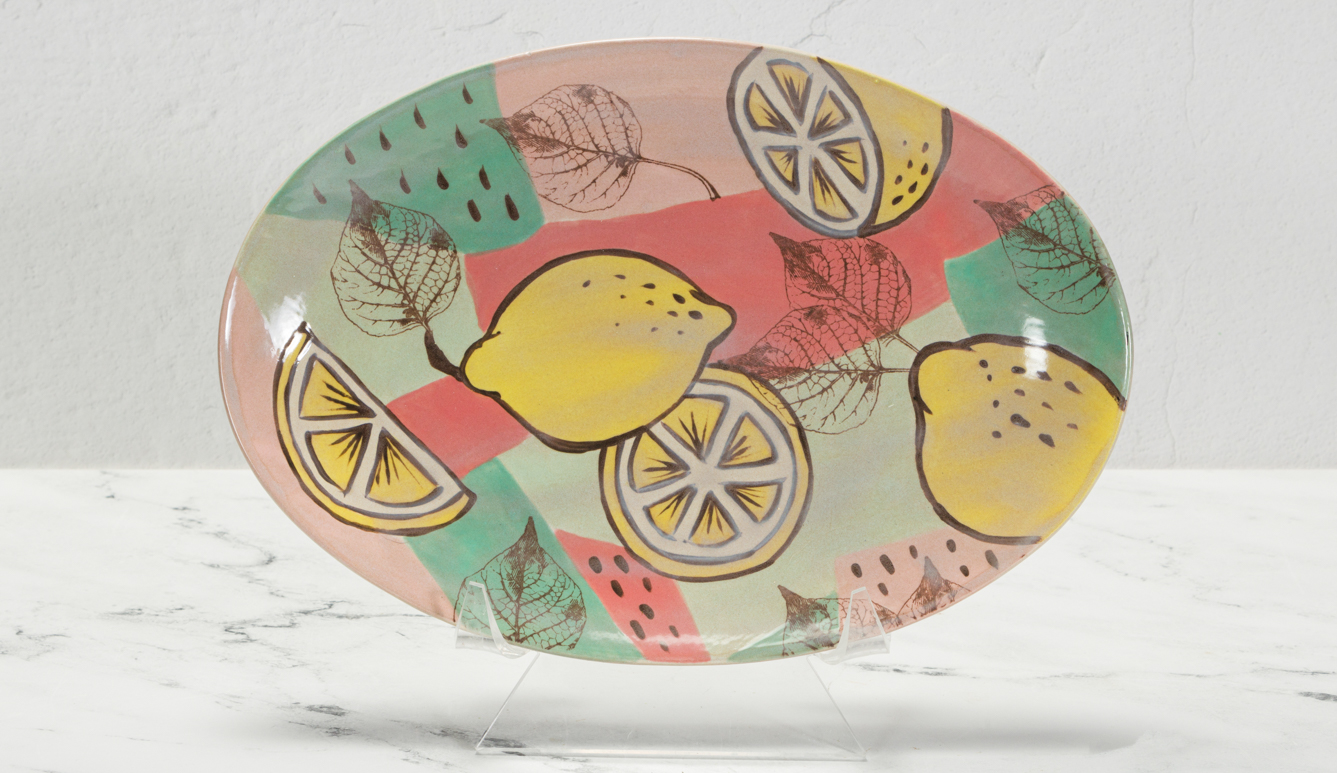
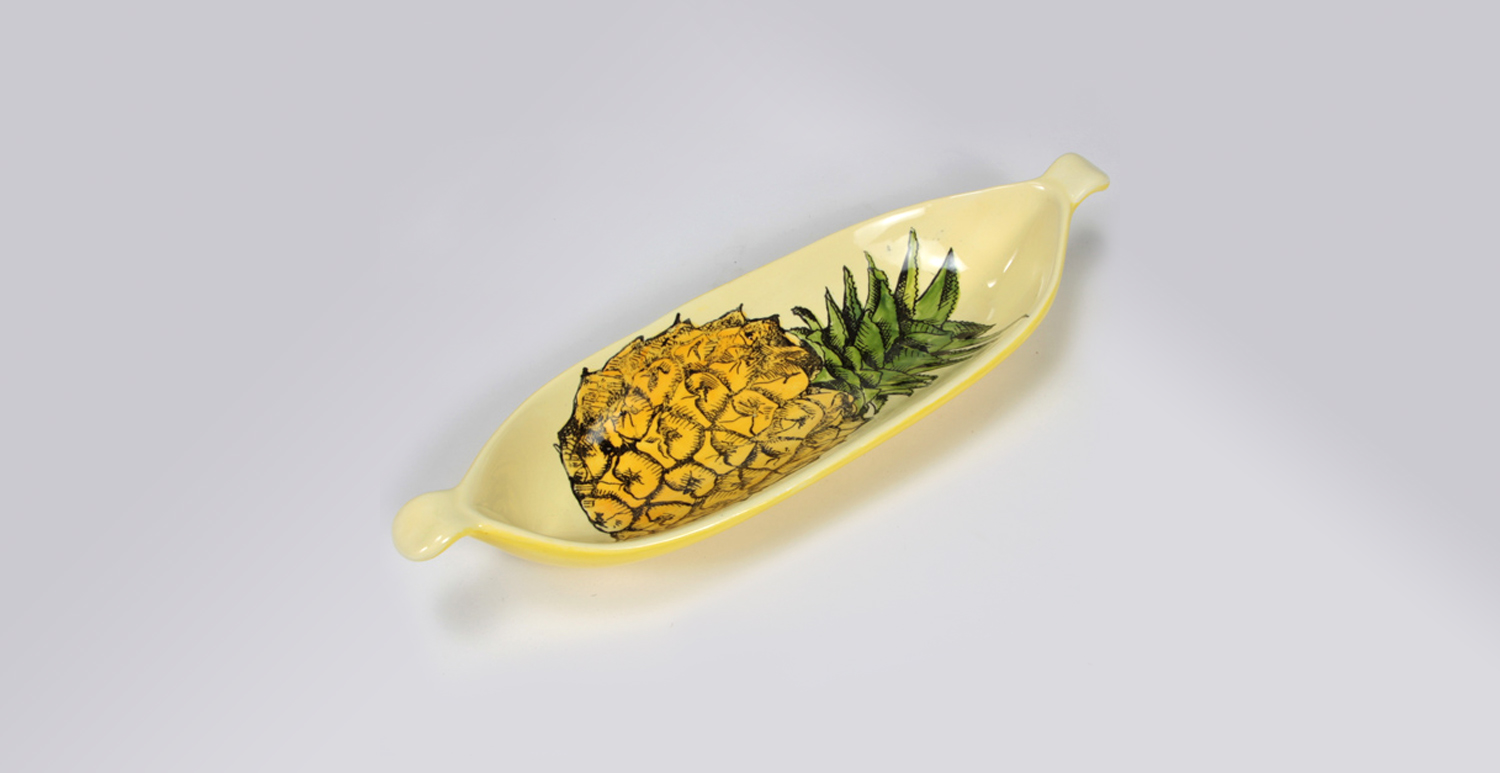
Oyster Shell Lemon Platter

Designer: Elizabeth Carey

Share

Instructions

  1. Begin with properly fired cone 04 bisque. Moisten a sponge and wipe bisque to remove any dust.
  2. Place AC-230 Clay Carbon Paper onto the plate. Position the pattern over the paper and trace with the pencil.
  3. Using the Script Line with SC-6 Sunkissed, apply 2 coats to the lemons. Allow glaze to dry between coats.
  4. Using the Script Liner with SC-1 Pink-A-Boo, SC-96 Aqu-ward, SC-89 Cutie Pie Coral and SC-9 Jaded (in that order), apply 2 coats to the different background sections. Refer to pattern for which color to use on each section.
  5. After the background glaze is dry to the touch, place the pattern over the platter, lining it up with the lemons. Trace the leaves with the pencil. You should be able to see a slight indent in the glaze.
  6. Using the Detail Liner with SC-15 Tuxedo, outline the lemons and leaves. Add random hash marks to 3 different sections of the background.
  7. Using the Script Liner with EL-101 Oyster Shell, apply 1 coat over the bare areas in the lemons. After those areas are dry, use the Soft Fan to apply 1 coat to the front of the platter.
  8. Using the Soft Fan with EL-101 Oyster Shell, apply 3 coats to the back of the platter.
  9. Fire to cone 06.

Supplies

Form

  • MB-131 Large Oval Platter

Colors

  • EL-101 Oyster Shell (2oz)
  • SC-1 Pink-A-Boo (1oz)
  • SC-6 Sunkissed (1oz)
  • SC-9 Jaded (1oz)
  • SC-15 Tuxedo (1oz)
  • SC-89 Cutie Pie Coral (1oz)
  • SC-96 Aqu-ward (1oz)

Decorating Accessories

  • RB-144 #4 Soft Fan
  • RB-106 #6 Script Liner
  • RB-110 10/0 Detail Liner
  • AC-230 Clay Carbon Paper

Miscellaneous Accessories

Top