Pick Your Own Leaf Bowl

Designer: Carmen Allen

Share

Instructions

Handbuilding

  1. Roll out a slab about ¼”-1/2” thick.
  2. Place found leaves onto the slab and gently press down with your hand. Once they are secure, roll your rolling pin across them to get an even texture transfer.
  3. Remove the found leaves and cut the leaf shapes out of the clay slab using a toothpick. You should have about 6 leaves.
  4. Lay into a slump mold or shallow bowl to form. I put 2 in at a time, overlapping the bottoms and slipping and scoring to attach them. Shift each pair of leaves as you build up the bow and attach to those under it.
  5. Let set up briefly until it can hold form on its own
  6. Attach a coil for the foot.
  7. Loosely cover with plastic and allow to slow dry.
  8. Once completely dry, fire to shelf cone 04.

Glazing

  1. Begin with properly fired shelf cone 04 bisque, moisten a clean sponge and wipe bisque to remove any dust.
  2. Apply 1 coat of UG-50 Jet Black to the entire piece and let dry. Use a moist sponge to wipe away the glaze, leaving some behind in the textures.
  3. Apply 2-3 coats of EL-133 Autumn to the entire piece.
  4. Let dry completely.
  5. Stilt and fire to shelf cone 06/05.

Variations/Adaptations

  • If it’s not the right season for leaves, artificial leaves my be used. Be sure to put the textured side down on the clay
  • If teaching for a class, pre-slab the clay beforehand and cover until needed.

Supplies

Form

  • Standard 105 white earthenware clay

Colors

  • UG-50 Jet Black
  • EL-133 Autumn (or other EL glaze of your choice)

Decorating Accessories

  • CB-604 #4 Soft Fan

Miscellaneous Accessories
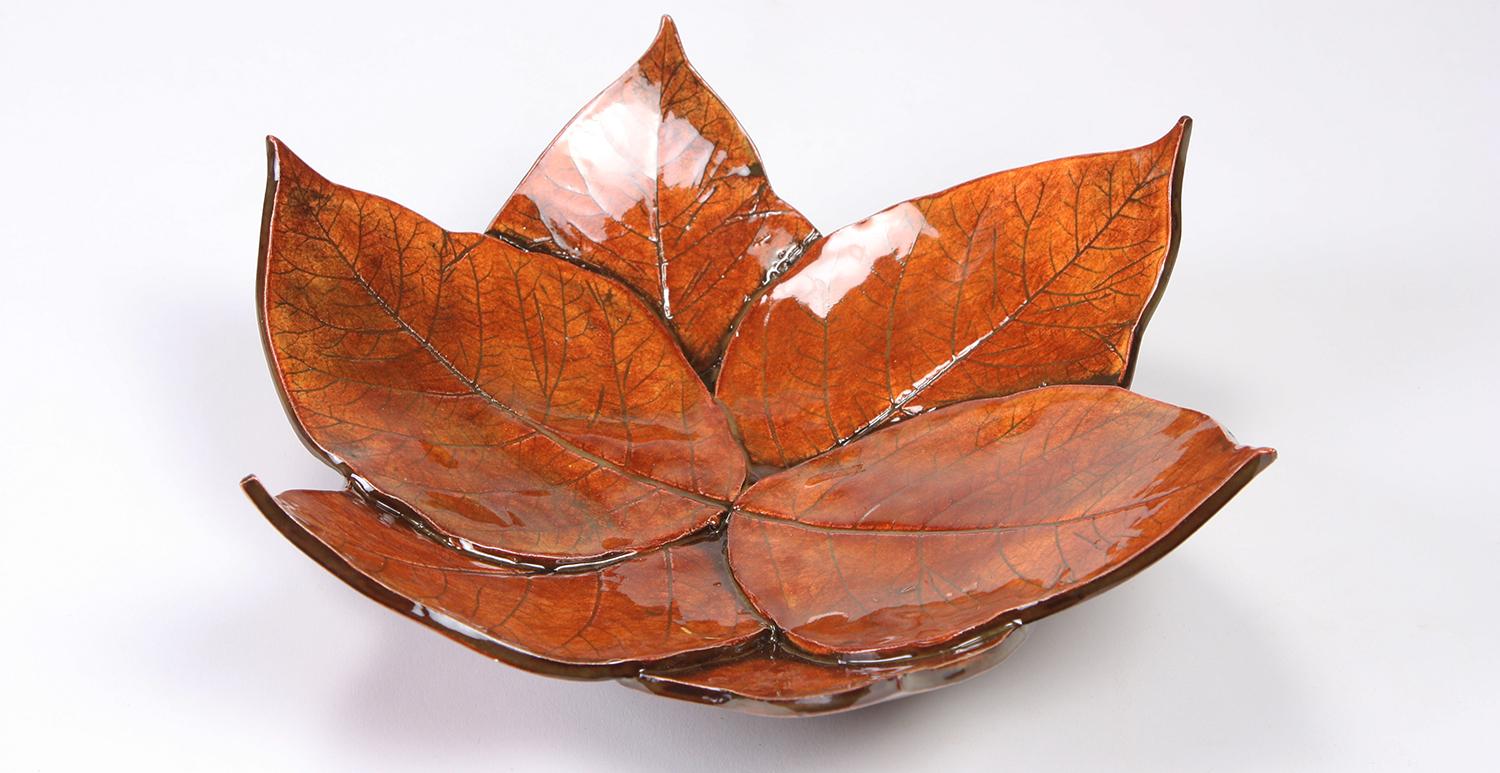
  • Found leaves
  • Rolling pin / slab roller
  • Slump mold / shallow bowl
  • Toothpick or needle tool
Top