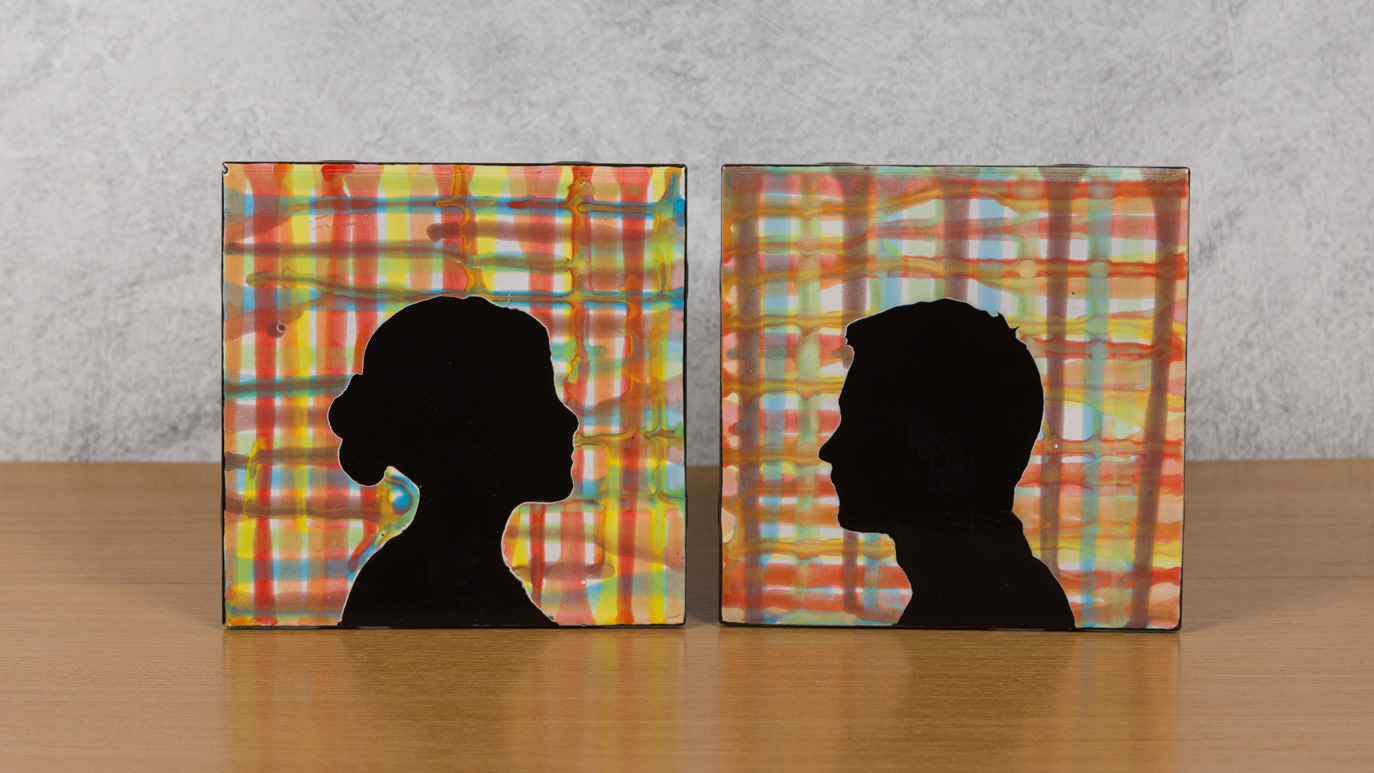
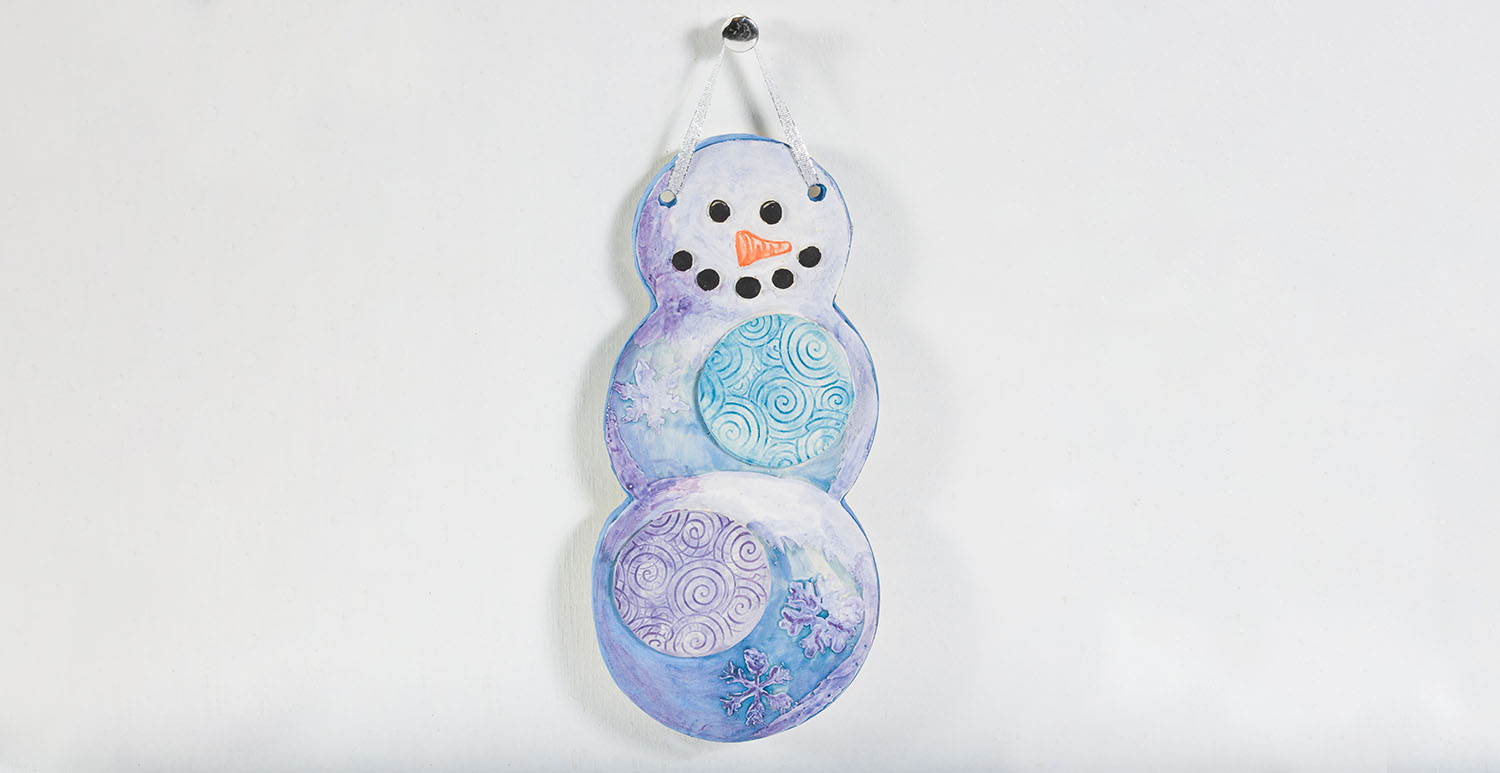
Watercolor Silhouettes

Designer: Bailie Benson

Instructions

  1. Pre-print a variety of silhouettes for your students.
  2. Hand out prints and scissors and have them cut out the silhouette.
  3. Wipe off the tile with a damp sponge.
  4. Set aside cutouts and apply 2 coats of SC-15 over the whole tile.
  5. While the 2nd coat is still wet, place the cutout silhouette on the tile and apply a 3rd coat of SC-15.
  6. Allow to dry and apply 2 coats of SC-16.
  7. Set aside tile and get out the 6 cups and brushes.
  8. Pour a quarter size amount of red (SC-73), yellow (SC-6), and blue (SC-11) each in their own cup and set aside.
  9. Pour a dime size amount of both red and yellow in one cup, yellow and blue in one cup, and blue and red in the last cup.
  10. Pour a little water in each cup so the base of the cup is covered.
  11. Mix each color thoroughly with its own brush
  12. Hold your tile vertically and starting with the warm tones (Red, orange, yellow) drag the brush along one edge of the tile forcing the water and glaze to squeegee out of the brush.
  13. Rotate to a new edge and repeat previous step with cool colors (Green, Blue, Purple).
  14. Rotate again and repeat step 1.
  15. Rotate to the final side and repeat step 2.
  16. When the shine is gone from the wet glaze, peel up and remove the paper silhouette.
  17. Stilt and fire to cone 06.

Supplies

Form

  • 6” tile

Colors

  • SC-15 Tuxedo
  • SC-16 Cotton Tail
  • SC-73 Candy Apple Red
  • SC-6 Sunkissed
  • SC-11 Blue Yonder

Decorating Accessories

  • 6 CB-406 pointed round brushes
  • CB-604 Soft Fan brush
  • Printed silhouette

Miscellaneous Accessories

  • Palette
  • Sponge
  • Scissors
  • Bowl of water
Top