Tips & Tricks for Handprints

How to Get Great Handprints

Handprints are synonymous with a paint-your-own pottery studio. Gift giving seasons are filled with people wanting to capture prints as a keepsake on pottery. Whether you’re offering handprints in the studio, in to go kits, or custom finished projects, you will want to help your customers get the best prints possible.

Our website has a variety of projects in the Project Gallery in addition to these books that provide inspiration:

  • Ed Emberley’s Complete Funprint Drawing Book
  • Happy Hands and Feet: Art Projects for Young Children by Cindy Mitchell
  • Hand-Print Animal Art by Carolyn Carreiro

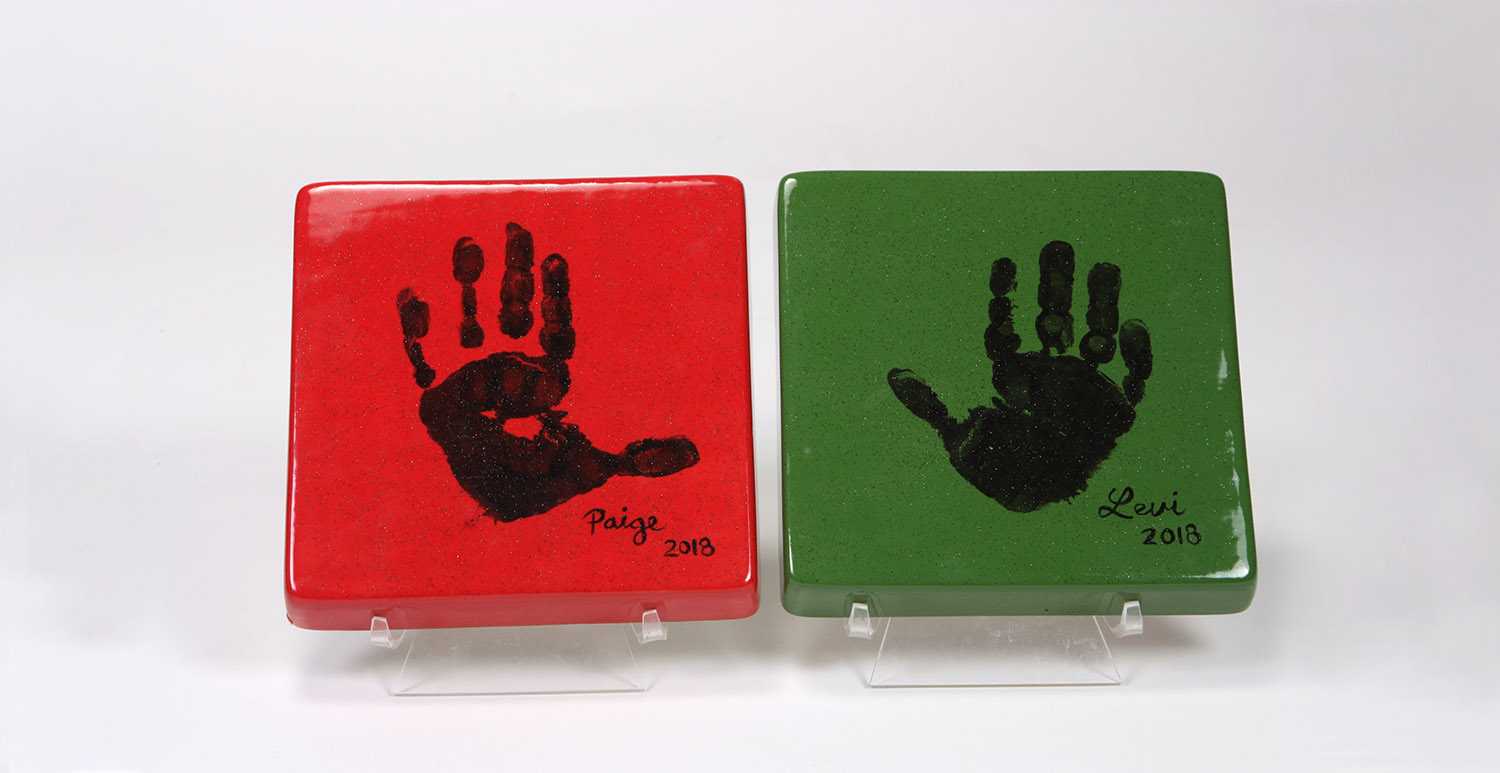
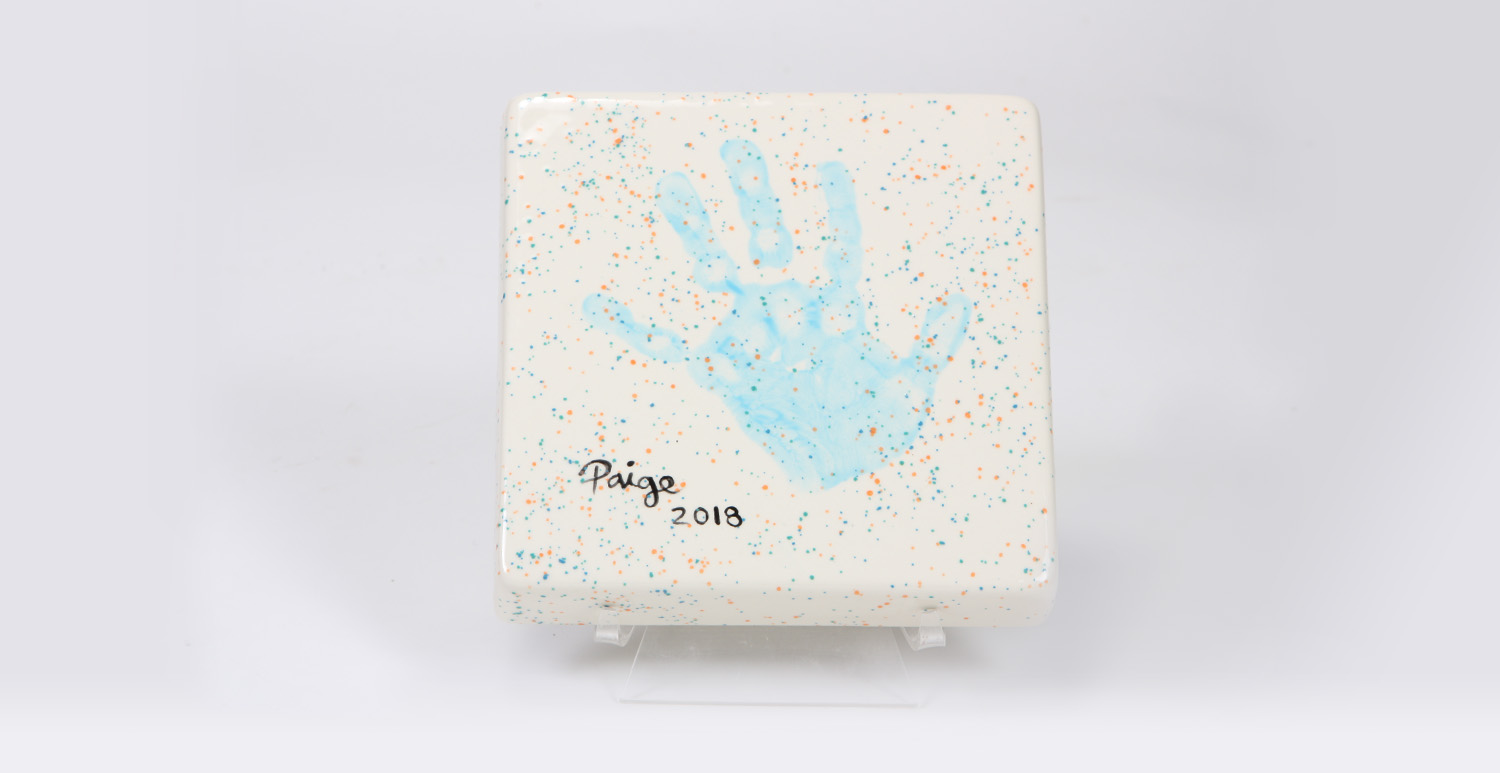
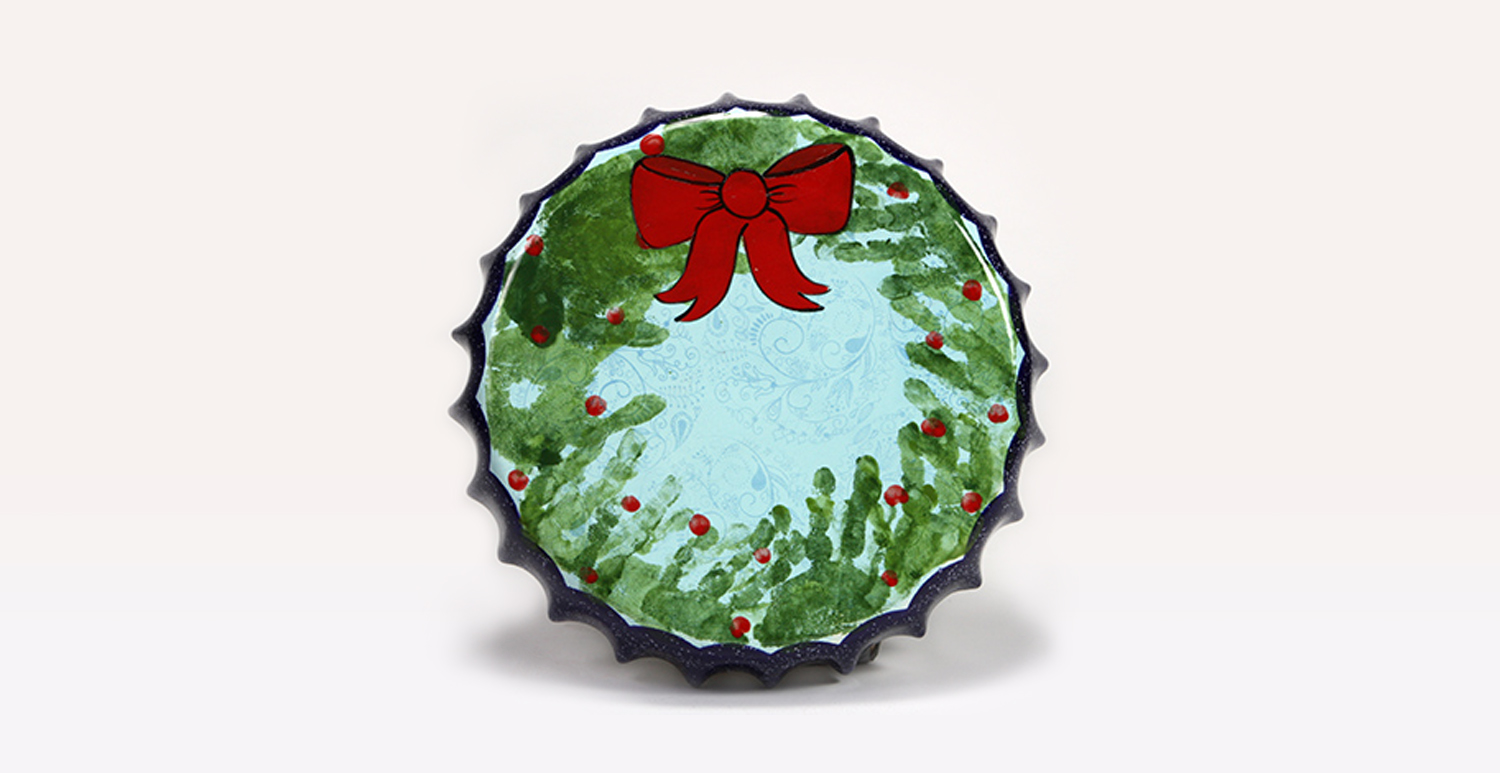
It is always easier to get a baby’s handprint if they are sleeping! Handprints show up best if you select colors that are medium to dark intensity. Pale / pastel colors do not show up as well since these prints are essentially one coat of glaze. Note: Some of the darker colors, such as black or dark blue, can be harder to remove from bisque that does not have a base coat of color.

Options for the Background
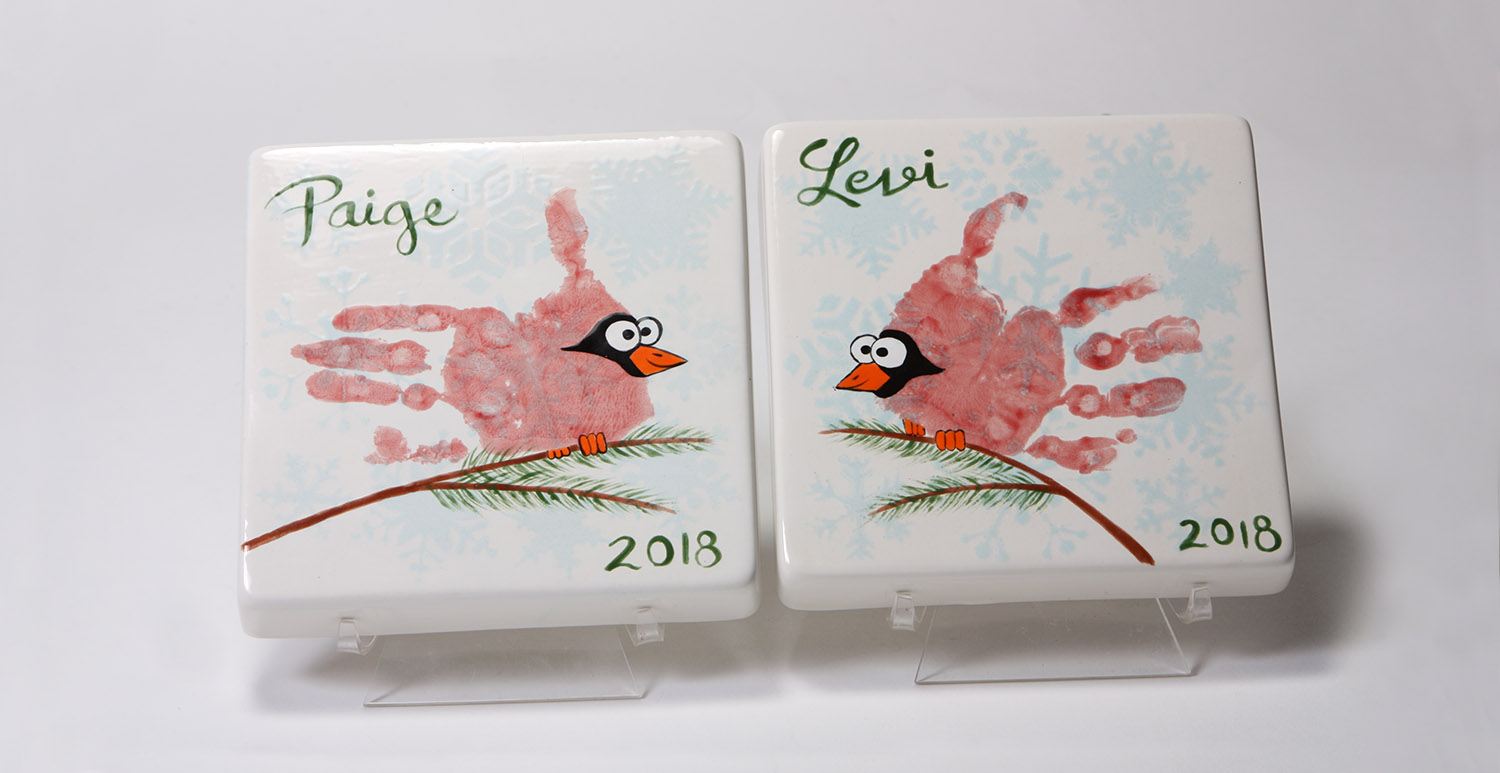
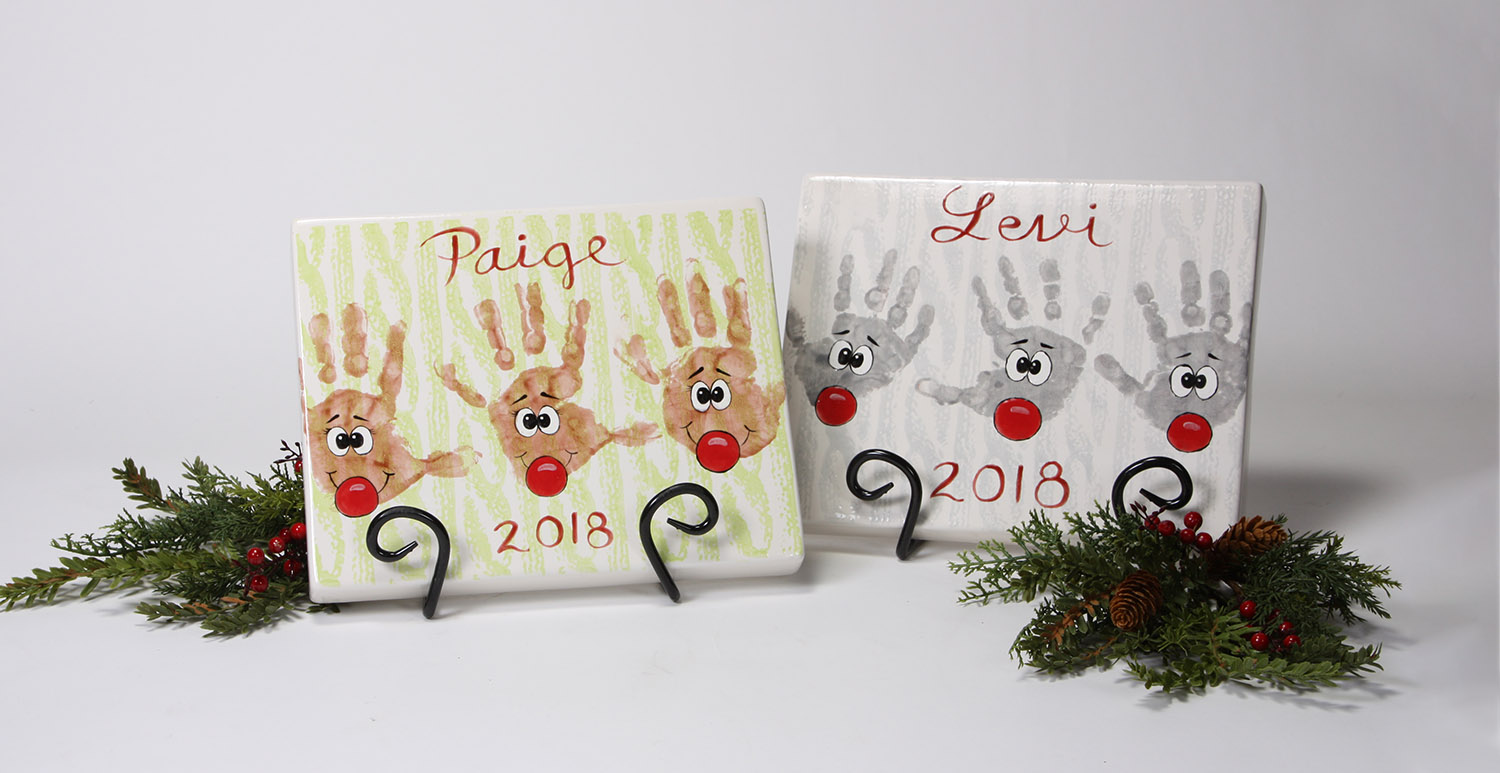
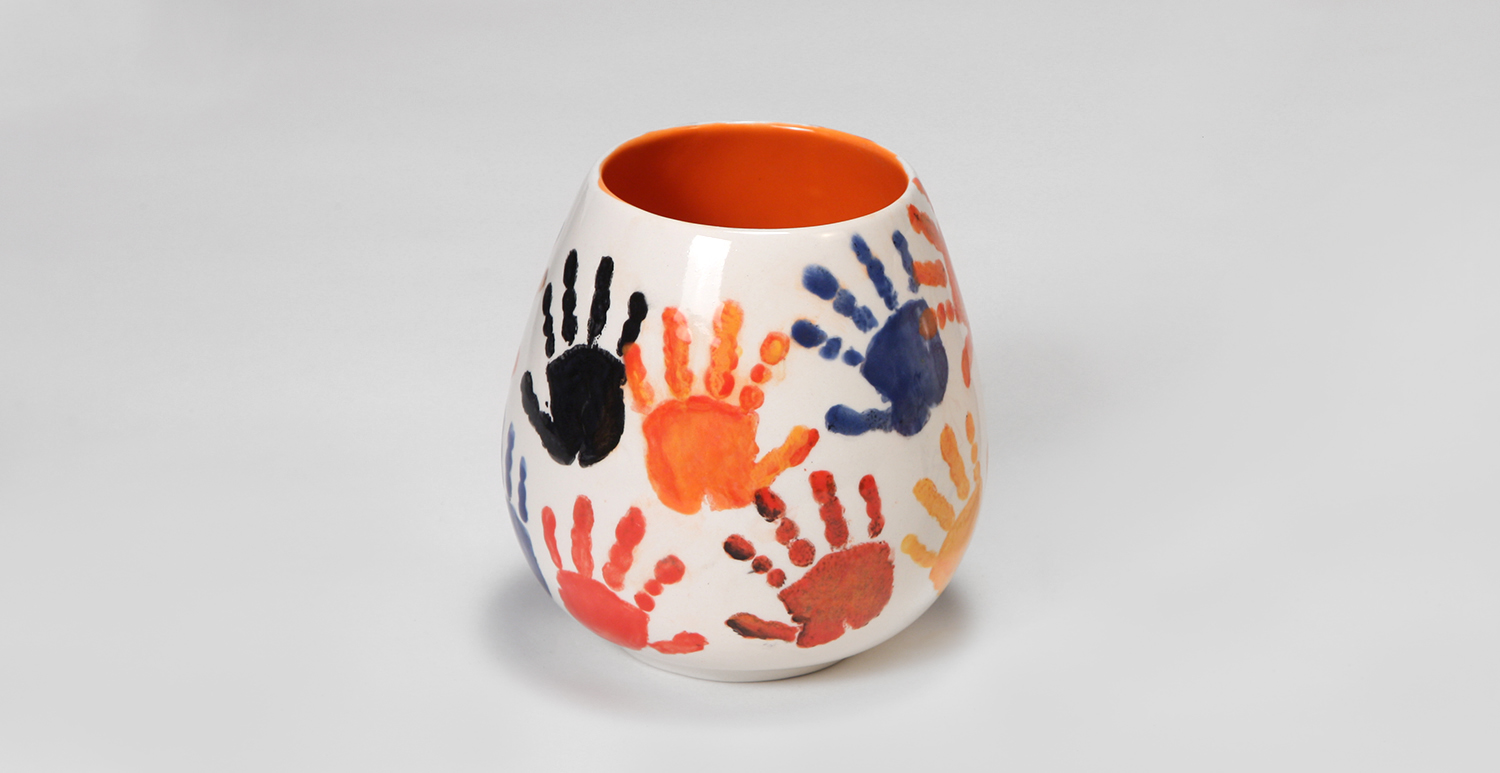
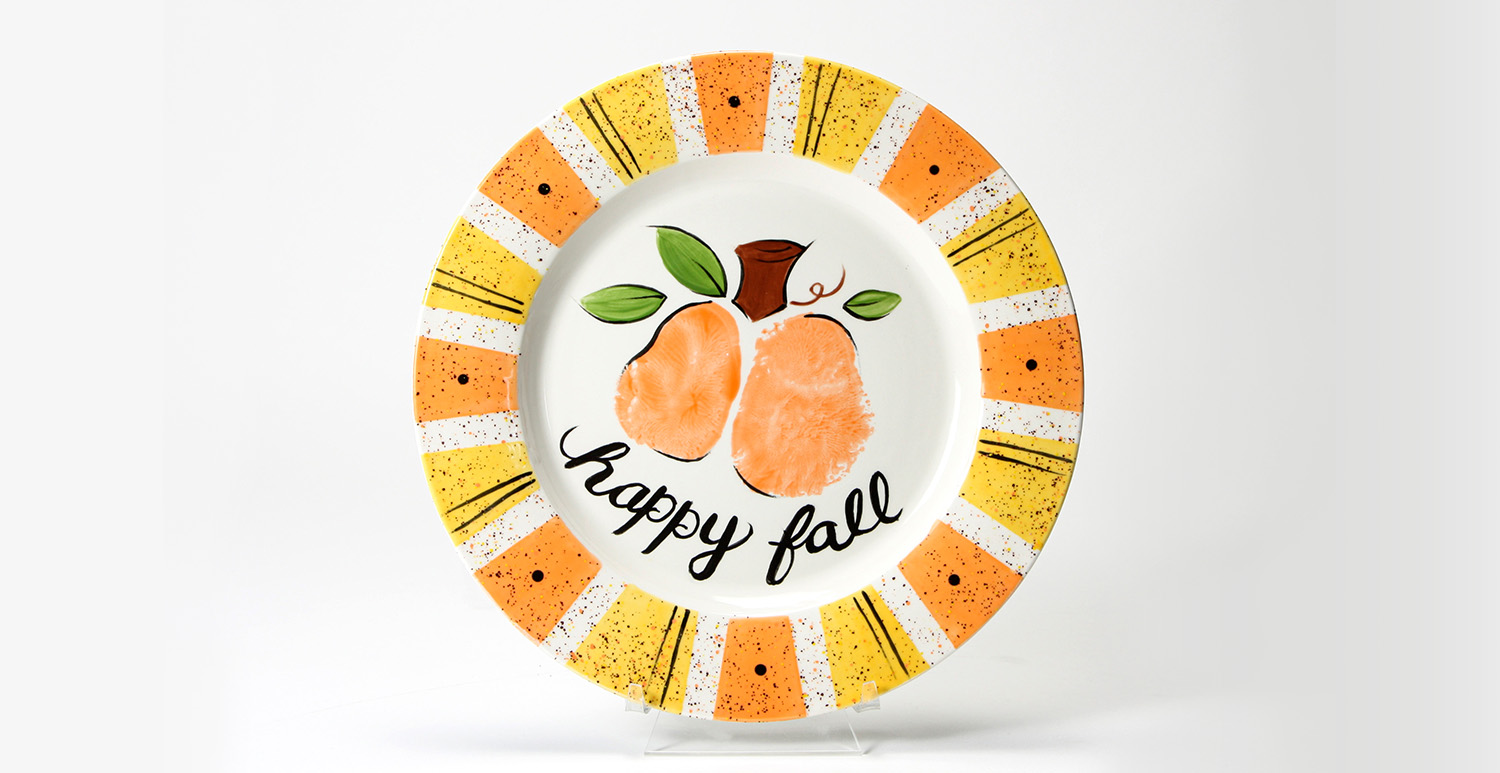
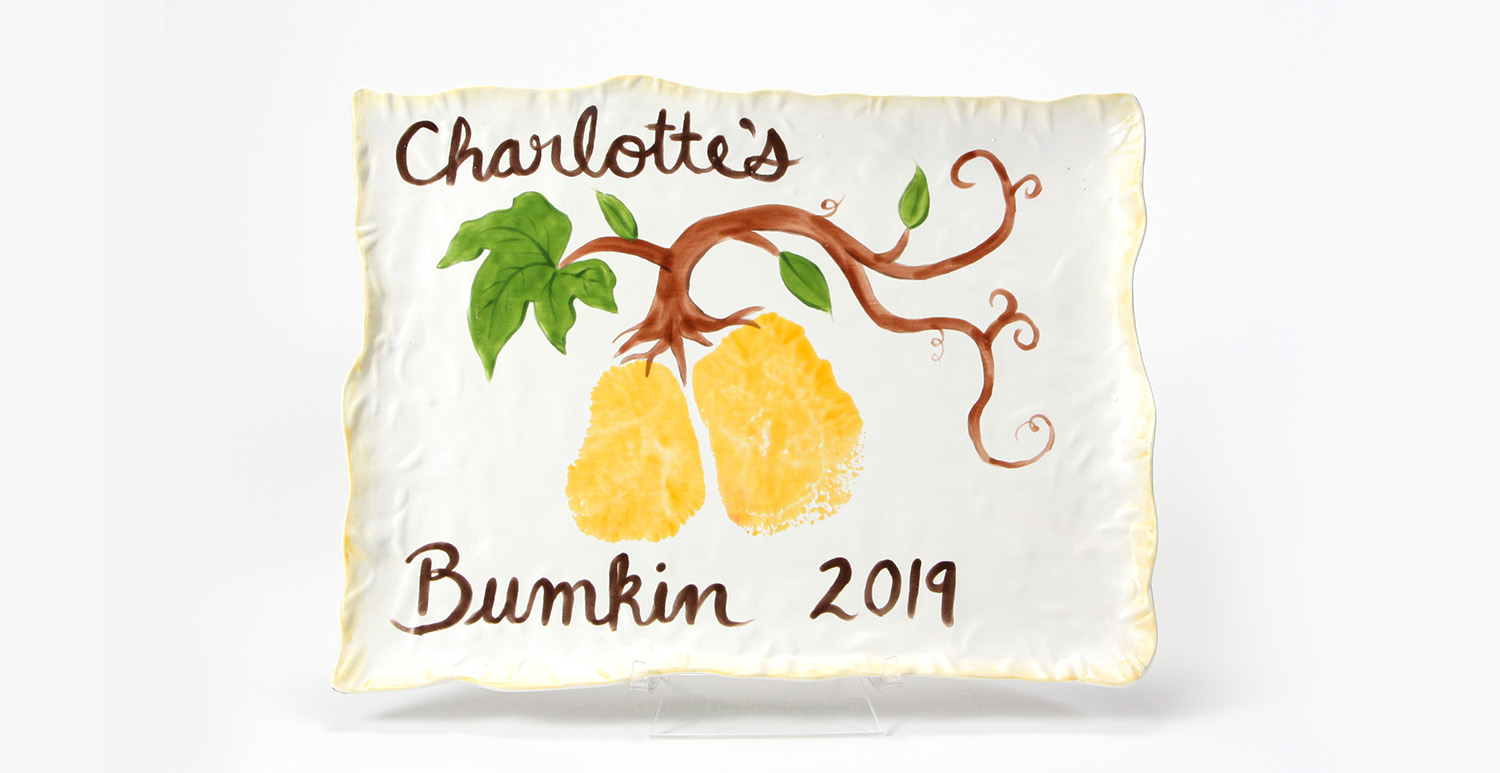
Leaving the background white and apply prints onto bare bisque gives a simple look. If you decide to apply color around the handprints, it looks nice to leave a halo of white around the prints. Paint the background a lighter color with a darker print on top for more pop. Alternatively, you can apply a print then use a Foundations Sheer or Speckta-Clear glaze on top of the entire piece for a different look. We do not recommend applying a dark background color as the prints will not show up as well.

Tips for Successful Printing

  • Have a paper towel or warm wash cloth handy. As soon as you are finished with the print wipe off the foot or hand to keep color from getting on the rest of the piece. Wiping the child’s foot / hand with baby wipes is fine but do not use them on the pottery as it will cause glaze to resist in that area.
  • Use a nice wide brush like a background, mop or fan brush. The bigger the brush the less brush strokes it takes to cover the hand or foot. Have the brushes ready to go when they select their colors. Apply a medium amount of glaze. If you apply it too heavy it will smear. If the glaze it applied too thin, then the print will not show well.
  • Parents love it if you assist with the print and allow them to return without the child to do the details and design work. Have the parent sit down with the child in their lap. Ask the parent to hold the child’s arm by the elbow. By holding it lower by the elbow, the child’s arm is less likely to flail. Tickling or lightly touching the back of a child’s hand can help them open up.
  • Sometimes kids are shy, and the parent needs to build the trust with the child before you start to help. Engage with the child by making it fun with lots of positive praise, clapping, funny faces.
  • With toddlers, it is good to tell them and demonstrate what you’re going to be doing. Put their hand on the pottery and place my hand on top of theirs to make sure there is good contact. Then I have the child count to three before I remove their hand. It’s more for fun and their involvement than anything. Sometimes the parents and siblings will count with me.

Typically, children under 6 months are grippers. If the child is a real gripper, you can use this method to get a good print.

  • Use a brush to apply a layer of glaze to a piece of sturdy plastic (laminate or acetate).
  • Brush a glaze onto the child’s hand.
  • Place the plastic where you want the print to go on the piece.
  • Place the child’s hand on top of the plastic.
  • Pull the plastic out (parallel to the piece) from under the hand.
  • The hand will land flat onto the piece giving you a good print!

Using a babys feet or bums are also popular as well. Overall, this is a very playful and interactive decorating effect for parents and their children to make in your studio! Have fun and happy printing!

Top