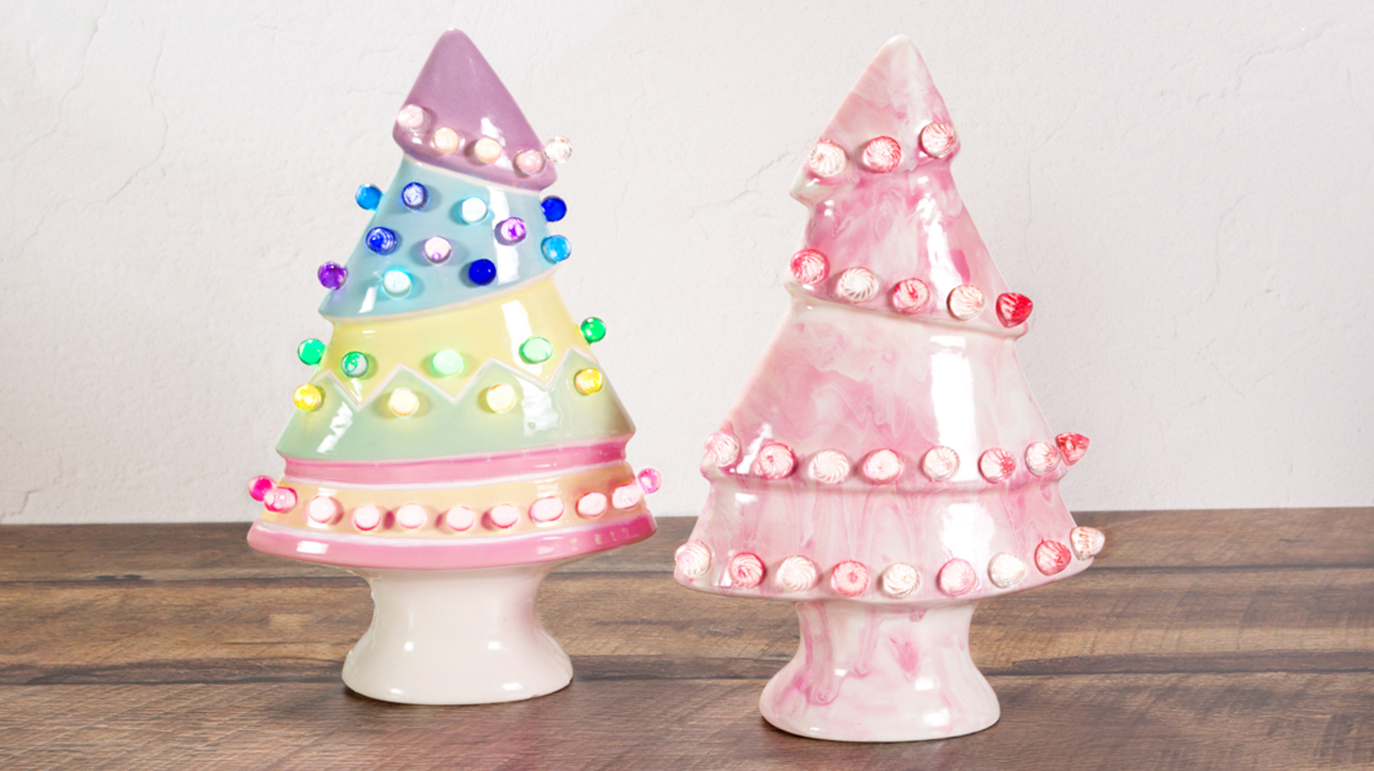
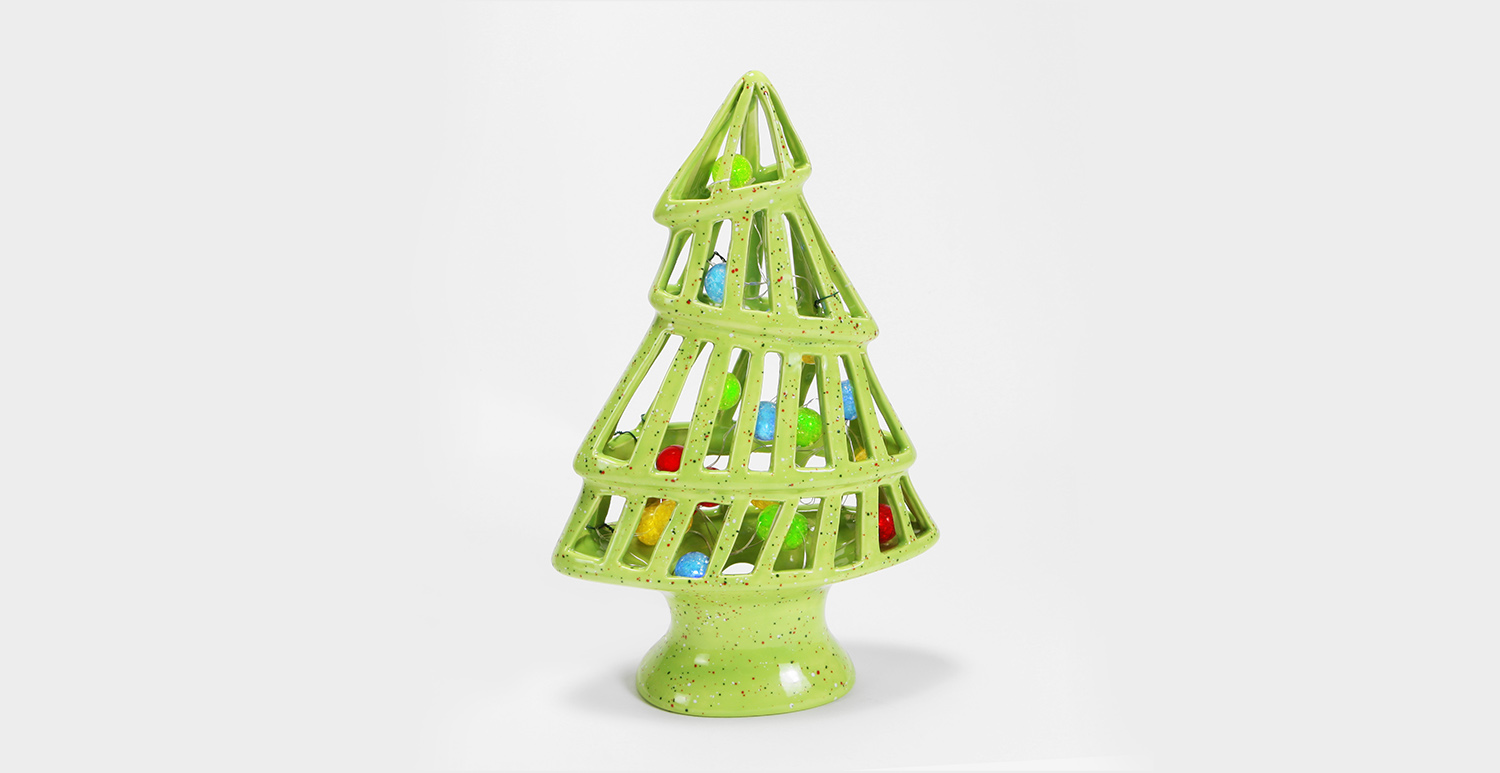
Easter Trees

Designer: Elizabeth Carey

Share

Instructions

Pink Marble Funky Tree

  1. Pour CD-1095 Funky Tree mold ¼” thick. Refer to casting instructions.
  2. Once it is firm enough to handle, use the sponge to smooth down casting lines.
  3. Use the X-ACTO knife to cut out a hole in the bottom, back for the pinch light. It should be around 1” in diameter.
  4. Use the ¼” punch to make holes for the lights.
  5. Use a damp sponge to smooth down any rough edges.
  6. Fire to cone 04.
  7. Using the Soft Fan with SC-16 Cotton Tail, apply 1 coat to the tree.
  8. Fill each of the Dixie cups half full with SC-1 Pink-A-Boo, SC-16 Cotton Tail and SC-70 Pink-A-Dot (1 glaze per cup). Thin with water until it is easily poured from the cup.
  9. Over a sink or trash can, pour half of each glaze over the tree and rotate. You want to make fast back and forth movements while you pour. This will create lines and dots of glaze all over the tree. Pour the rest of the glazes over the tree and rotate until you achieve the desired look.
  10. After the piece is dry, make sure to clean out any glaze in the holes.
  11. Fire to cone 06.
  12. Glue the swirl lights into the holes using epoxy.
  13. Insert the pinch light.


Easter Egg Funky Tree

  1. Pour CD-1095 Funky Tree mold ¼” thick. Refer to casting instructions.
  2. Once it is firm enough to handle, use the sponge to smooth down casting lines.
  3. Use the X-ACTO knife to cut out a hole in the bottom, back for the pinch light. It should be around 1” in diameter.
  4. Use the Xiem small wire tool to carve designs that would be seen on an Easter egg. These could be straight lines, zig-zags or dots.
  5. Use the ¼” punch to make holes for the lights.
  6. Use a damp sponge to smooth down any rough edges.
  7. Fire to cone 04.
  8. Using the Script Liner with SC-1 Pink-A-Boo, SC-45 My Blue Heaven, SC-55 Yella Bout It, SC-85 Orkid and SC-96 Aqu-ward, apply 2 coats to each section of the tree. Allow glaze to dry between coats.
  9. Dip into NT-CLR Clear Dipping.
  10. Fire to cone 06.
  11. Glue the large globe lights into the holes using epoxy.
  12. Insert the pinch light.

Supplies

Form

  • CD1095 Funky Tree

Colors

Egg Tree

  • NT-CLR Clear Dipping
  • SC-1 Pink-A-Boo
  • SC-45 My Blue Heaven
  • SC-55 Yella Bout It
  • SC-85 Orkid
  • SC-96 Aqu-ward

Marble Tree

  • SC-1 Pink-A-Boo
  • SC-16 Cotton Tail
  • SC-70 Pink-A-Dot

Decorating Accessories

  • RB-144 #4 Soft Fan
  • RB-106 #6 Script Liner

Miscellaneous Accessories

  • Sponge
  • Water
  • 3 Dixie Cup (for marble tree)
  • ¼” circle punch
  • X-ACTO knife
  • Xiem small wire tool (pointed tip)
  • Pinch light
  • Large Globe Lights (multicolor) or Swirl lights (pink and clear)
  • Epoxy
Top