Handbuilding:
1. Roll out a slab that is 1/8” thick.
2. Compress slabs on both sides with a rib.
3. Lay down texture pads side by side onto slab and apply pressure to create texture.
4. Cut circles with a cookie cutter.
5. Roll cardstock into a cone and tape edge to create armature. Cut bottom so the cone sits flat on the table.
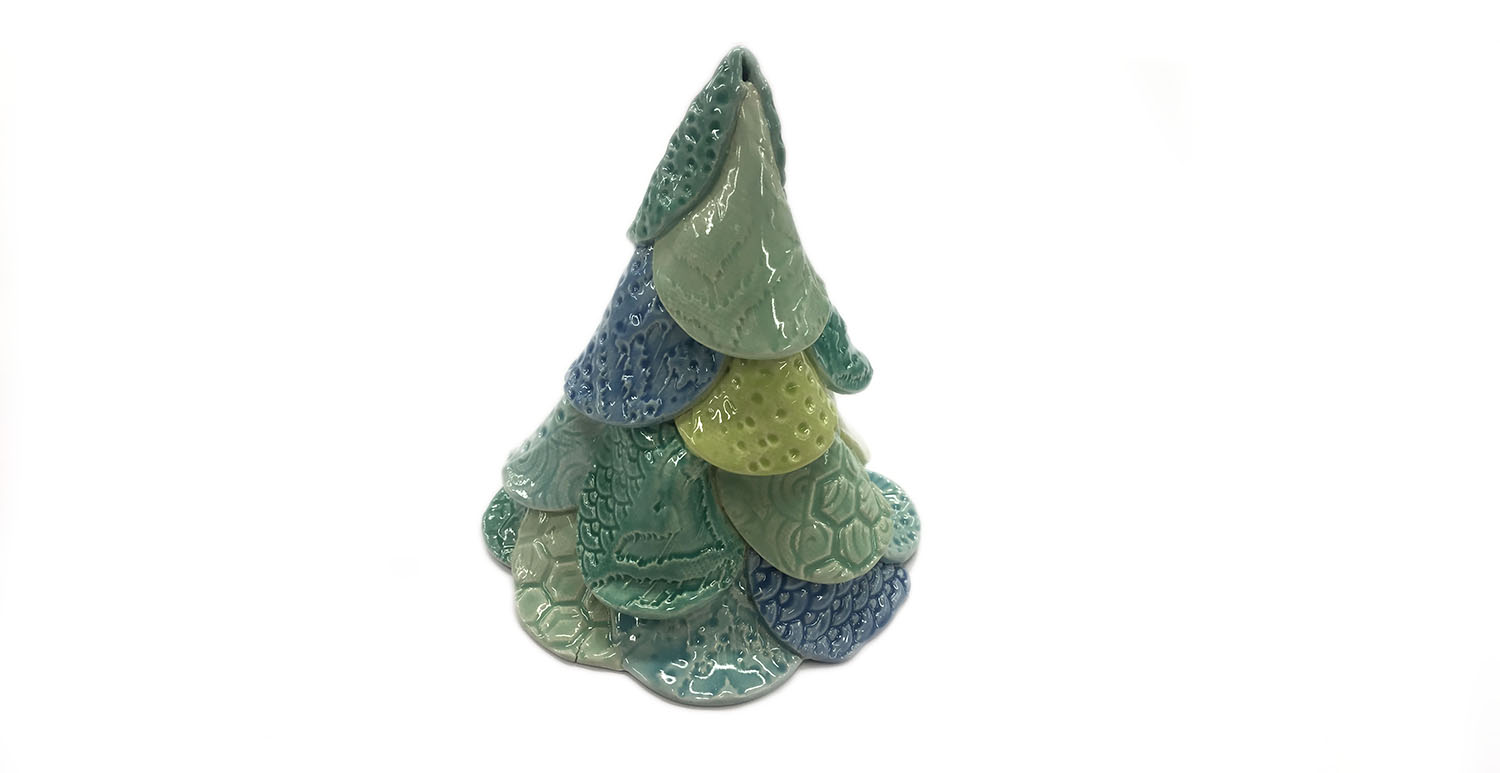
6. Start assembling tree by slipping and scoring textured circles together so they slightly overlap and make a ring around the base of the cone.
7. Continue to slip and score circles together as you build up to the top of the cone in a spiral pattern. Leave bottom circles slightly detached so they can stick out to look like branches.
8. Cone final circle at the top to create a point.
9. Let dry completely, fire to Cone 04. You can leave paper cone inside and allow to burn out.
Glazing:
1. Using a soft bristled brush, apply 3 coats of glaze to each petal, alternating between the 5 colors.
2. Once the outside is fully dry paint the inside with 3 coats of FN-231 Clearly Jade.
3. Let dry completely, fire to Cone 06 using stilts.
Form
Color
Accessories