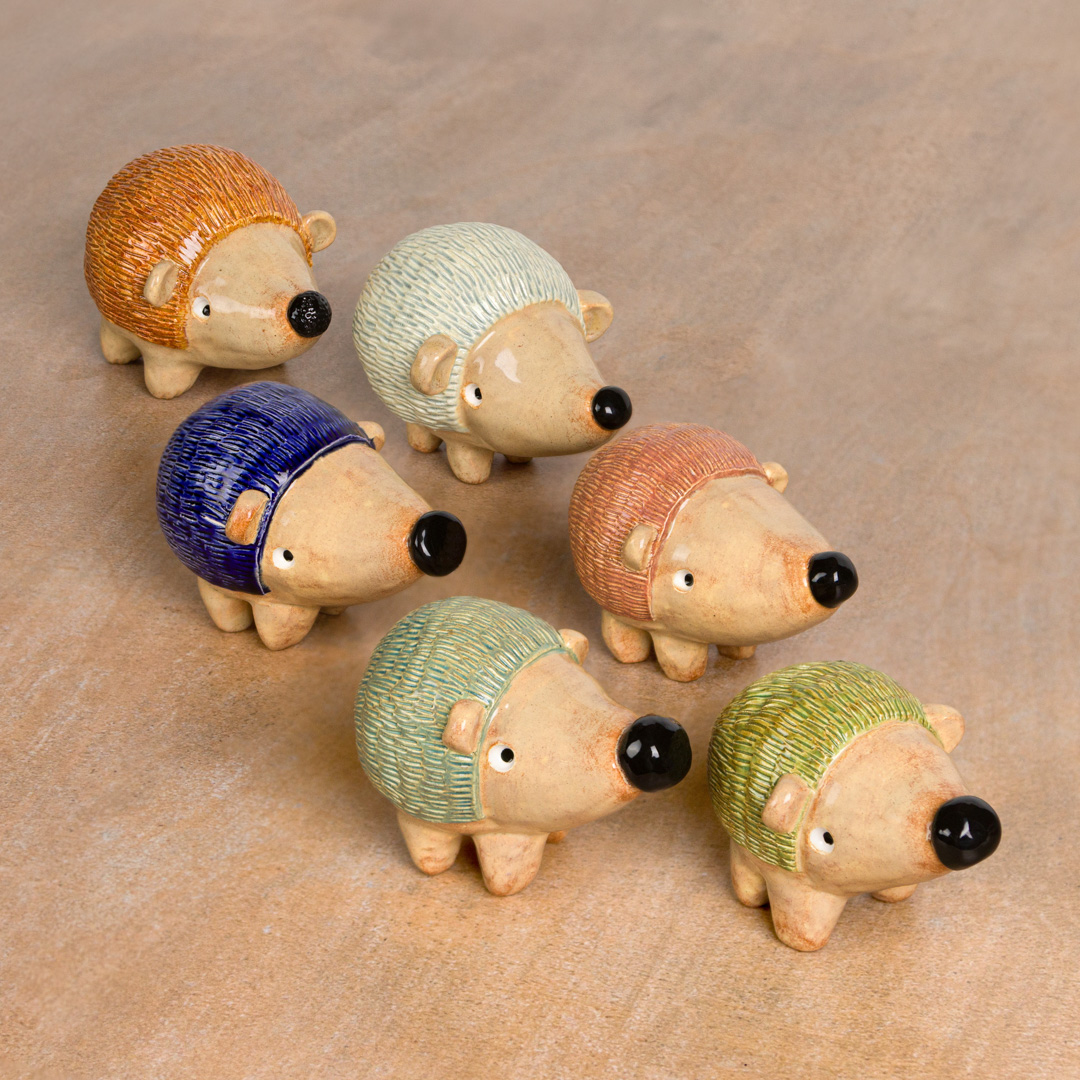
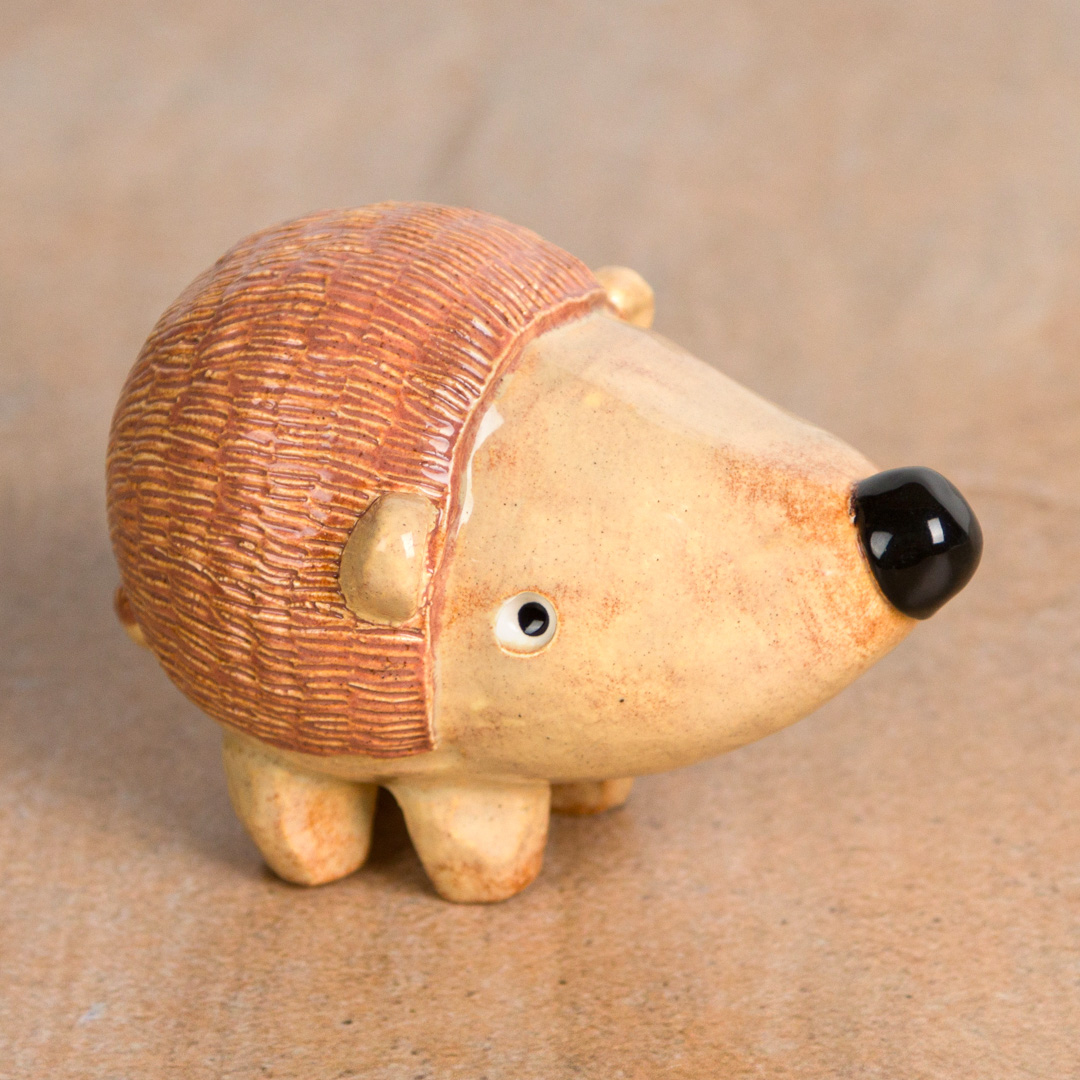
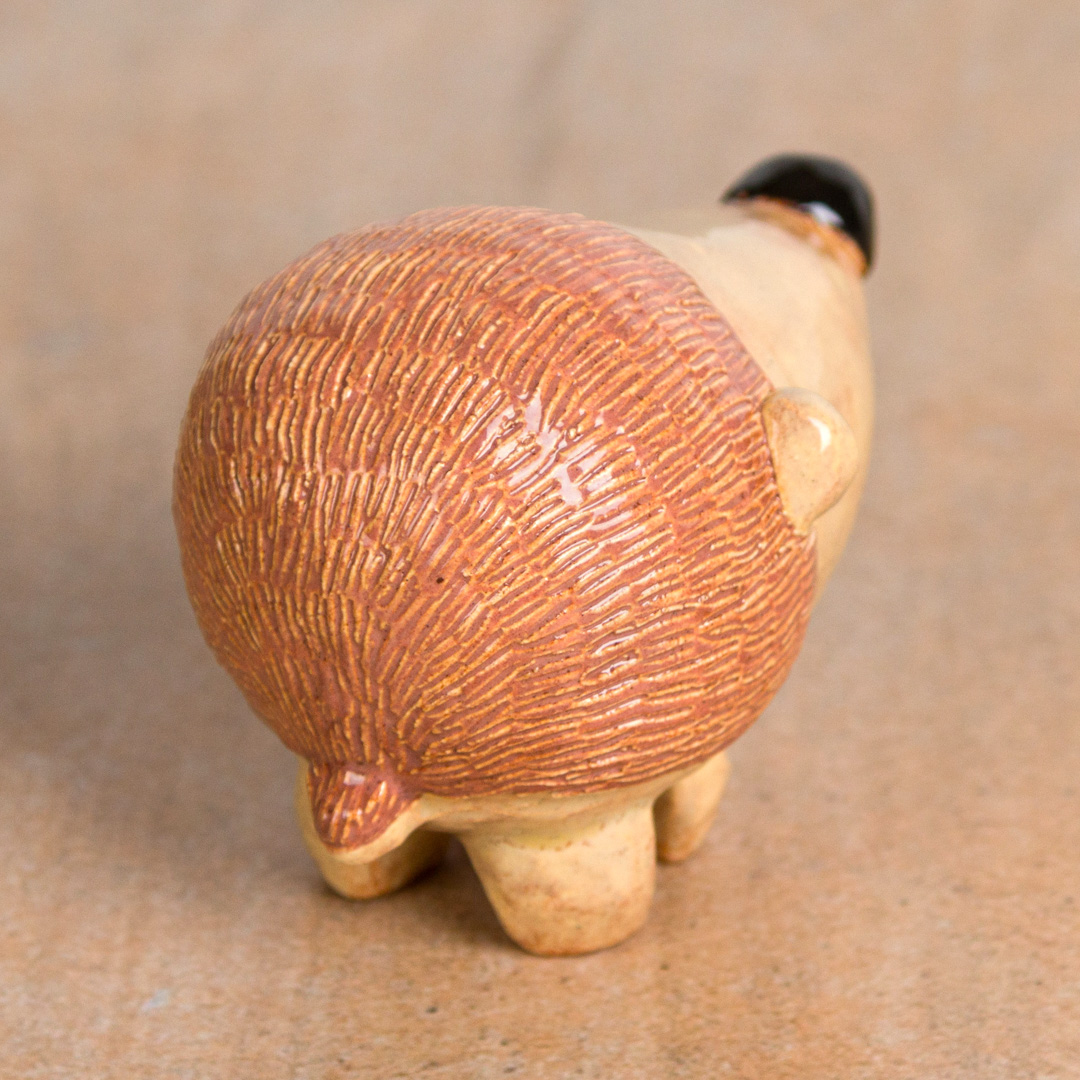
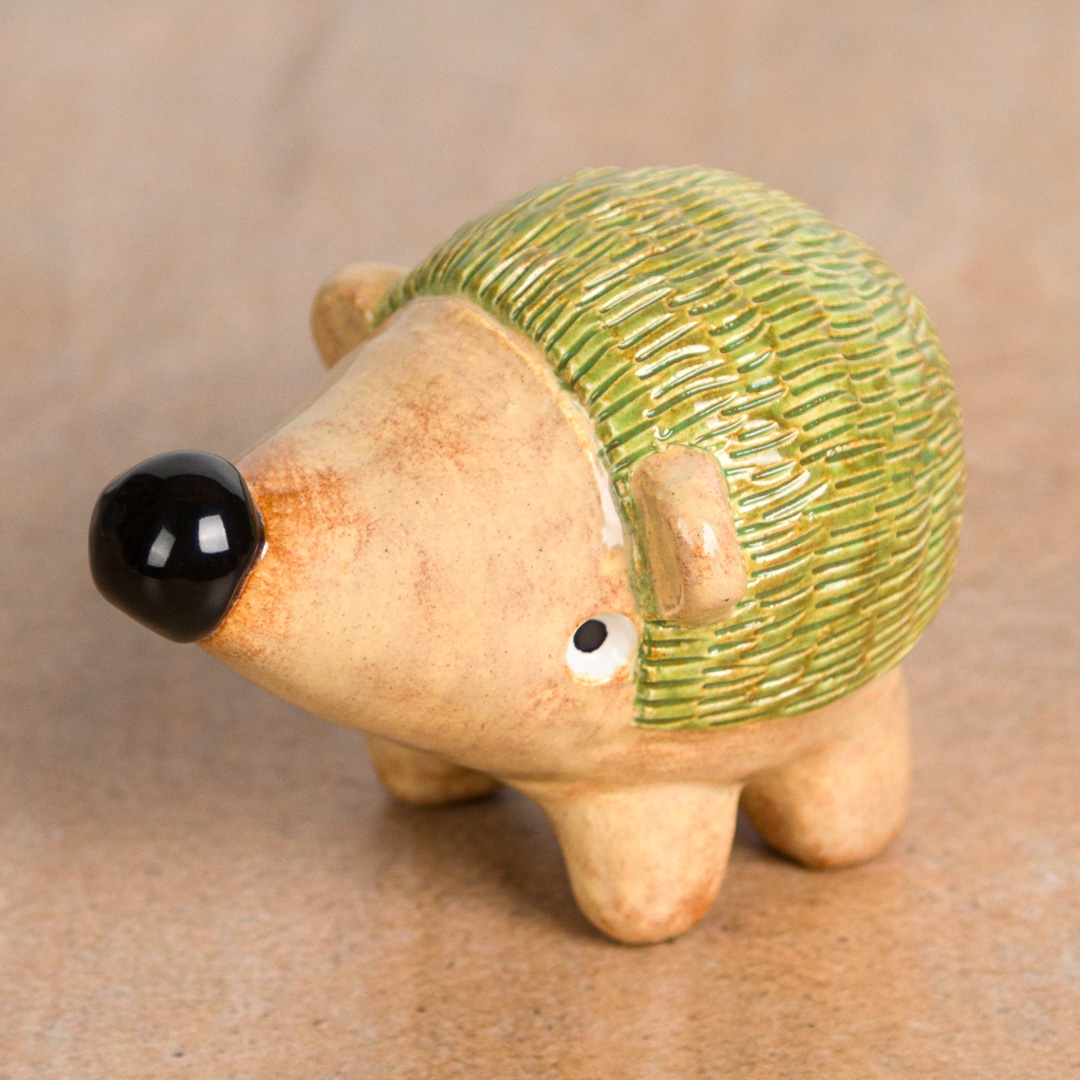
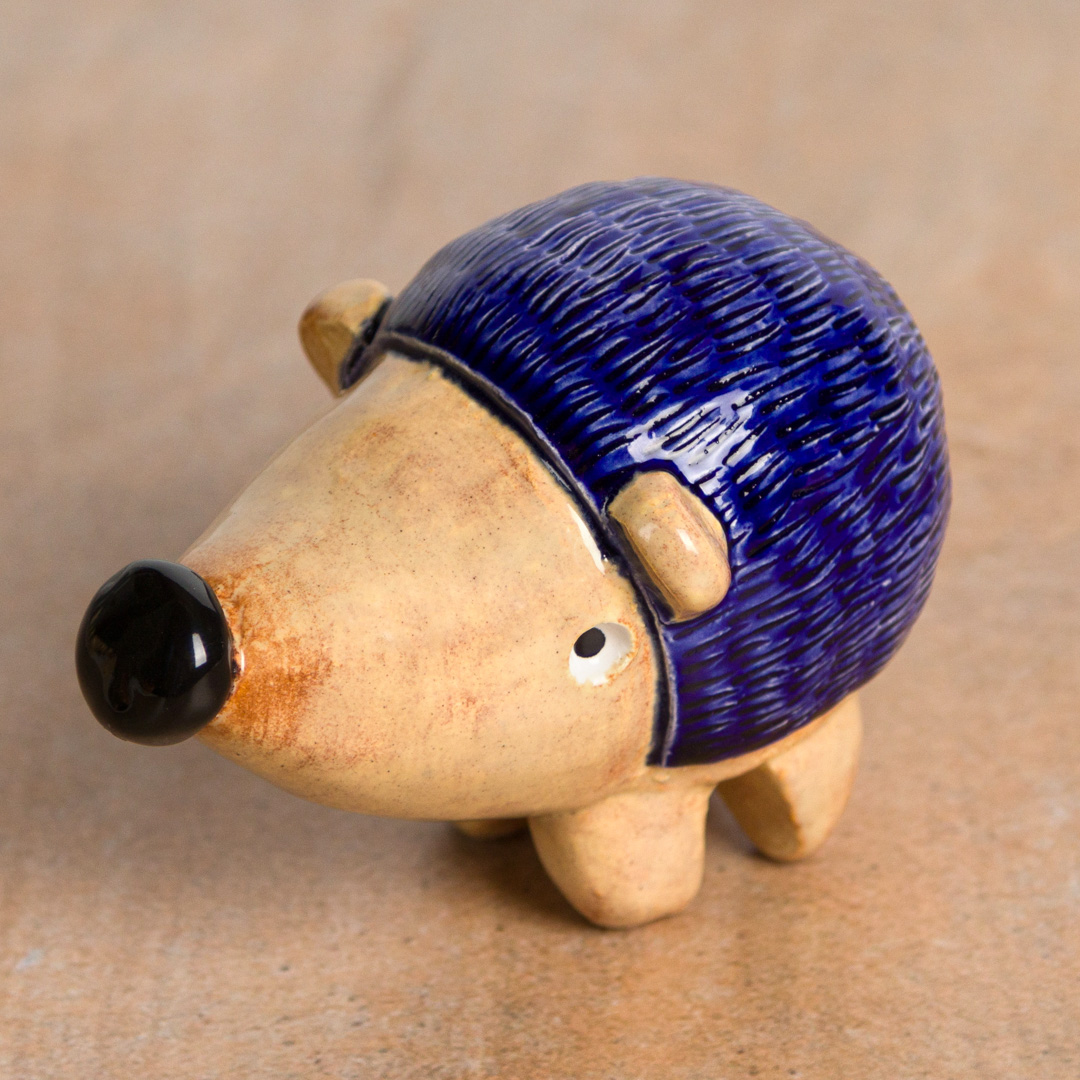
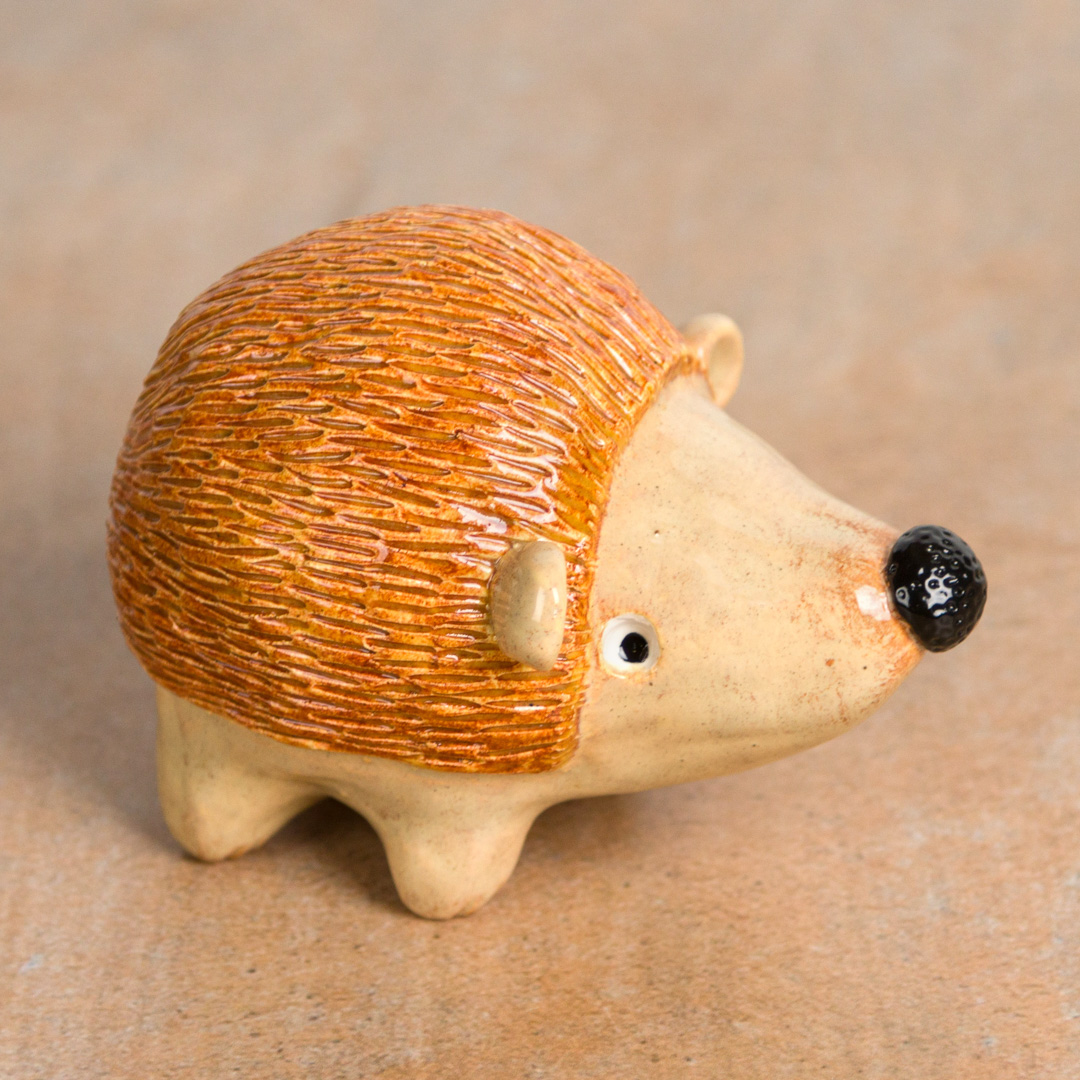
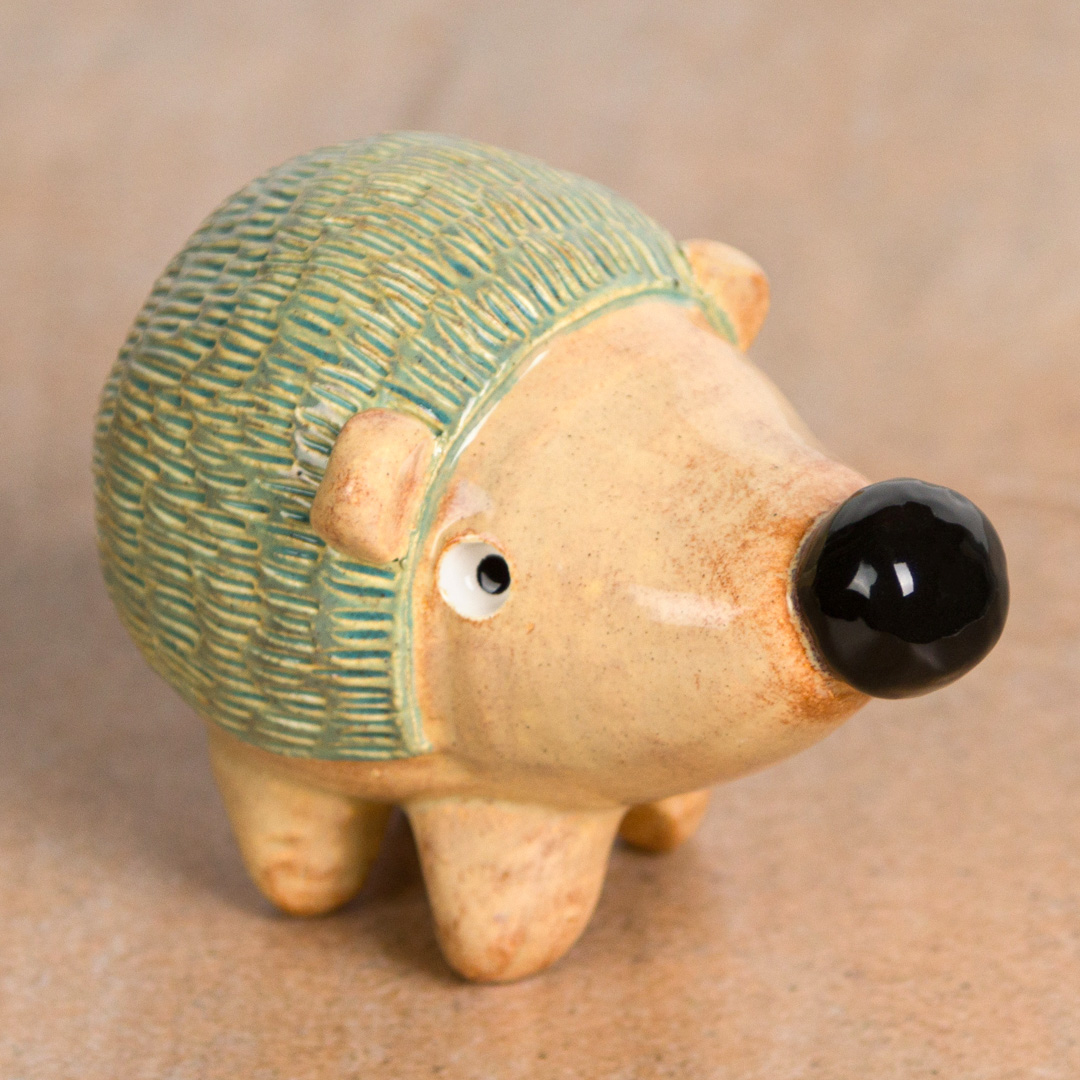
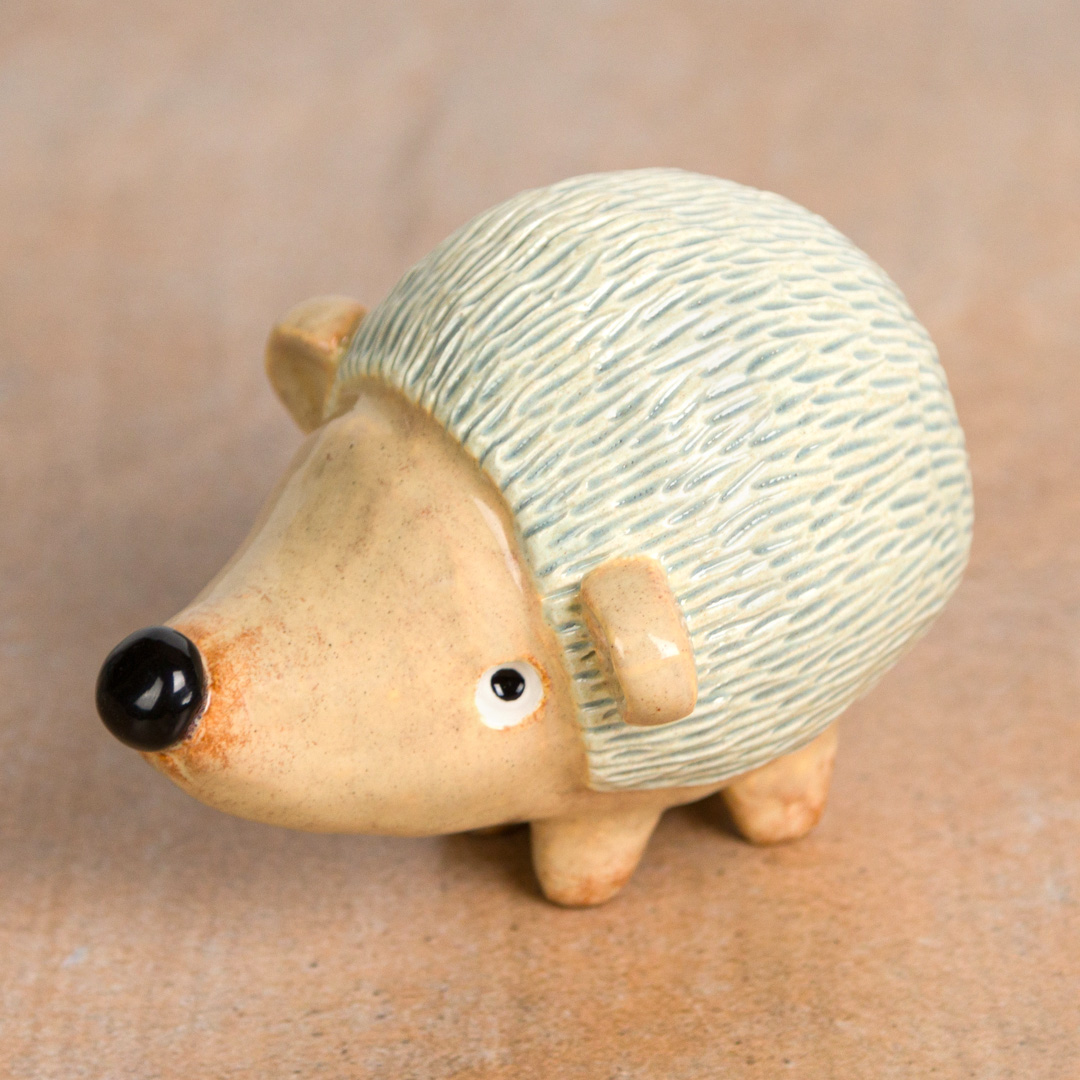
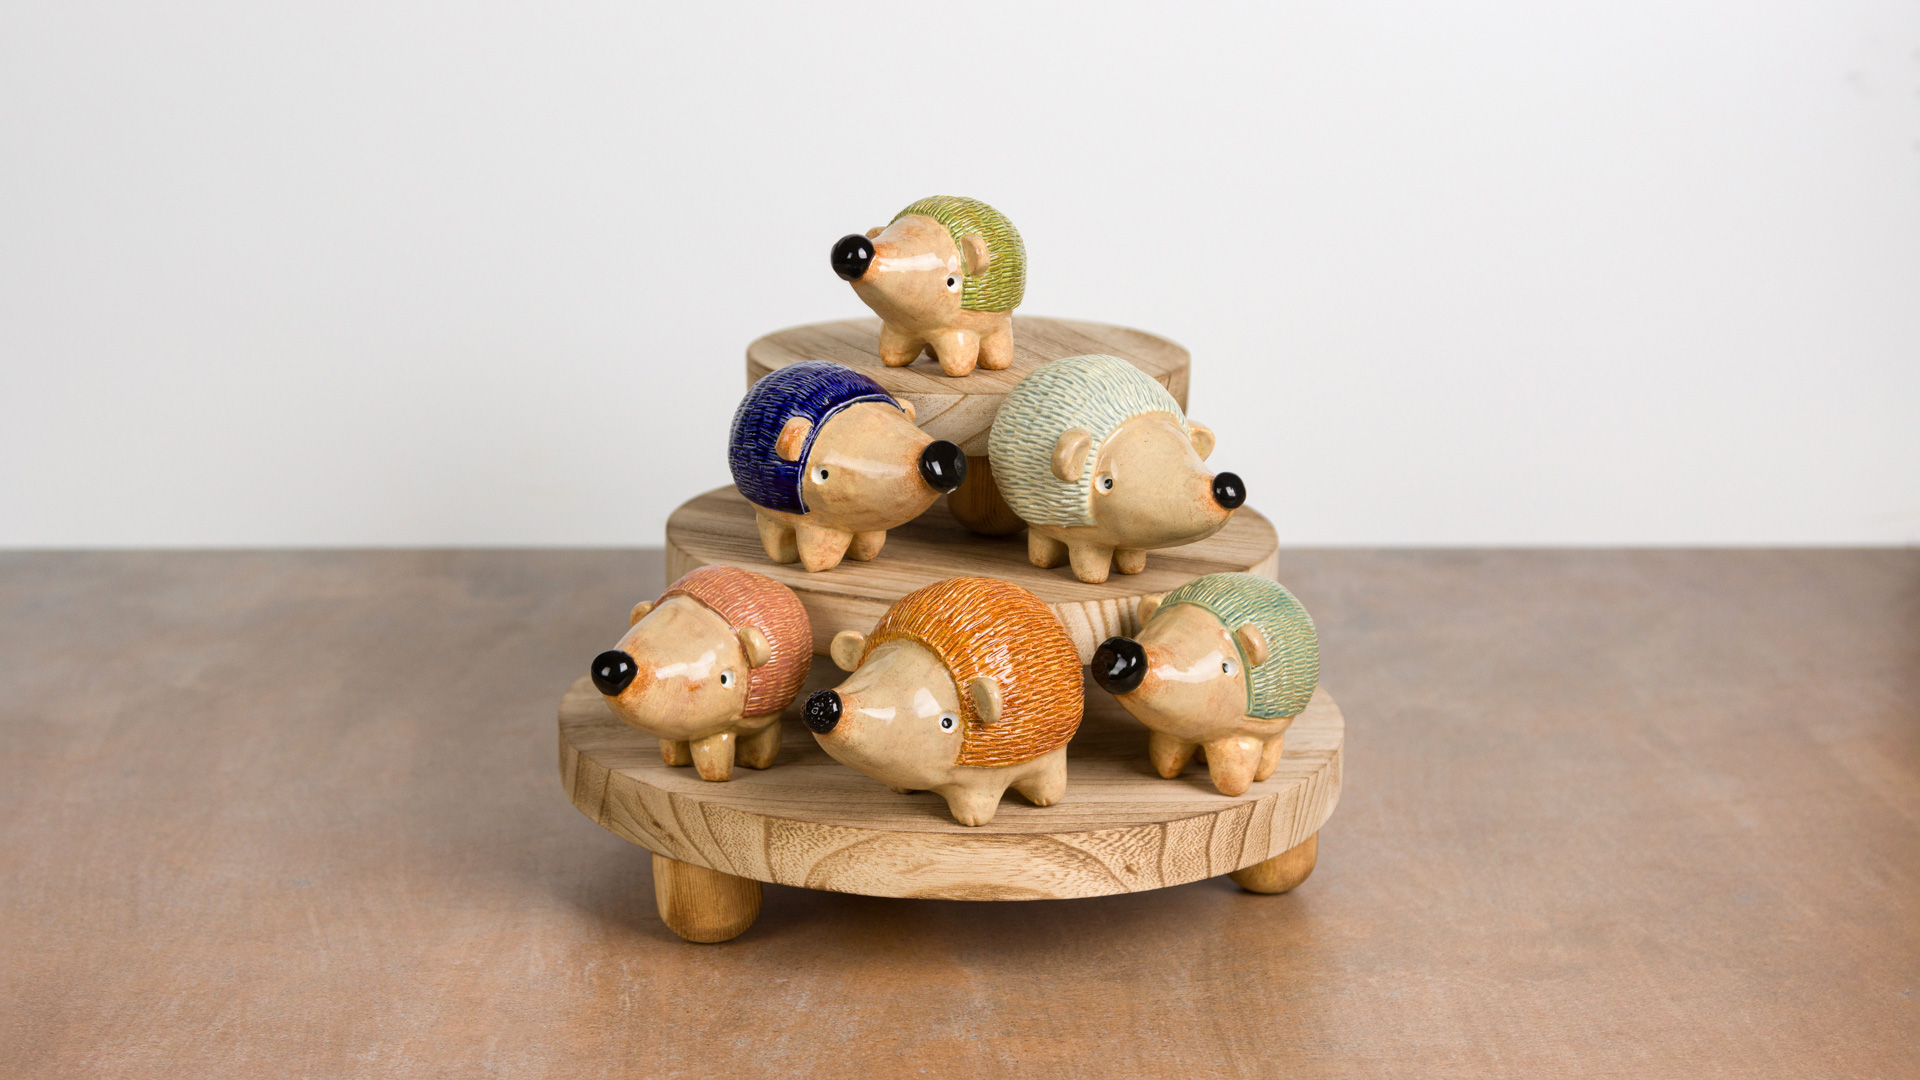
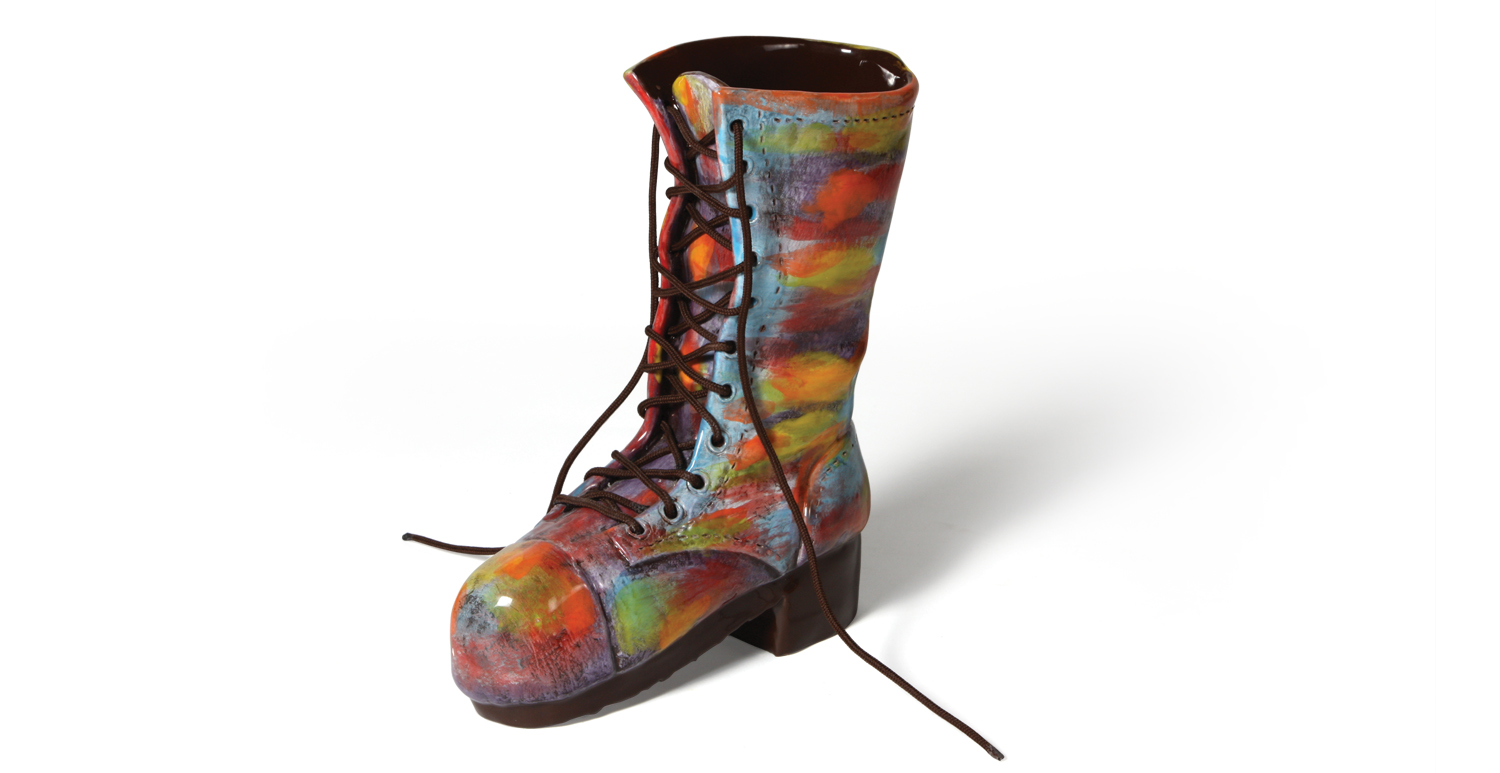
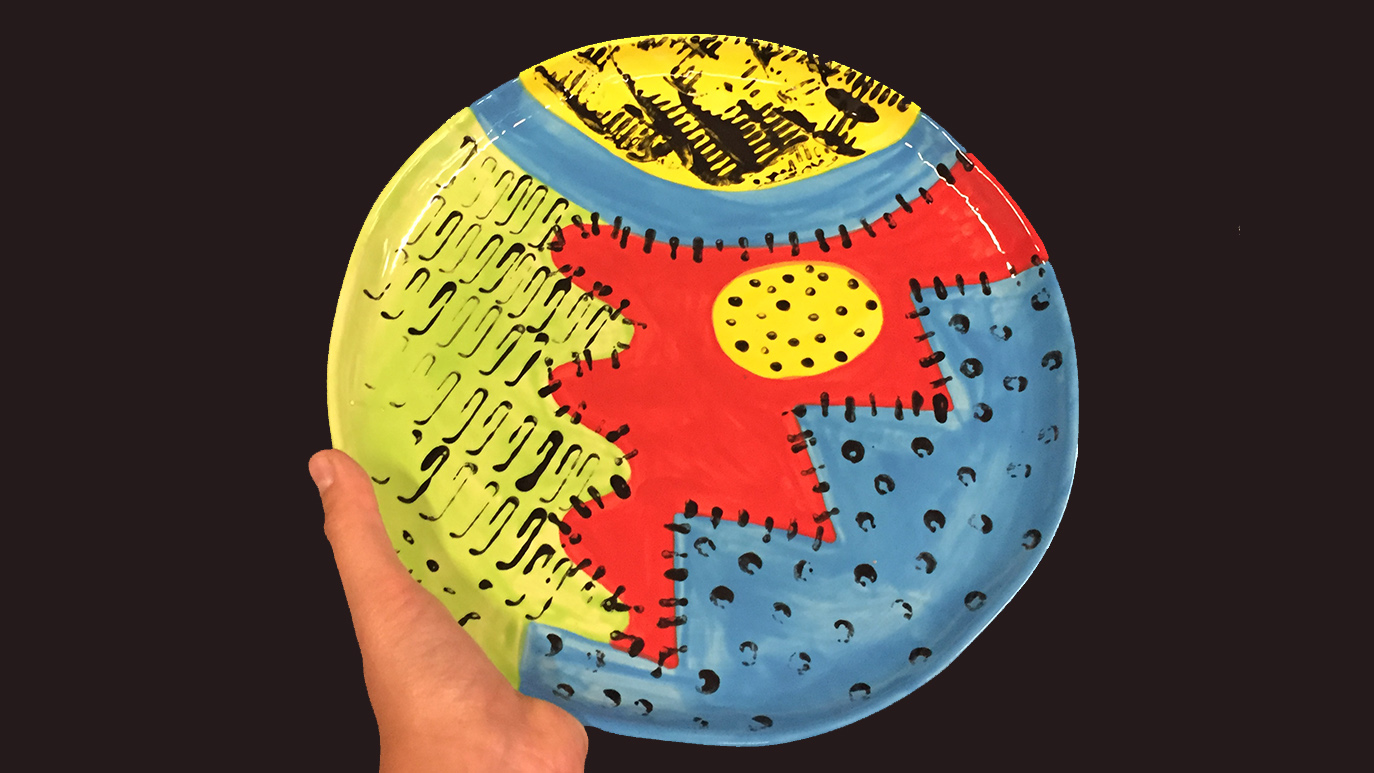
Handbuilt Hedgehogs

Designer: Bailie Benson

Share

Instructions

  1. Roll out a 1lb ball of low fire clay.
  2. Cut ball of clay in half.
  3. Using your chosen carving tool, hollow out the two halves of the ball of clay leaving two small clay bowls with walls around1/4th inch thick.
  4. Smoosh the excess clay from hollowing out the sphere back into another ball. Cover and set aside.
  5. Pinch the sides of both halves of the hollowed-out sphere to compress and slightly widen the two bowl shapes.
  6. Scratch and attach the two bowls back together into a hollow sphere.
  7. Remove the ball of excess clay from under the cover and make one cut slightly off center all the way through the ball.
  8. With the larger of the halves, use a pinch pot technique to form a cone shape. This will be the nose.
  9. Cut the smaller half of the ball into 4 equal parts. These will be the legs.
  10. Punch a small hole in the main sphere where you’d like your nose to sit.
  11. Scratch and attach the nose to the main sphere over the hole.
  12. Round off the legs and cut off excess clay until they’re as short as you’d like them.
  13. Roll the extra clay from cutting down the legs into a ball.
  14. Cut this ball in half. One half will be the nose tip, the other will make the ears and tail.
  15. Scratch and attach legs, nose, and tail.
  16. Use the back end of a paintbrush or carving tool to press eyes into the head.
  17. Outline with the toothpick where you’d like the quill area to start and stop. You can use a carving tool to carve away a little clay from the outside of the line to help the quill area stand out better.
  18. Press in and drag the toothpick in short strokes backwards all over the back of the hedgehog to imitate the look of quills.
  19. Scratch and attach the ears over the quill area slightly above where the eyeballs sit.
  20. IMPORTANT: In the bottom of the hedgehog, punch a hole through the body to the hollowed-out center.
  21. Allow to dry completely.
  22. Bisque fire to cone 04.
  23. Using a script liner brush, apply two coats of EL125 to the body and ears of the hedgehog.
  24. Using the script liner brush, apply 3 coats of your chosen elements glaze to the quill area of the hedgehog.
  25. Dip the back of your brush into SC016 and apply in the hole for the eyes.
  26. Once the SC016 is dry, put a tiny dot of SC015 on the tip of your brush and insert into the eye hole for the pupil.
  27. Allow glaze to fully dry.
  28. Carefully stilt or wipe the bottom of the feet to remove any excess glaze before placing on the kiln shelf.
  29. Fire to cone 06.

Supplies

Form

  • 1lb low fire clay

Colors

  • EL130 Sea Green
  • EL134 Mirror Blue
  • EL142 Grass
  • EL127 Rose Granite
  • EL133 Autumn
  • EL103 Sea Spray
  • SC015 Tuxedo
  • SC016 Cotton Tail
  • EL125 Sahara Sands

Decorating Accessories

  • RB106 Script Liner brush

Miscellaneous Accessories

  • Sponge
  • Water
  • Plastic card
  • Carving tools
  • Toothpick
  • Bowl of water
Top