- Begin with properly fired shelf cone 04 bisque. Moisten a clean sponge and wipe bisque to remove any dust.
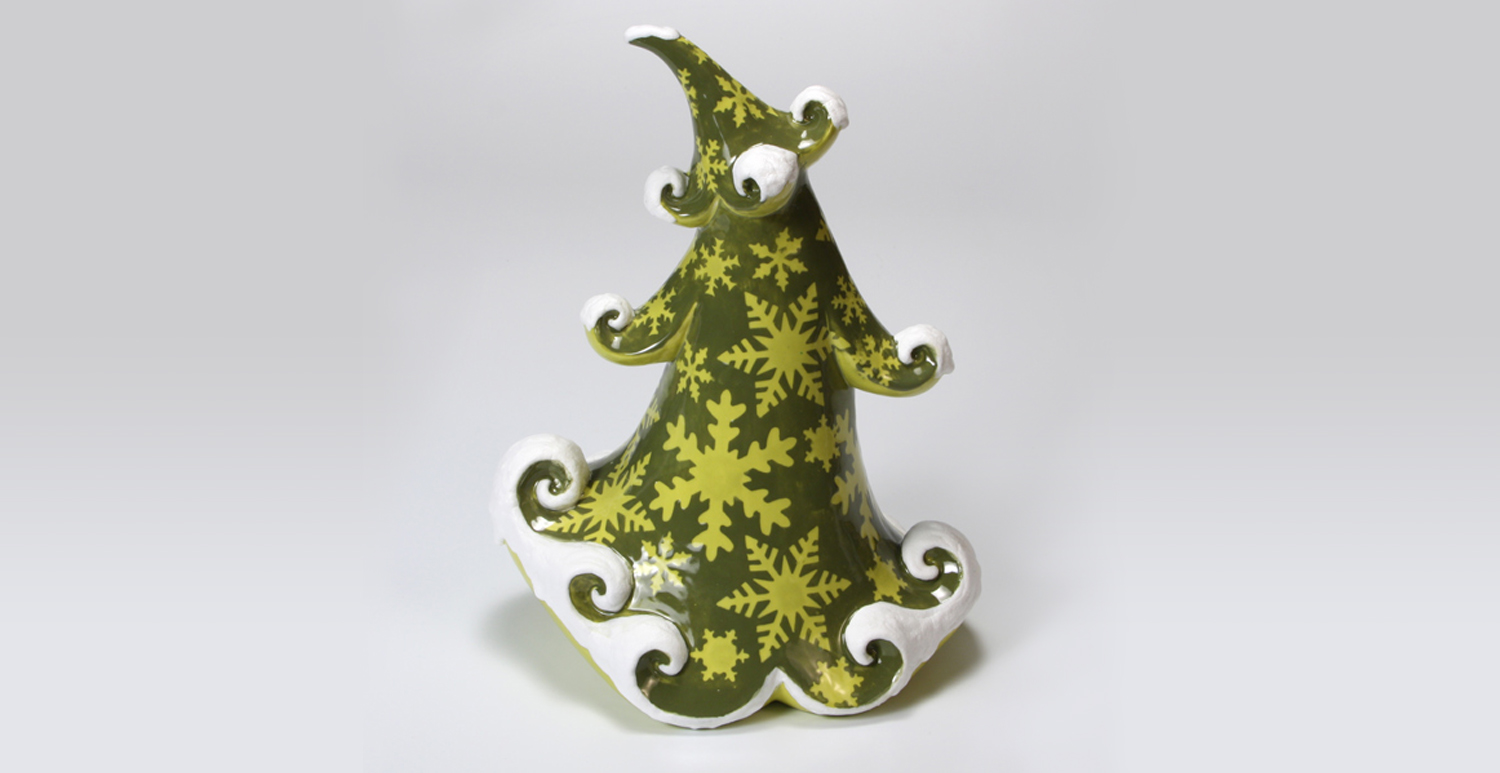
- Using the CB-604 Soft Fan Brush, apply three coats of SC-77 Glo-worm to the entire tree.
- Punch out various sizes of snowflakes. Wet the area of Glo-worm before placing on the paper snowflake, press gently with a paper towel to make the paper stick to the glaze. A light coat of Glo-worm over the paper also helps prevent color bleed. The snowflake is acting as masking, so the edges need to be sealed so the top color does not leak underneath.
- Using the CB-604 Soft Fan Brush apply two coats of SC-39 Army Surplus over the snowflake area of the tree, leave the areas under the branches Glo-worm.
- Remove the paper snowflakes. Using a needle tool and tweezers is helpful.
- Using the CB-106 Script Liner, apply two heavy coats of SG-302 Snowfall on the tips of the branches.
- Stilt and fire to shelf cone 06/05.