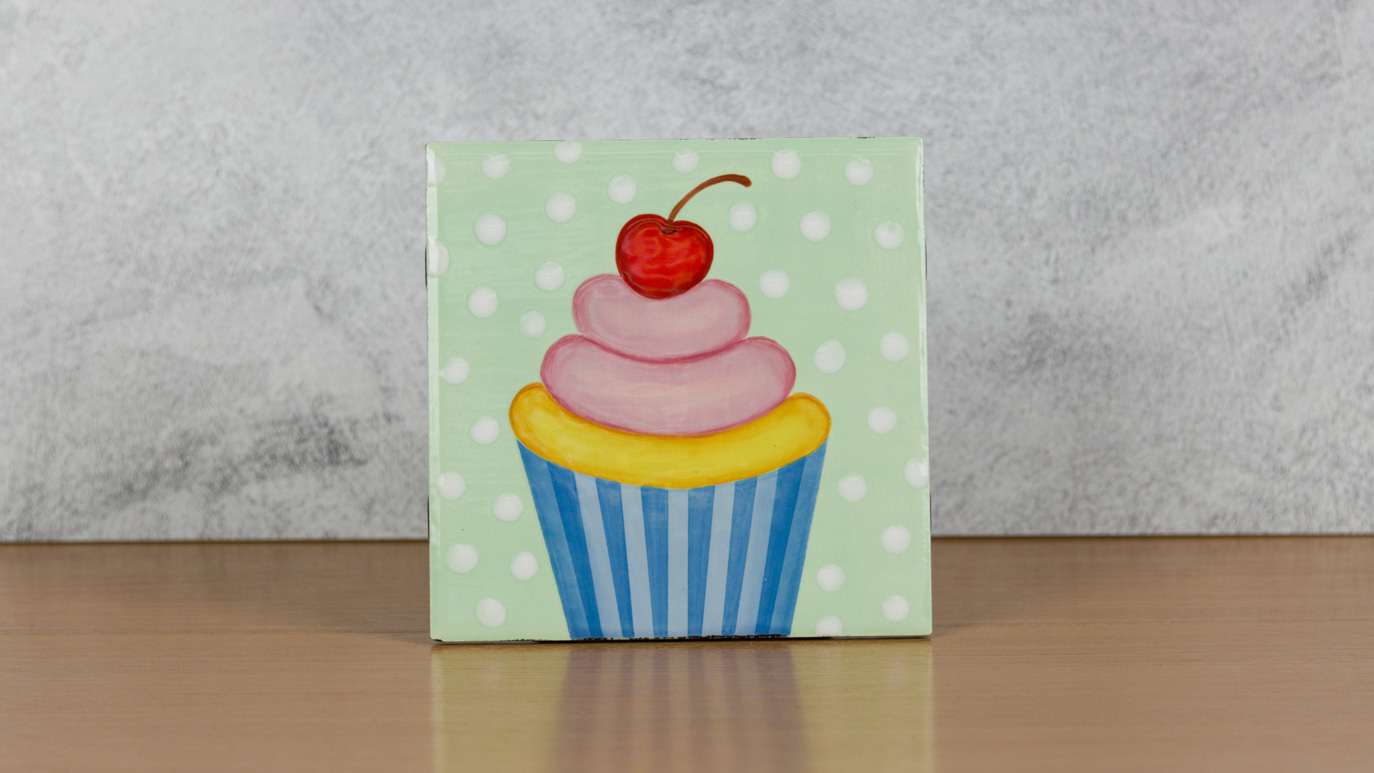
Painterly Cupcake Tiles

Designer: Elizabeth Carey

Instructions

  1. Begin with properly fired cone 04 bisque. Moisten a sponge and wipe bisque to remove any dust.
  2. Using the Soft Fan with SC-96 Aqu-ward, apply 2 coats to the front of the tile. Allow glaze to dry between coats.
  3. Place the pattern over the tile. Slide AC-230 Clay Carbon Paper under the pattern and trace with the pencil.
  4. Remove the pattern.
  5. Squeeze out around 1 tsp of SC-42 Butter Me Up, SC-5 Tiger Tail, and SC-25 Crackerjack Brown onto the palette.
  6. Using the Script Liner with SC-42 Butter Me Up, apply 1 coat to the cake.
  7. Dip the same brush into SC-5 Tiger Tail. Make a line going around the edges of the cake.
  8. Blend into the center. Repeat for a second coat.
  9. Using the Detail Liner with SC-25 Crackerjack Brown, outline the cake.
  10. Blend the inner edge of the line.
  11. Squeeze out around 1 Tbsp of SC-1 Pink-A-Boo, SC-70 Pink-A-Dot, and SC-18 Rosey Posey on to the palette.
  12. Using the Script Liner with SC-1 Pink-A-Boo, apply 1 coat to the icing.
  13. Dip the same brush into SC-70 Pink-A-Dot. Make a line going around the edges of each icing layer.
  14. Blend into the center. Repeat for a second coat.
  15. Using the Detail Liner with SC-18 Rosey Posey, outline the icing.
  16. Blend the inner edge of the line.
  17. Squeeze out around 1 Tbsp of SC-65 Peri-Twinkle, SC-31 The Blues, and SC-16 Cotton Tail onto the palette.
  18. Using the Script Liner with SC-65 Peri-Twinkle, apply 1 coat to the wrapper.
  19. Dip the same brush into SC-16 Cotton Tail.
  20. Apply a line going vertically down the center of the wrapper.
  21. Blend towards the edges.
  22. Dip the same brush into SC-31 The Blues and make a line going down the sides of the wrapper.
  23. Blend into the center. Repeat for a second coat.
  24. After the wrapper is dry, use MC-001 6mm Low Tack Masking Tape to make lines going vertically down the wrapper.
  25. Using the Script Liner with SC-31 The Blues, apply 2 coats over the portions of the wrapper not covered in tape.
  26. Allow glaze to dry between coats.
  27. Remove the tape before the glaze is completely dry.
  28. Squeeze out around 1 tsp of SC-73 Candy Apple Red, SC-81 Cinnamon Stix, SC-16 Cotton Tail and SC-48 Camel Back onto the palette.
  29. Using the Script Liner with SC-73 Candy Apple Red, apply 1 coat to the cherry.
  30. Using the Detail Liner with SC-81 Cinnamon Stix, apply a line going around the cherry.
  31. Blend into the center. Repeat for a second coat.
  32. Dip the Script Liner into SC-16 Cotton Tail, apply a highlight to the center of the cherry.
  33. Using the Detail Liner with SC-48 Camel Back, make a curved line for the stem.
  34. Squeeze out around 1 Tbsp of SC-16 Cotton Tail onto the palette.
  35. 2. Take the pencil eraser and dip it into the glaze and stamp the background.
  36. 3. Repeat until the background has enough dots.
  37. Allow to dry.
  38. Stilt and fire to cone 06.

Supplies

Form

  • 6” tile

Colors

  • SC-1 Pink-A-Boo
  • SC-5 Tiger Tail
  • SC-16 Cotton Tail
  • SC-18 Rosey Posey
  • SC-25 Crackerjack Brown
  • SC-31 The Blues
  • SC-42 Butter Me Up
  • SC-48 Camel Back
  • SC-65 Peri-Twinkle
  • SC-70 Pink-A-Dot
  • SC-73 Candy Apple Red
  • SC-81 Cinnamon Stix
  • SC-96 Aqu-ward

Decorating Accessories

  • RB-144 #4 Soft Fan
  • RB-106 #6 Script Liner

Miscellaneous Accessories

  • Sponge
  • Water
  • Palette
  • AC-230 Clay Carbon Paper
  • MC-001 6mm Low Tack Masking Tape
  • Pencil
  • Pattern
Top