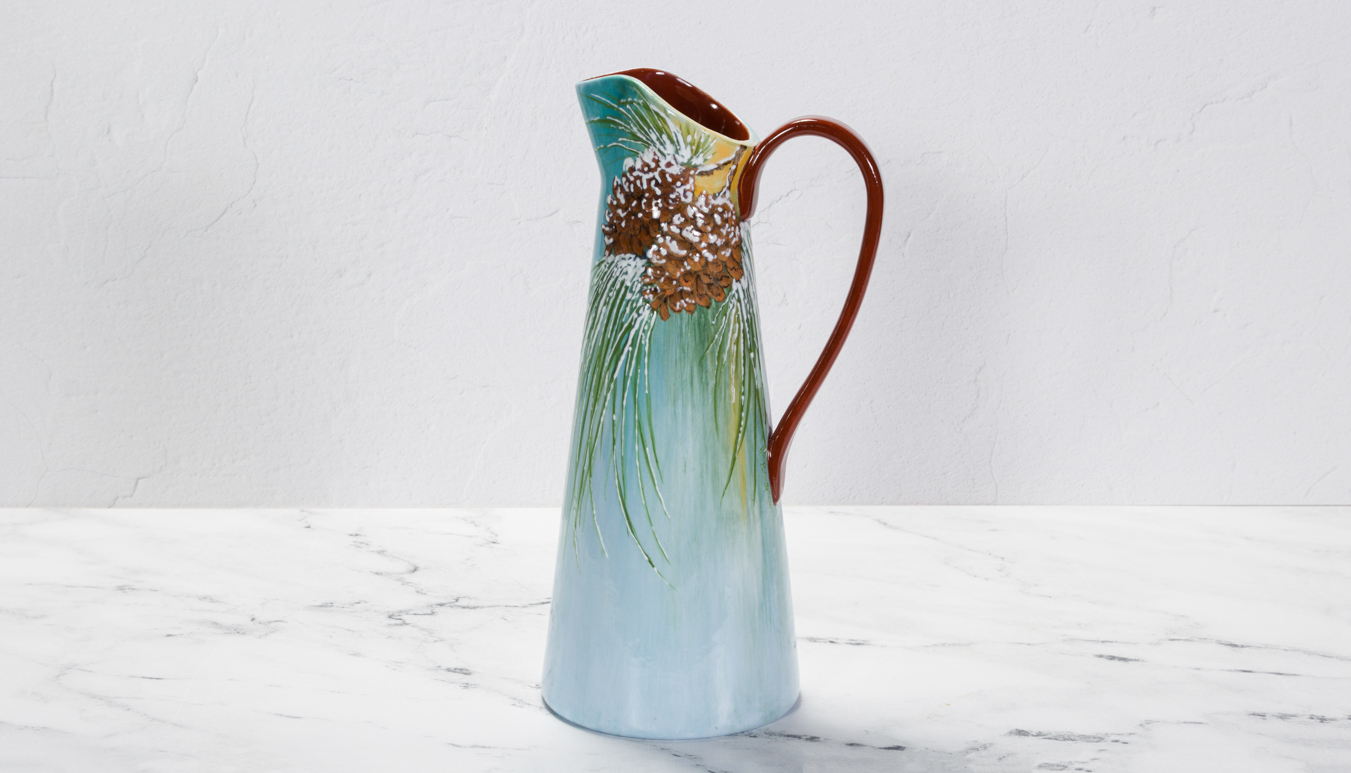
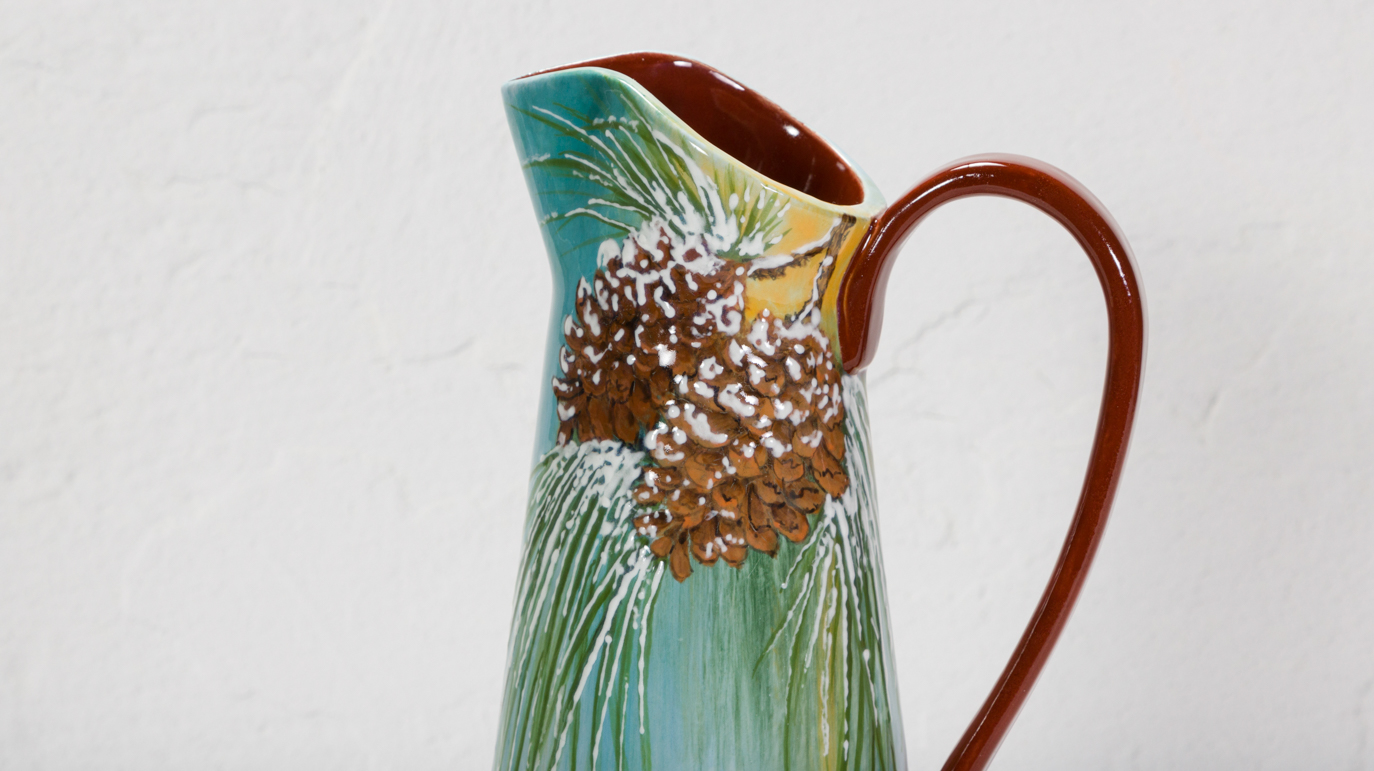
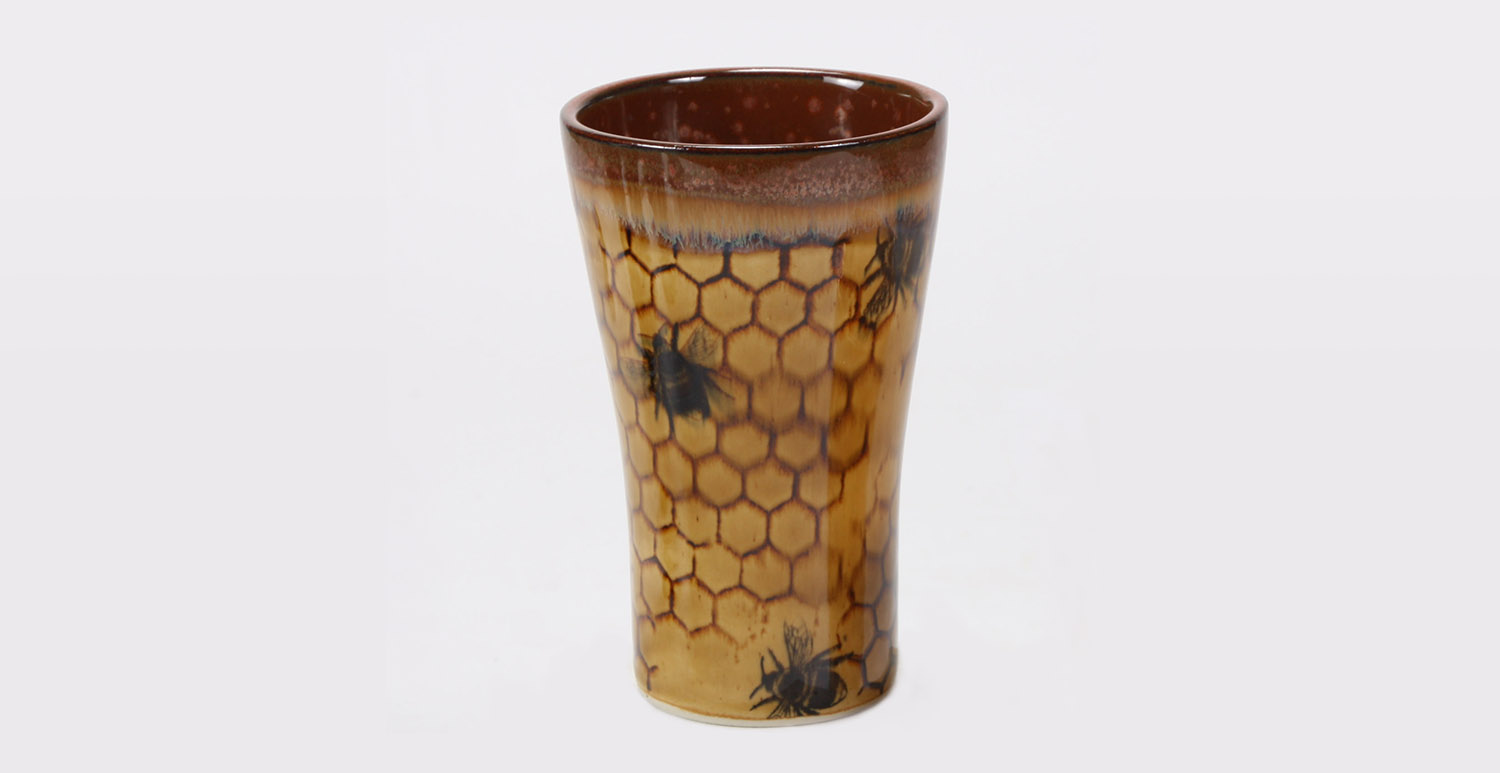
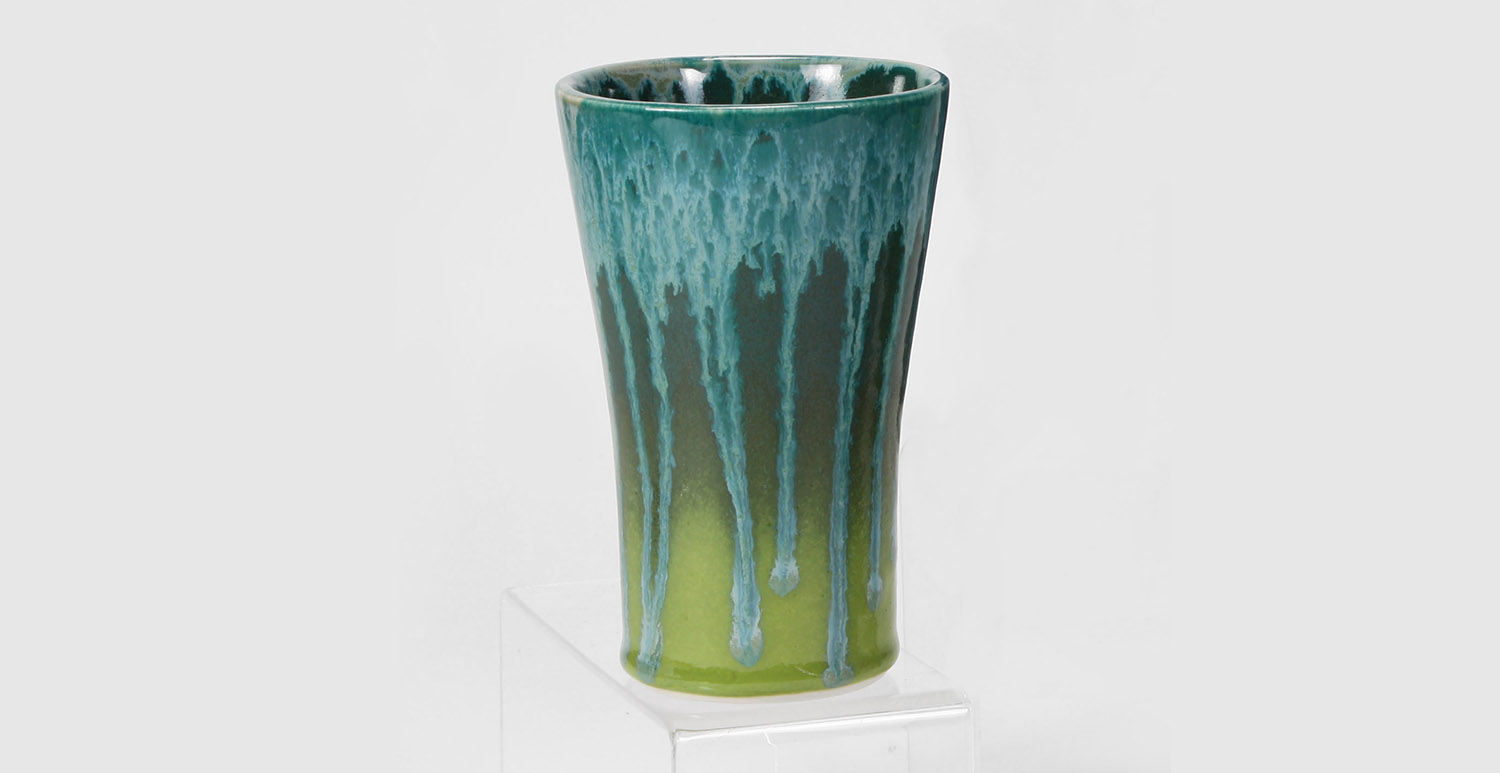
Pine Cone Pitcher

Designer: William Pulse

Share

Instructions

  1. Use the Clean Up Tool and Green Grit Cloth to remove the seams and sand any imperfections to the greenware. Use a dampened Synthetic Sponge to remove any dust and debris from the ware inside and out.
  2. Use a pencil to sketch out a rough outline area where the pine cones and boughs will go to visualize the placement of the background colors. You will notice that there is a golden area near the handle and darker blue area around the spout. There will be streaks of other colors flowing down under the boughs as well. Using CB-604 Soft Fan to apply 3 coats of UG-3 Baby Blue to the pitcher excluding the area where the gold color is near the handle. Exclude handle as well. To the gold area next to the handle apply 3 coats of UG-58 Harvest Gold. Wet blend this color down over the blue area. The top portion of the pitcher is wet blended with UG-72 Wedgewood Blue and darkened with UG-219 Marine Blue around the spout near the pine cones. These colors should appear seamless in the blending. Streak in UG-91 True Teal, UG-210 Forest Green and a bit of UG-58 Harvest Gold vertically where the boughs will go. Dip the brush into water to fade out the color as it moves down the ware. The streaks of the three colors should not be harsh, but subtle. If the color appears to harsh you can reapply some Baby Blue to soften the blending. Let dry.
  3. Using AC-230 Clay Carbon to trace the pine cones outline of the pattern. The detail will be retraced or sketched in after the blocking in of the basic colors. Apply 2-3 coats of UG-31 Chocolate to the second background pine cone using CB-404 Pointed Round. Apply 2-3 coats of UG-57 Spice Brown to the foreground pine cone. Let dry.
  4. Sketch in or retrace the detail of the pine cone detail. Draw in some of the directional lines to the boughs.
  5. On a tile place the EZ-Strokes. Load CB-404 Pointed Round with water and tip with EZ-13 Cobalt Black. Shade the recessed areas of the pine cones to give it dimension to each scale (apophysis.)
  6. To the pointy highlights (umbo) on the individual scales use CB-110 Liner loaded with EZ-058 Poppy Orange. Detail and outline the pine cones with EZ-012 Cobalt Black.
  7. Thin slightly EZ-033 Ivy Green and using RB-104 Liner to paint in the individual pine needles. Start the stroke of the needle up next to the pine cones trailing it down the pitcher. Vary the saturation of the color for some of the needles. To give the individual needles movement and a flowing feeling to the overall pattern, paint them with a slight arc to each one and trailing to a point. Some of the shorter needles can be straighter.
  8. Fire to Shelf Cone 04.
  9. In a Plastic Cup thin some FN-029 Rich Chocolate to a melted ice cream consistency. Pour the thinned glaze into the inside. While working quickly, rotate the piece to cover the inside of the pitcher. Pour out any excess color. Use CB-604 Soft Fan to brush any runs or missed areas on the inside. Apply 3 coats of FN-029 Rich Chocolate to the handle using a brush(es) sized for the area.
  10. Use FN-258 White to make the snow on the pine cones and needles. The heavier application should be on the top left sides of the pine cones. Vary the application of the white to break up the snow areas. Let Dry.
  11. Apply 2-3 coats of S-2101 to the outside area of the pitcher.
  12. Stilt and Fire to Shelf Cone 05-06.

Supplies

Form

  • CD1334 Tall Pitcher-Vase mold, cast in greenware

Colors

Mayco

  • UG-3 Baby Blue
  • UG-31 Chocolate
  • UG-57 Spice Brown
  • UG-58 Harvest Gold
  • UG72 Wedgewood Blue
  • UG-91 True Teal
  • UG-210 Forest Green
  • UG-219 Marine Blue
  • UG-033 Ivy Green
  • FN-029 Rich Chocolate
  • S-2101 Crystal Clear Brushing

Duncan

  • EZ-012 Cobalt Black
  • EZ-58 Poppy Orange
  • FD-258 White

Decorating Accessories

  • CB-110 Liner
  • CB-404 Pointed Round
  • CB-602 Soft Fan
  • CB-604 Soft Fan
  • AC-230 Clay Carbon

Miscellaneous Accessories

  • Clean Up Tool
  • Synthetic Sponge
  • Pencil
  • Scissors
  • Tile or Pallet
  • Cup
  • Clean Up Tool
  • Pattern
Top