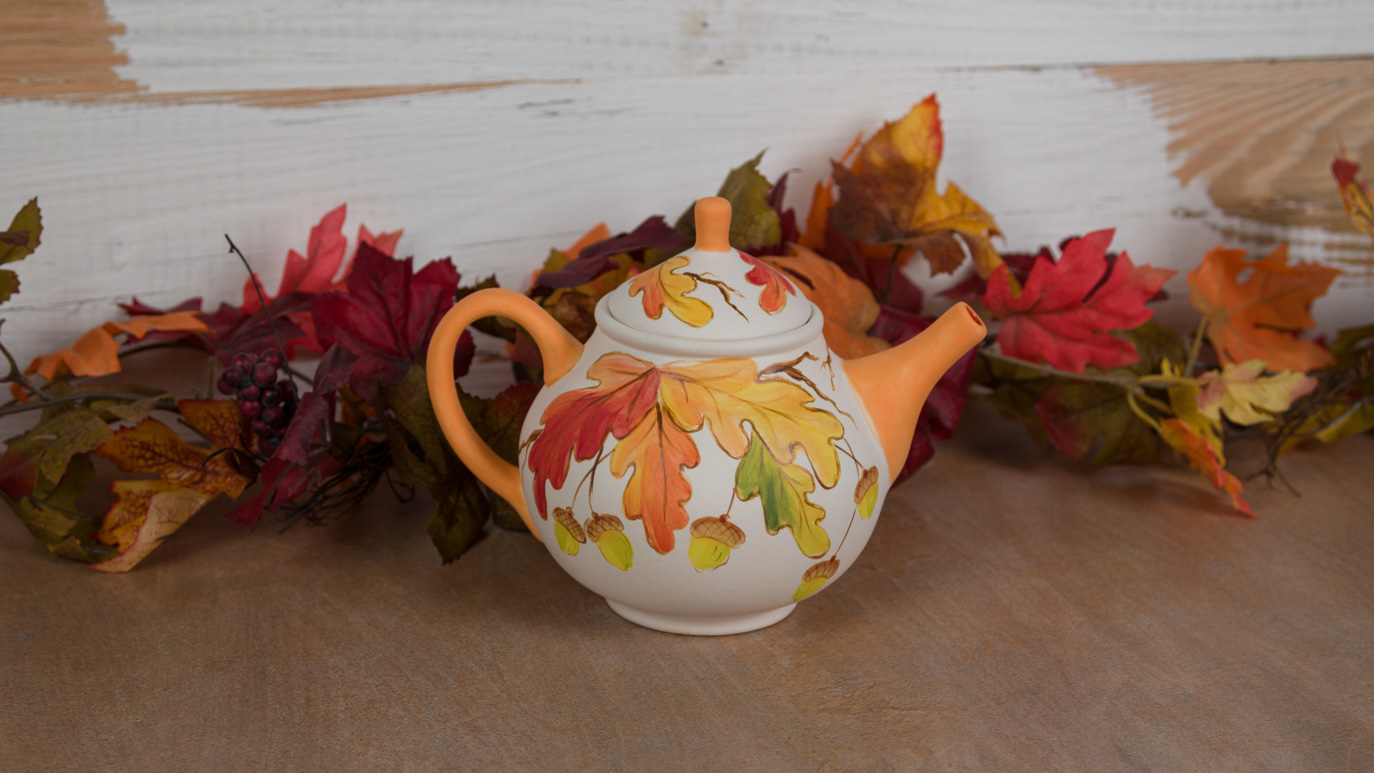
Shades of Fall Teapot

Designer: David Hoff

Share

Instructions

  1. Check the ware over for blemishes and if any are present lightly sand with the 100-girt sandpaper.
  2. Damp sponge the ware on the outside and pour a small amount of water to the inside of the piece. Swirl this water around and drain off. This will remove any fired dust that may be on the inside of the ware.
  3. Cover the hole in the teapot spout with a piece of Blue Tape.
  4. Into the paper cup place the Tu Tu Tango Stroke and Coat and thin with water to a cream flowing consistency. Thoroughly mix with Palette Knife.
  5. Pour the thinned Tu Tu Tango into the teapot and roll the inside. Make sure the Stroke ‘n Coat fills the spout and that the color covers the total inside area to the teapot.
  6. For the inside of the lid it is easier to brush three coats of the Tu Tu Tango.
    1. Special Note: Make sure that inner rim of the teapot and the outer rim of the lid do not have any Stroke ‘n Coat applied. If any color is on these areas, when fired, the pieces will fuse together. Remove any color present, with a damp sponge.
  7. Set the piece aside to dry. Note, the Clay Carbon will not work on damp or wet ware.
  8. Cut the provided pattern apart.
  9. Using the provided pattern, clay carbon and red pen, trace the design onto the ware. The large pattern is applied to both sides of the teapot. Smaller three leaves to the lid.
  10. Place a small amount of the needed Fundamentals, on the page protector palette.
  11. If needed add a drop or two of water to the underglaze colors.
  12. Before applying the color, lightly sketch in the center vein line down each leaf.
  13. The Pointed Rounds are used to pull in the strokes for the leaves. Size of the brush is a personal choice. Try out all three to determine which brush or brushes work well for you.
  14. To complete the leaves, use the color photo as a guide. Note: how the leaves are a multitude of the different colors, which are placed on the palette. When applying the colors reload the Round as desired and rarely rinse the previously applied colors out of the brush. By not rinsing you will truly achieve a blending of colors. Please note: if the brush does become over loaded with color, you may need to rinse and blot dry the Round before reloading. In most cases, three to four colors are loaded on the brush.
  15. It should be noted that the leaves usually have two or three color tones on the leaf. Leaves can be yellowish and then greens are added. Or the leaves can be Orange in tone with red throughout the orange. The more variety of colors tones applied, the more natural the leave will appear; as long and the colors are smoothly blended together.
  16. Here are some examples of loading the Round:
    1. Load with Bright Yellow, side load with Squash Yellow, side load other side with Harvest Gold and tip with Orange.
    2. Load with Pear Green, side load with Apple Green and tip with Spring Green.
    3. Load with Orange Sorbet, side load with Orange, and side load the other side with Flame Red.
    4. To change the look, load in Flame Red, side load in Orange and tip in Orange Sorbet.
    5. Be cautious when using Forest Green, Cinnamon and Chocolate. These colors are very dark and should be used sparingly.
  17. When completing the Oak leaves use pressure strokes. Start pulling in color from the tip of the leaf toward the leaf’s base. When doing the side segments of the leaf, work from the rounded outside edge inward to the sketched in center line. Reload as needed and press, pull and lift the colors in place and have the strokes over-lap one another. As the colors are stroked in, blend out any heavy ridges of color. One to two coats are needed. A second will often insure easier blending. Complete all of the leaves.
  18. The acorns are completed as follows with the smaller Round:
    1. Block in one side of the acorn bottom with Bright Yellow and the other side with Pear Green. Two coats will be needed and blend the colors together. Allow to dry.
    2. Apply two coats of Spiced Brown to the caps of each acorn. Allow to dry.
    3. To the top of the acorn (not the cap) float in Harvest Gold that has been side loaded onto a water-dampened #4 Round. This will add shading under the cap
    4. Side load the water-dampened #4 Round with Cinnamon. Proceed to float color on to the top of the cap. Darken the small round nub in the middle of the cap.
  19. Place French Brown on the palette and thin as needed to milk-like consistency.
  20. Fully load the #2 Detail Liner with Spiced Brown, side load with Chocolate and tip generously with the thinned French Brown. Pull in the stem work throughout the background of the design by laying the Liner almost flat and slightly rotating the brush between fingers. Start at the heavier section of the stem and pull, rotate and lift off as the narrow ends of the branches are approached.
  21. Proceed to outline the leaves, add center and side veins, pull out finer stems connecting the acorns to the design and outline the acorns. Use the #2 Detail Liner loaded with both thinned Chocolate and French Brown. Be sure to add crisscrossed lines at the top of the acorn cap.
  22. Sign the piece with French Brown.
  23. Place the ware on a kiln washed shelf and fire to cone 6.
  24. Remove piece and if the lid appears stuck, lightly tap to loosen. High-fired pieces sometime will stick together during the firing.
  25. The piece can lightly be sanded with 100-grit sandpaper to polish slightly.

Supplies

Form

  • 6×6 ” Tile

Colors

  • SC-88 Tu Tu Tango
  • UG-22 Spring Green
  • UG-31 Chocolate
  • UG-46 Bright Yellow
  • UG-57 Spiced Brown
  • UG-58 Harvest Gold
  • UG-68 Apple Green
  • UG-85 Orange Sorbet
  • UG-203 Squash Yellow
  • UG-204 Orange
  • UG-207 Flame Red
  • UG-210 Forest Green
  • UG-213 Cinnamon
  • UG-218 Pear Green
  • EZ010 French Brown

Decorating Accessories

  • CB-220 #2 Detail Liner
  • CB-404 #4 Pointed Round
  • CB-406 #6 Pointed Round
  • CB 408 #8 Pointed Round – opitional
  • CB-425 ½” Oval

Miscellaneous Accessories

  • Sponge
  • 100-grit sandpaper
  • 3 oz paper cup (1)
  • AC-320 Clay Carbon
  • Blue Tape
  • Heavy Duty Plastic Page Protector
  • Or Glazed Tile for Palette
  • Paper Towel
  • Red Pen
  • Scissors
  • Water Bowl
  • Palette Knife
  • Pattern
Top