Begin with properly fired shelf cone 04 bisque. Moisten a clean sponge and wipe bisque to remove any dust.
Using a drill with a ¼” carbide bit, drill holes into the bisque according to the diagrams on the pattern. You will be drilling 3 holes around the top rims of both bowls and one into the bottom of the vase.
Using a drill with a 1/2” carbide bit, drill 4 holes in the neck of the vase according to the diagram on the pattern. You will have drilled 11 holes total. According to the pattern, neck should be base of the vase.
Use masking tape to tape over the holes in the vase.
Thin down some SW-509 Green Gloss with water so that it is the consistency of cream. The ratio should be about 1 part water and 3 parts glaze. Pour the glaze into the vase and roll it around until the entire inside is coated. Pour out any excess glaze.
Using a pencil, divide the outside of the vase into three sections – upper, middle and bottom.
Using the CB-604 Soft Fan Brush, apply 2 coats of SW-156 Galaxy to the middle section of the vase.
Using the CB-604 Soft Fan Brush, apply 2 coats of SW-509 Green Gloss over the Galaxy on the middle section of the vase.
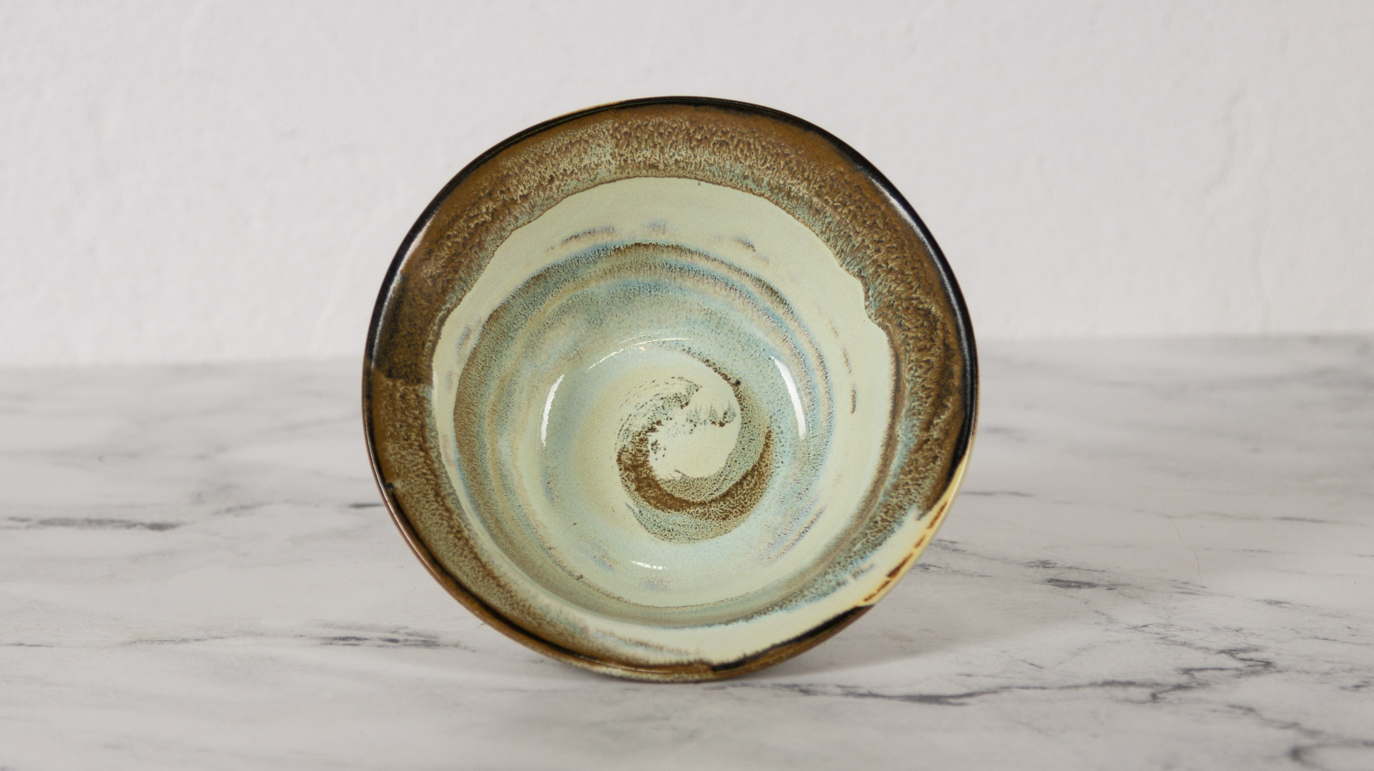
Using the CB-604 Soft Fan Brush, apply 2 coats of SW-128 Cordovan to the front and back of the SB-110 Dessert Bowl and to the top section of the vase. The dessert bowl will be fired upside down so you should paint the foot and the bottom, but leave the top rim unglazed. You can use a wet sponge to remove any glaze that may have gotten on it.
Using the CB-604 Soft Fan Brush, apply 2 coats of SW-108 Green Tea over the Cordovan on the back of the dessert bowl and the top section of the vase.
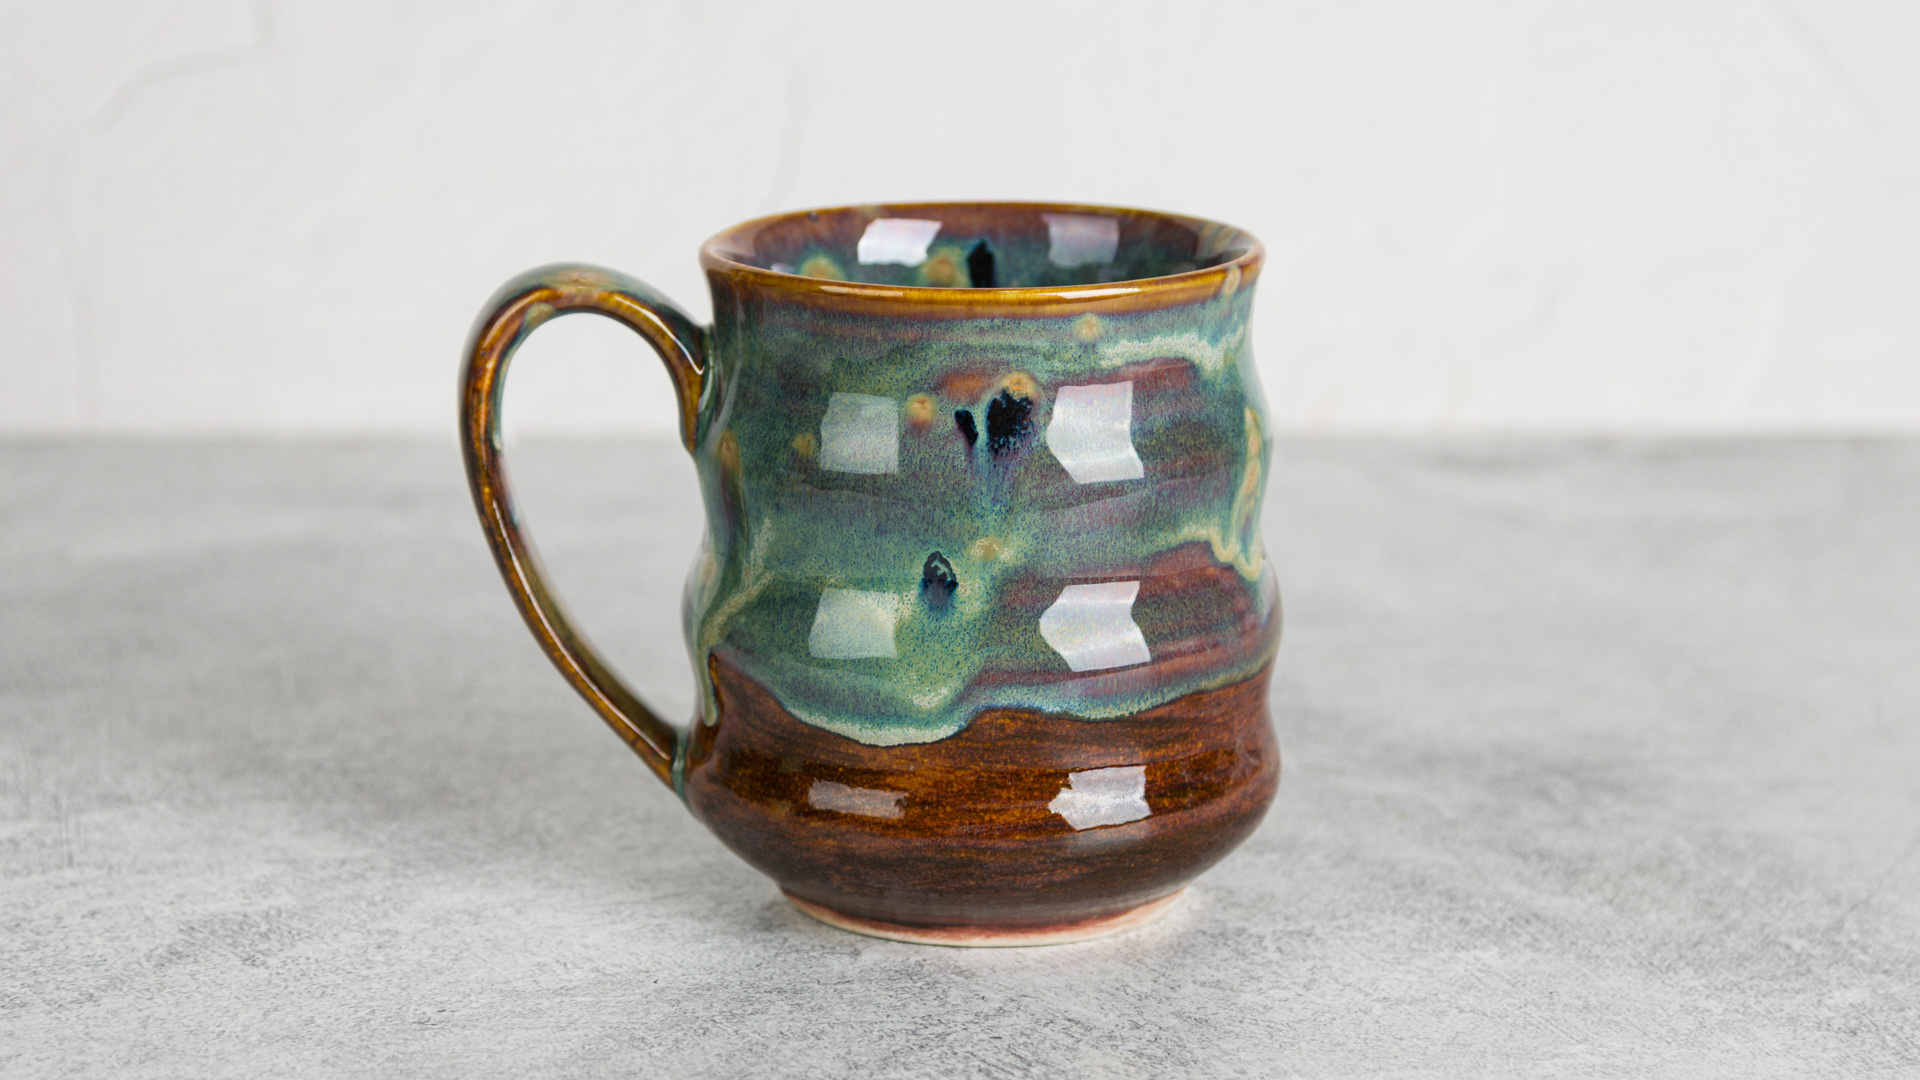
Using the CB-604 Soft Fan Brush, apply 2 coats of SW-104 Black Walnut to the front and back of the SB-106 Rimmed Bowl and the bottom section of the vase. Leave the foot and bottom of the bowl unglazed, but glaze the foot and bottom of the vase.
Using the CB-604 Soft Fan Brush, apply 2 coats of SW-108 Green Tea over the Black Walnut on the front and back of the Rimmed Bowl and to the bottom section of the vase.
Using the CB-604 Soft Fan Brush, apply 2 coats of SW-401 Light Flux to the areas on all three pieces as indicated in the pattern
Do not stilt the pieces or hang over the edge of the kiln shelf.
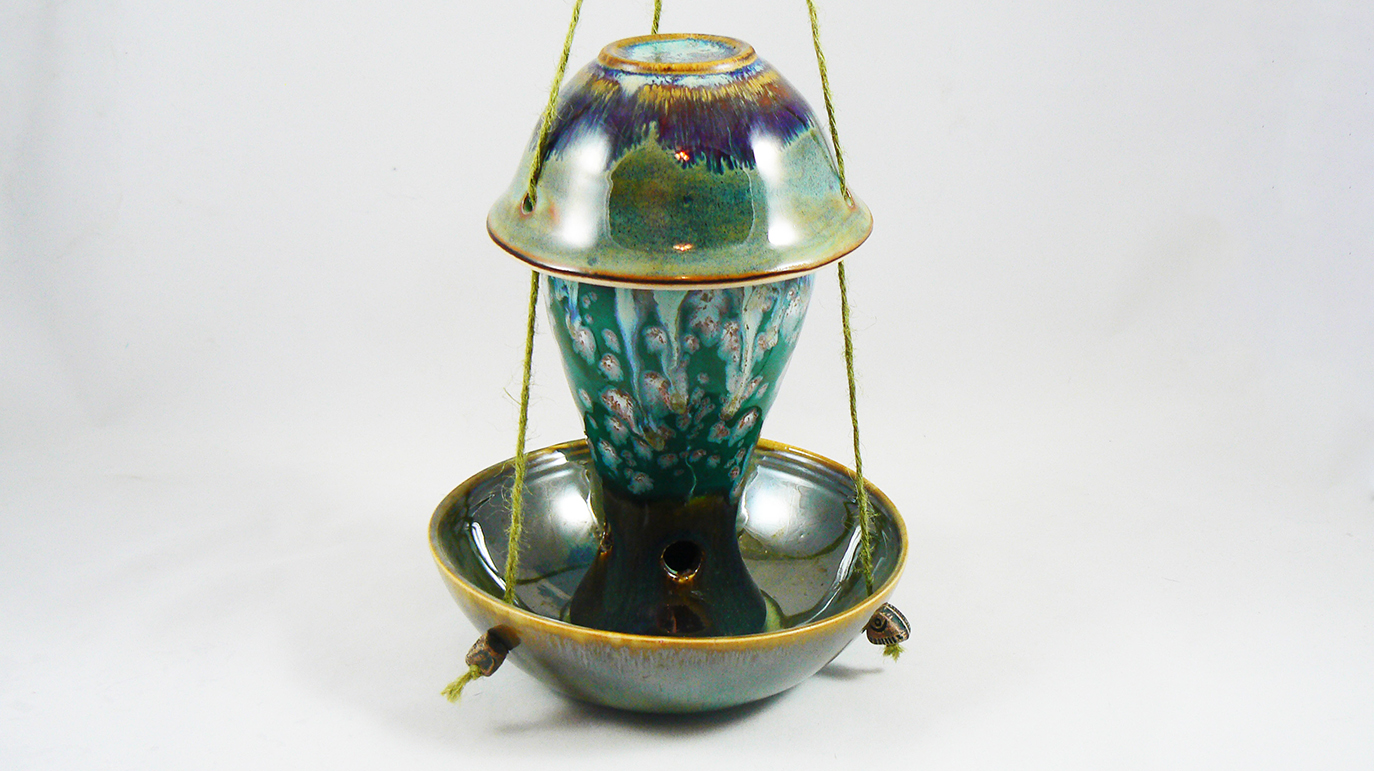
Place the vase in the center of the rimmed bowl in the kiln so they will fuse together. Load the dessert bowl upside down.
Fire to cone 5/6.
Cut the rope or cord into 3 equal lengths.
String one bead onto one piece of rope and tie a knot at one end so the bead stays on. Repeat for the other two pieces.
Turn the dessert bowl upside down and place it on top of the vase
Thread one of the pieces of rope up through a hole from the outside of the rimmed bowl and up through a hole from the inside of the dessert bowl. Repeat with the other 2 strings and tie all three together with a knot about 6 inches above the feeder. The dessert bowl should lift up and slide freely up and down the strings so you can fill the feeder.