Begin with properly fired shelf cone 04 bisque. Moisten a clean sponge and wipe bisque to
remove any dust.
Using scissors, cut out the candy corn from the pattern.
Using the pen or marker, trace the candy corn onto the contact paper 8 times.
Using the scissors, cut out the 8 candy corns.
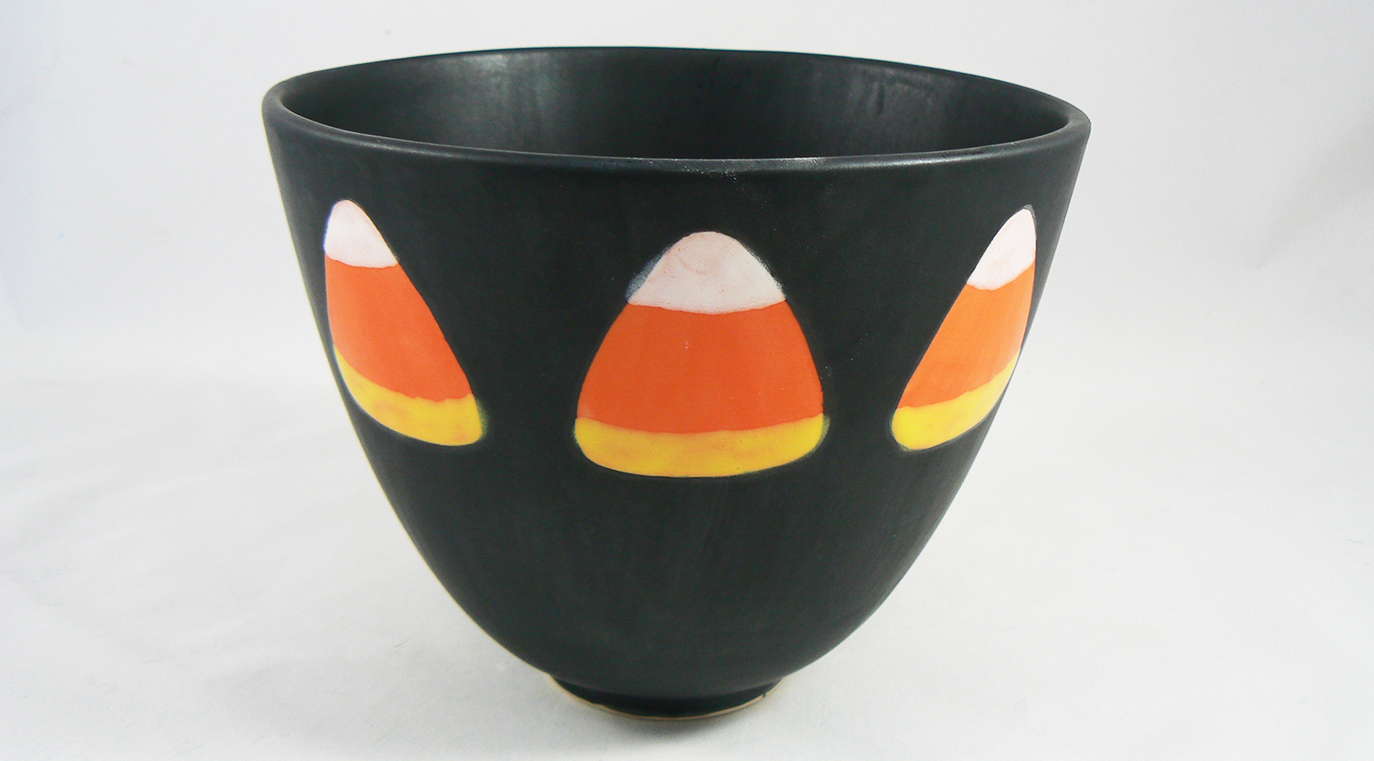
Remove the backing from each candy corn and adhere them to the bowl, making sure all the edges are sealed down well. If you space them slightly less than an inch apart you should be able to fit 8 around the circumference of the bowl near the top.
Using the CB-604 Soft Fan Brush, apply 3 coats of SW-140 to the inside and outside of the bowl.Do not glaze the bottom or the foot. Let dry.
When the glaze is no longer shiny but still a bit damp, use the skewer to gently lift up the edges of the contact paper candy corns and peel them off. If you got any glaze underneath the contact paper, you can use the pointed end of the skewer to scrape it off.
Using a pencil, draw in the lines on each candy corn to separate into 3 different sections.
Using the CB-404 #4 Pointed Round, apply 2 coats of SW-501 White Gloss to the top section of each candy corn.
Using the CB-404 #4 Pointed Round, apply 2 coats of SW-503 Orange Gloss to the middle section of each candy corn.
Using the CB-404 #4 Pointed Round, apply 2 coats of SW-502 Yellow Gloss to the bottom section of each candy corn.
Do not stilt or hang over the edge of the kiln shelf.