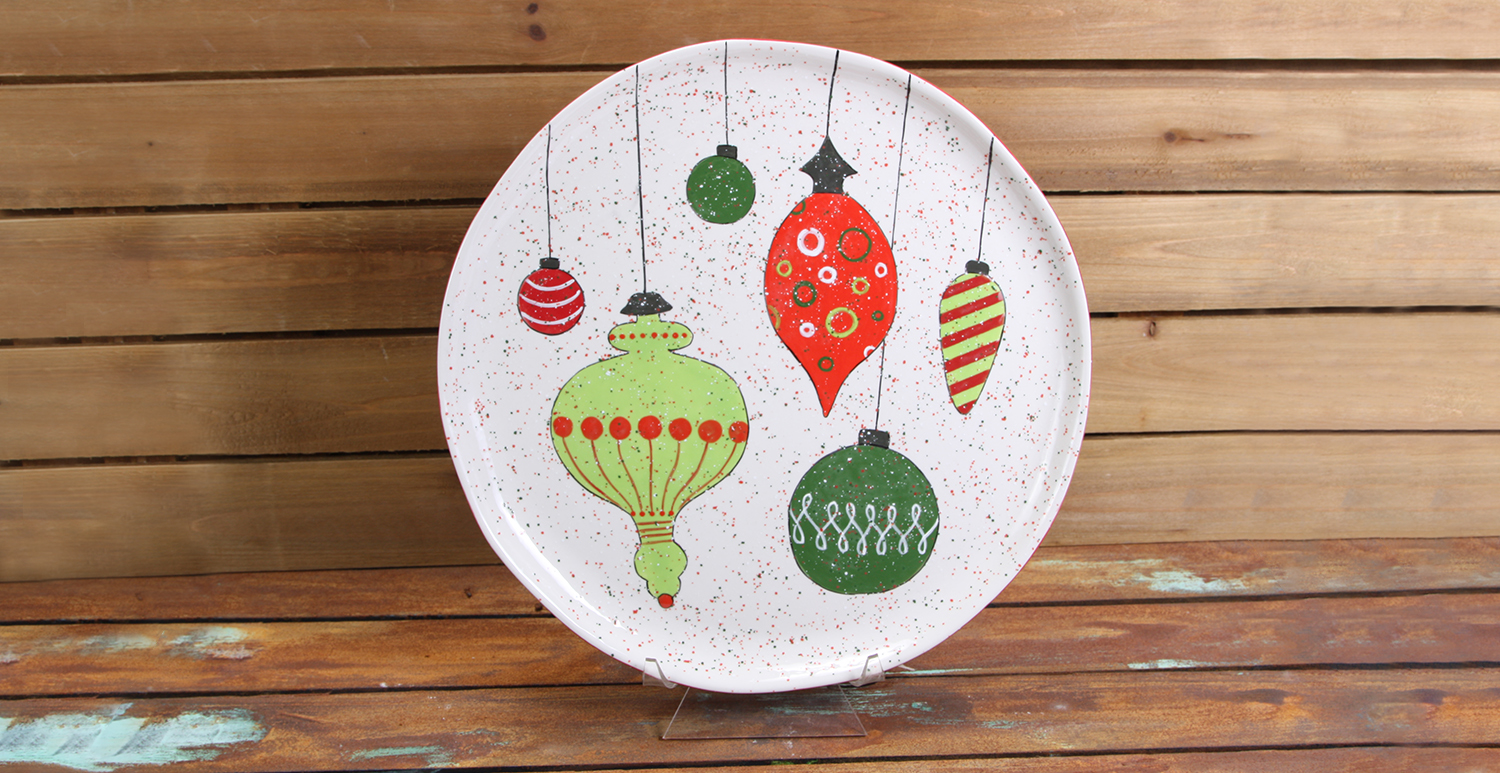
Van Gogh Starry Night Plate – Artist Series

Designer: Elizabeth Carey

Share

Instructions

  1. Begin with properly fired cone 04 bisque. Moisten a sponge and wipe bisque to remove any dust.
  2. If you do not want to draw your own shapes, place the pattern over the front of the plate. Slide AC-230 Clay Carbon Paper between the pattern and plate. Trace the pattern with the pencil. Skip to step #4.
  3. If you want to draw your own shapes, use your pencil to draw one large circle (around 4.5” diameter) on the upper center of the plate. Draw 3 smaller circles (around 1.5” diameter) around the larger circle. Draw a wave-like scroll at the bottom of the plate.
  4. Using the Soft Fan with SC-6 Sunkissed, apply 2 coats to the large circle. Allow glaze to dry between coats.
  5. Using the Soft Fan with SC-16 Cotton Tail, apply 1 coat to the small circles and scroll.
  6. Using the Soft Fan with SC-76 Cara-Bein Blue, apply 2 coats to the background. Allow glaze to dry between coats.
  7. The following steps will use a Q-Tip to make the design. You will dip the Q-Tip into the glaze and make a short, quick motion to add a heavy, short line of color. This will mimic Van Gogh’s brush strokes.
  8. Squeeze around 1 TSP of SC-6 Sunkissed, SC-77 Glo-Worm and SC-97 Cant-elope on to the palette. Place 1 Q-Tip in each of the glazes. Use the Q-Tips with SC-6 Sunkissed and SC-97 Cant-elope to make a crescent moon in the large circle. Use the Q-Tip with SC-77 Glo-Worm to add color on the large circle and in the crescent moon.
  9. Squeeze around 1 TBS of SC-12 Moody Blue, SC-76 Cara-Bein Blue and SC-11 Blue Yonder. Place 1 Q-Tip in each of the glazes. Go back and forth between colors to make the background. Try to go in a circular direction around the circles, then extend into the shared space.
  10. Squeeze around 1 TSP of SC-16 Cotton Tail onto the palette. You will also be using the colors from Step #9. Go back and forth between these colors to make the wave-like scroll. Use SC-16 Cotton Tail to really highlight the scroll. Try to follow the scroll shape when making your lines of color.
  11. Use the SC-97 Cant-elope Q-Tip to make a large dot in the center of each of the small circles. Then use the Q-Tips with SC-11 Blue Yonder, SC-16 Cotton Tail, SC-77 Glo-Worm and SC-97 Cant-elope to make lines on the small circles. Try to follow the circular shape and extend out into the background. Use those colors to extend the edge of the large circle into the background.
  12. Draw the “mountains” on the bottom of the plate with the pencil, or cut out the pattern and trace.
  13. Using the Script Liner with SC-15 Tuxedo apply 2 coats to the “mountains”. Allow glaze to dry between coats.
  14. Using the Soft Fan with SC-15 Tuxedo, apply 2 coats to the back of the plate. Allow glaze to dry between coats.
  15. Dip into NT-CLR Clear One Dipping.
  16. Stilt and fire to cone 06.

Supplies

Form

  • MB-102 Coupe Dinner Plate

Colors

  • SC-6 Sunkissed
  • SC-11 Blue Yonder
  • SC-12 Moody Blue
  • SC-15 Tuxedo
  • SC-16 Cotton Tail
  • SC-76 Cara-Bein Blue
  • SC-77 Glo-Worm
  • SC-97 Cant-elope
  • NT-CLR Clear One Dipping

Decorating Accessories

  • AC-230 Clay Carbon Paper (optional)
  • RB-144 #4 Soft Fan
  • RB-106 #6 Script Liner

Miscellaneous Accessories

  • Sponge
  • Water
  • Palette
  • Pencil
  • Pattern (optional)
  • Scissors
  • Q-Tips (10)
Top