Bird Water Whistles

Designer: Bailie Benson

Instructions

Forming the Frog

  • Pull off two thirds of your pound of clay and separate into two equal sized balls.
  • Create two equal sized pinch pots from the clay balls and set aside.
  • Roll a smaller ball for the head.
  • Create a small triangle of clay.
  • Roll out a coil for the tail (Mouthpiece and fipple) thicker than your straw.
  • With the scissors, cut two lengths of straw about an inch and a half and two inches. The longer straw will be the tail and the shorter straw will be the head.
  • Take one of the pinch pots, flip it upside down, and push the first straw through so it sticks out about halfway.
  • Do the same with the 2nd straw.
  • Clean out any clay that is caught in the straws.
  • With your toothpick, Scratch and attach the two pinch pots together to form a hollow ball with the straws sticking out.
  • Poke the ball through the shorter straw, remove, score the ball and body where they connect, and reattach. Remove excess clay from straw.
  • Cut your triangle in half.
  • Scratch and attach triangles to the ball of the head over the straw poking out.
  • Carefully poke the longer straw up through the coil.
  • Leaving about half an inch of clay coil after the straw ends, cut off any excess coil.
  • Repeat step 2 with the coil to attach.
  • With the coil attached to the body, take your toothpick and poke down the center of the coil and round out a hole. This should connect to the straw still in the middle of the coil.
  • Remove excess clay from the hole/straw.
  • Place your popsicle stick in the hole to where it meets the straw. This provides a flat surface to cut into.
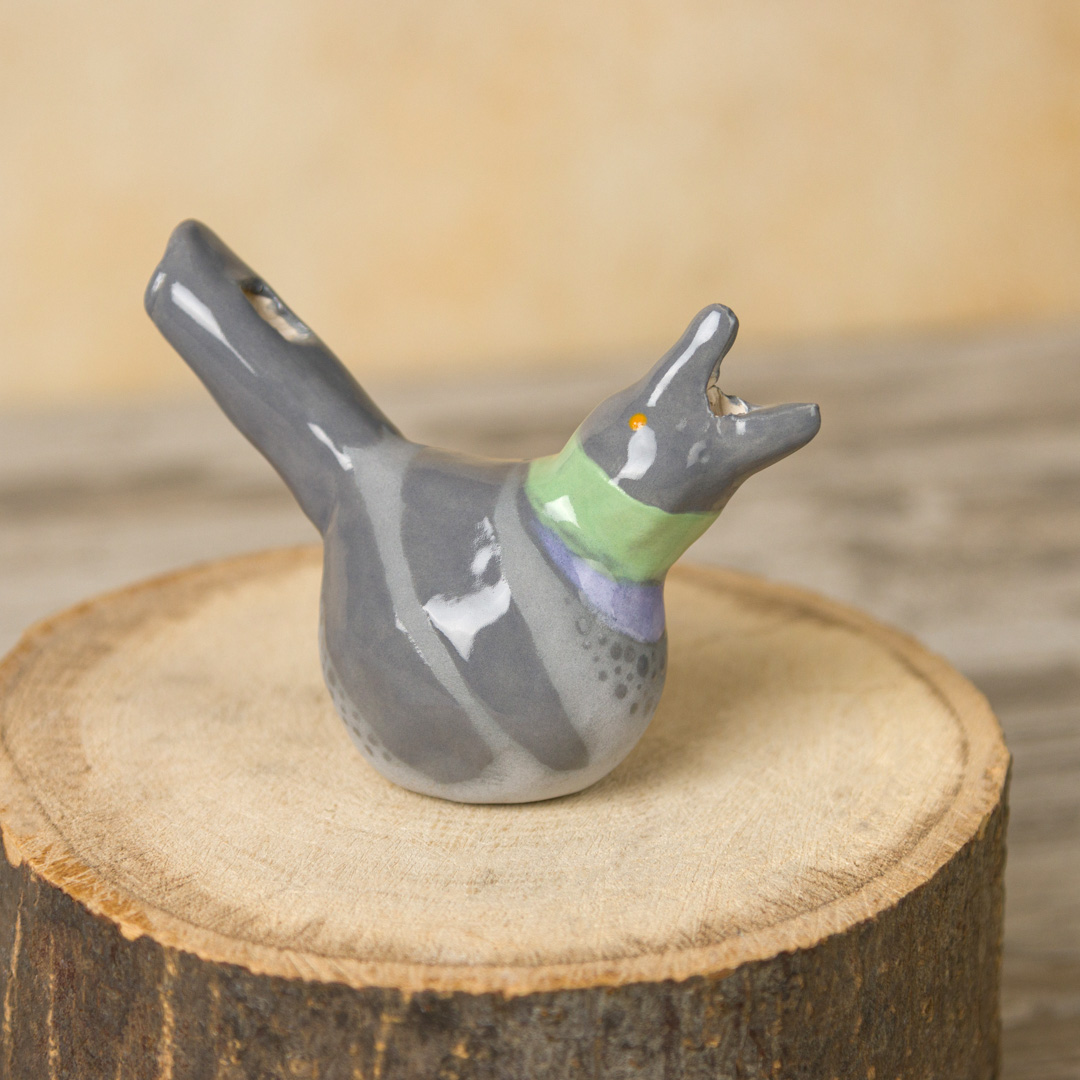
  • Cut the rounded tip off another popsicle stick and push straight through the clay down into the inserted popsicle stick 3 times forming a “U” shape towards the body of the bird. 

  • The fourth and final cut needs to be made at a 45 degree angle to properly split the airstream to produce a whistle sound.

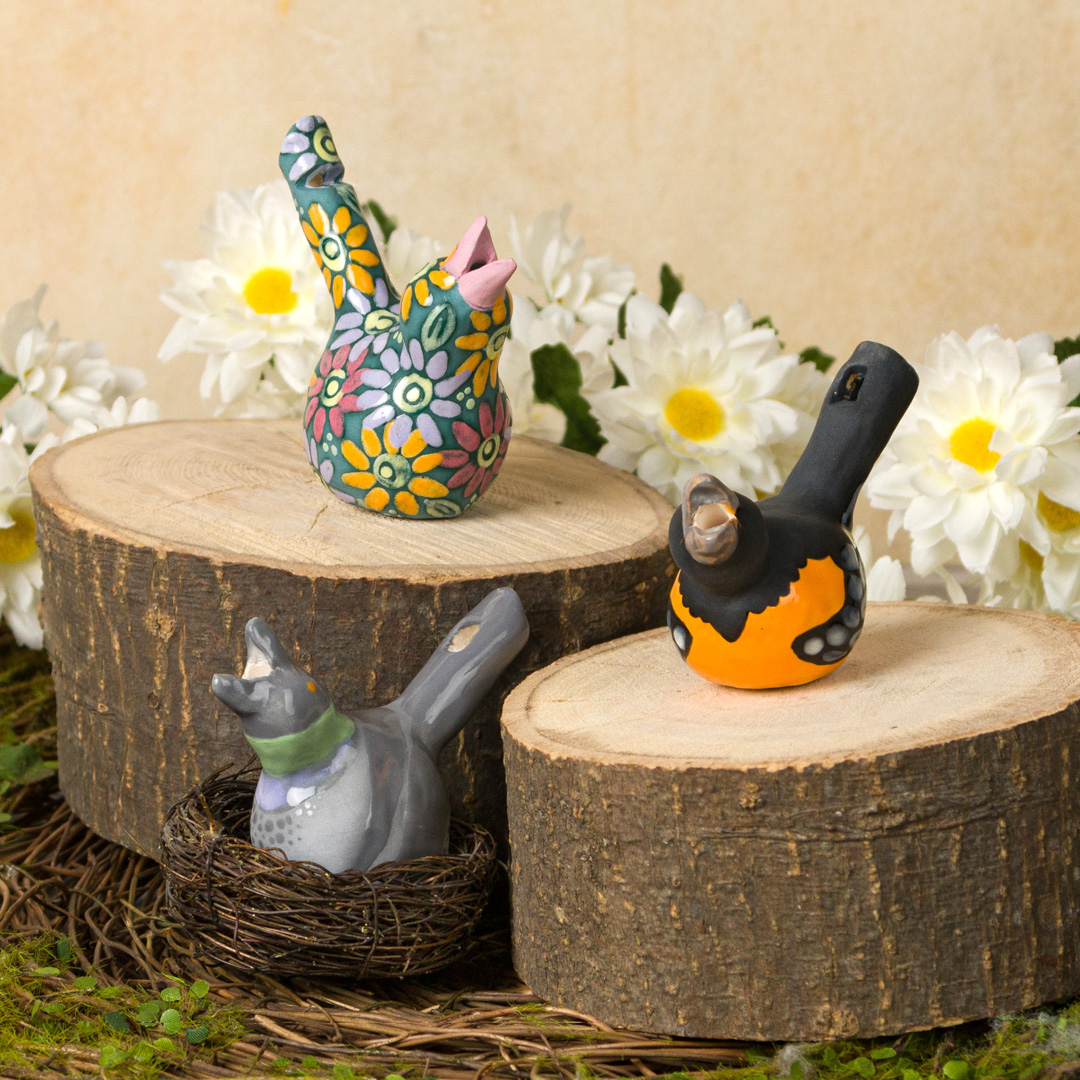
    Note: the above steps can be challenging, especially for younger students. The angles need to be exact to produce the whistling sound. The instructor may wish to complete these steps themselves at the leatherhard stage.Study the colors and patterns of real birds.

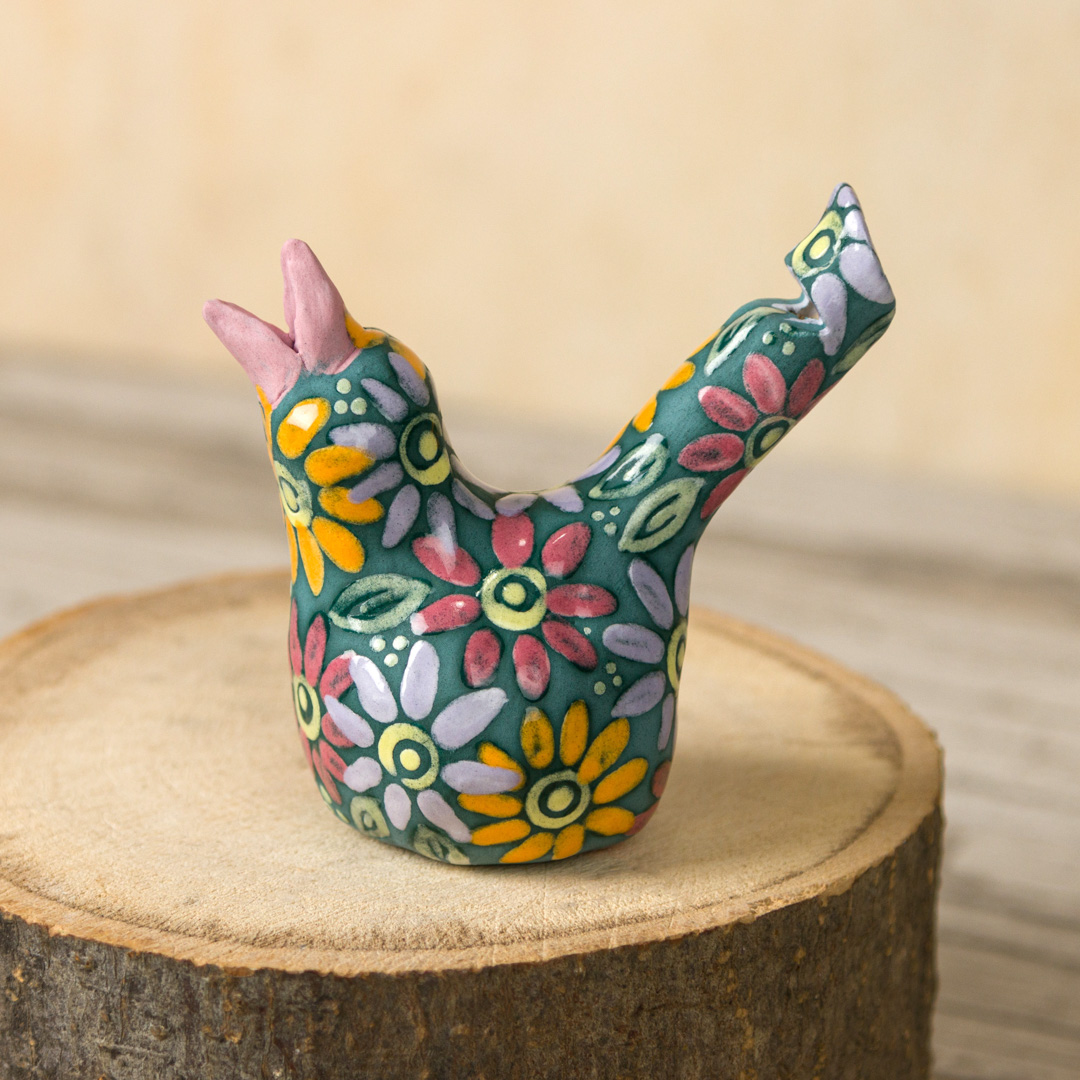
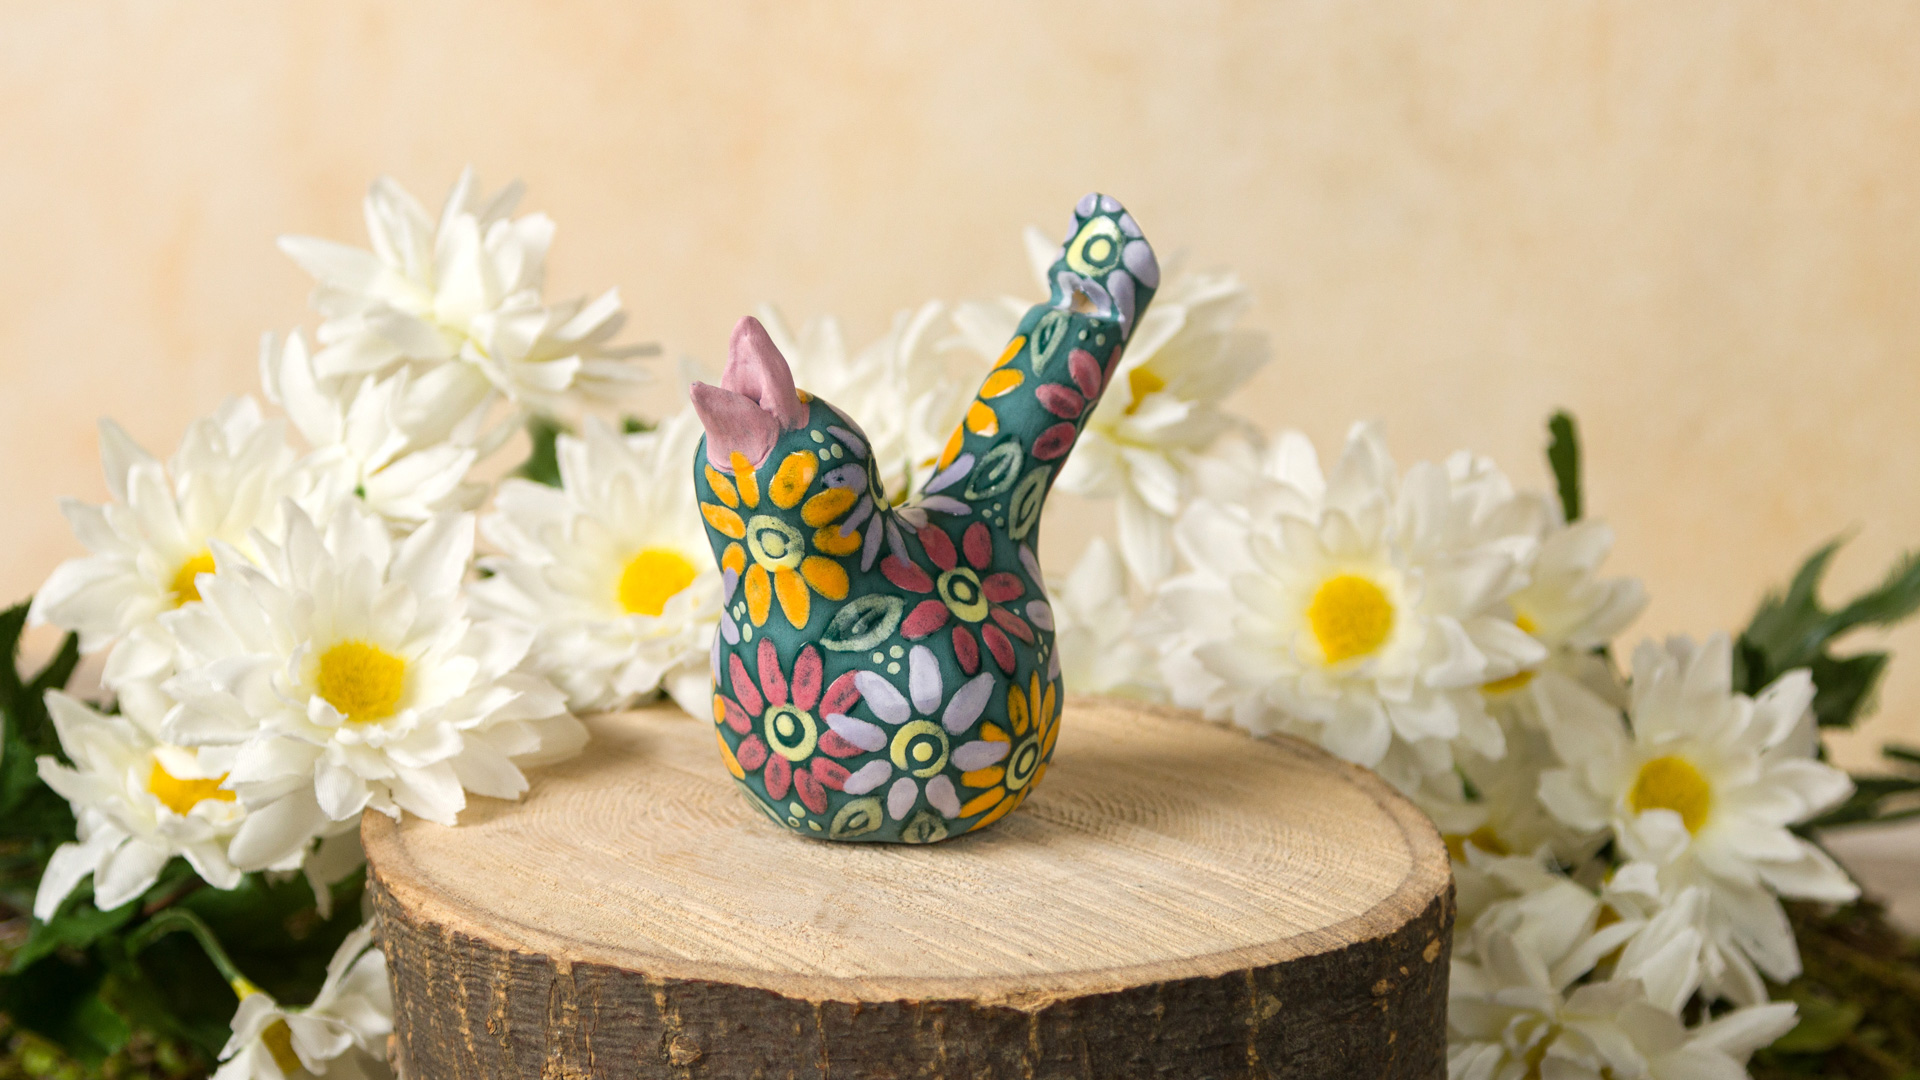
  • Using Mayco Fundamentals Underglazes, apply colors to the birds to mimic what can be found in nature. 

  • Use Mayco’s S2101 Crystal Clear Brushing glaze to strategically darken the color of the underglaze in spots, and cover the tip of the tail where the mouthpiece is. Do not put clear glaze on the bottom of the bird.

  • Fire to Cone 04.

  • After firing, fill the whistle with water just to where the neck and tail pieces start to curve up. Blow into the mouthpiece to produce a burbling whistle! Note: The whistle is not water tight and the water will naturally evaporate out of the bird whistle over time.

  • Pour out extra water after playing.

Variations and Adaptations: 

  • Instead of making the whistle look like a real bird, incorporate patterns or unique design elements from nature.
  • Besides birds, what other animals can be made using this building technique?
  • Getting the exact angle for the whistle to work can be tough, especially for younger students. Leave out the sound hole and fill the bird partially with soapy water for a bubble bird.

Supplies

Form

  •  1lb low-fire white clay 

Colors (for the Green Frog)

  • UG-222 Soft Yellow
  • UG-223 Apricot
  • UG-224 Rose
  • UG-226 Lavender
  • UG-229 Aquamarine
  • UG-233 Eucalyptus
  • S-2101 Crystal Clear Brushing

Decorating Accessories

  • CB-602 #2 Soft Fan
  • CB-106 #6 Script Liner
  • CB-200 #0 Detail

Miscellaneous Accessories

  • Sponge
  • Water
  • Paper Straws
  • Toothpicks
  • Thin popsicle sticks
Top