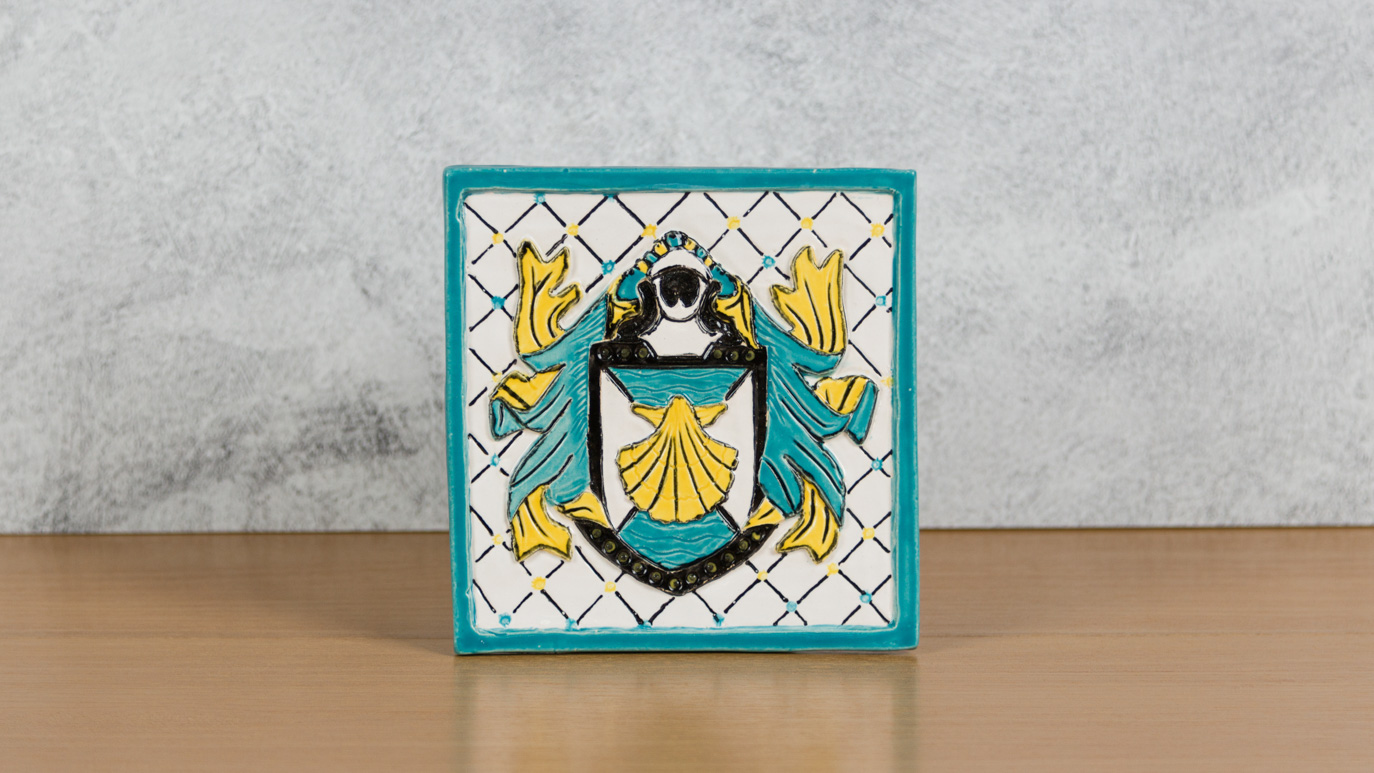
Pick scroll work to go at the top of the shield if desired (Helmet and scroll).
Combine all these elements onto a 6×6” sized piece of paper.
Roll out the pound of clay about a third of an inch thick.
Compress the front and back of the clay slab with the plastic card.
Cut out a 6×6” tile from the clay slab using a toothpick.
Lay your combined elements heraldry drawing on top of the clay and trace over with a ballpoint pen or dull pencil.
Remove the paper and you should see the outline of your tracing pressed into the clay.
Using carving tools, start removing the excess clay from around the shield and leaving a bit of a border at the edge. Think about background, middle ground, and foreground when deciding how deep to carve into the tile.
Add details with the toothpick.
Apply your three chosen heraldry colors to the carved greenware. Two coats of each will be enough (SC-16 Cotton Tail, SC-6 Sunkissed, SC-28 Blue Isle ).