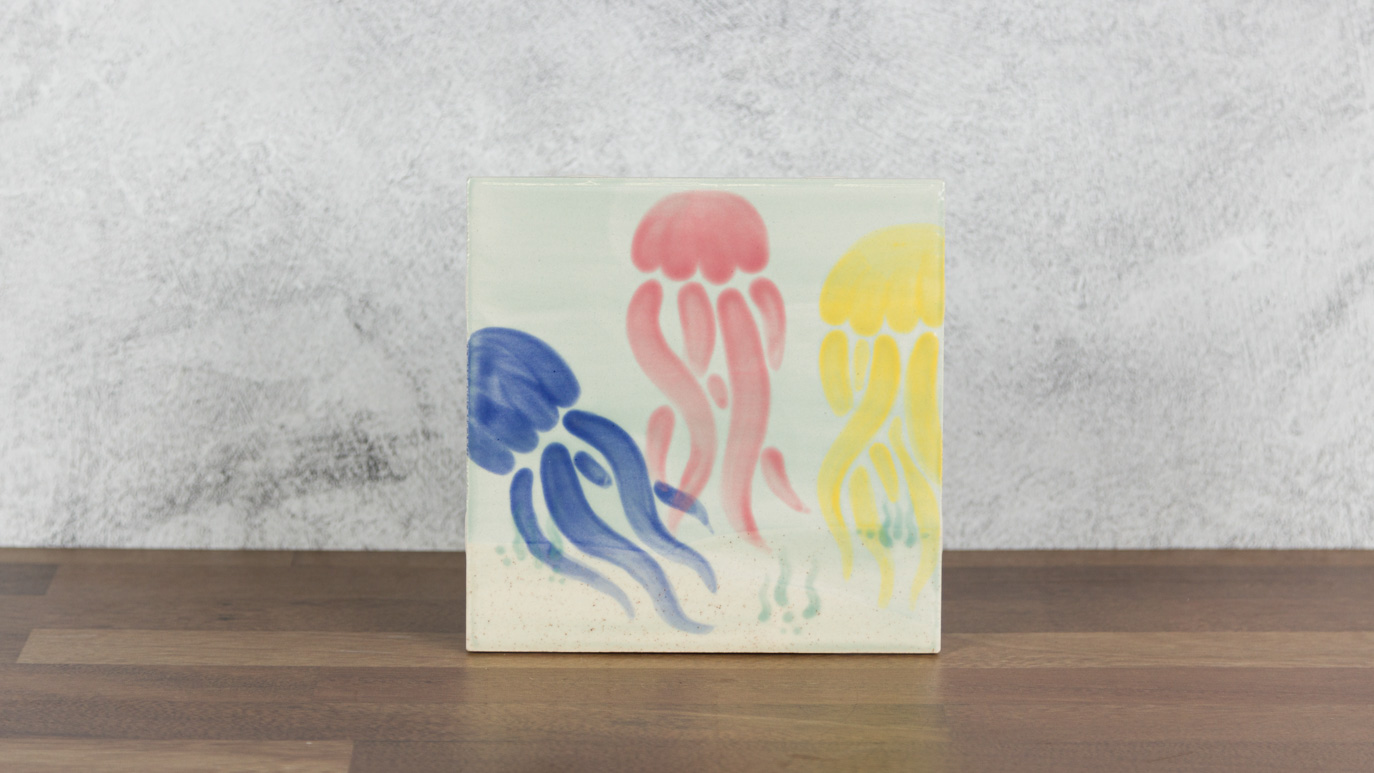
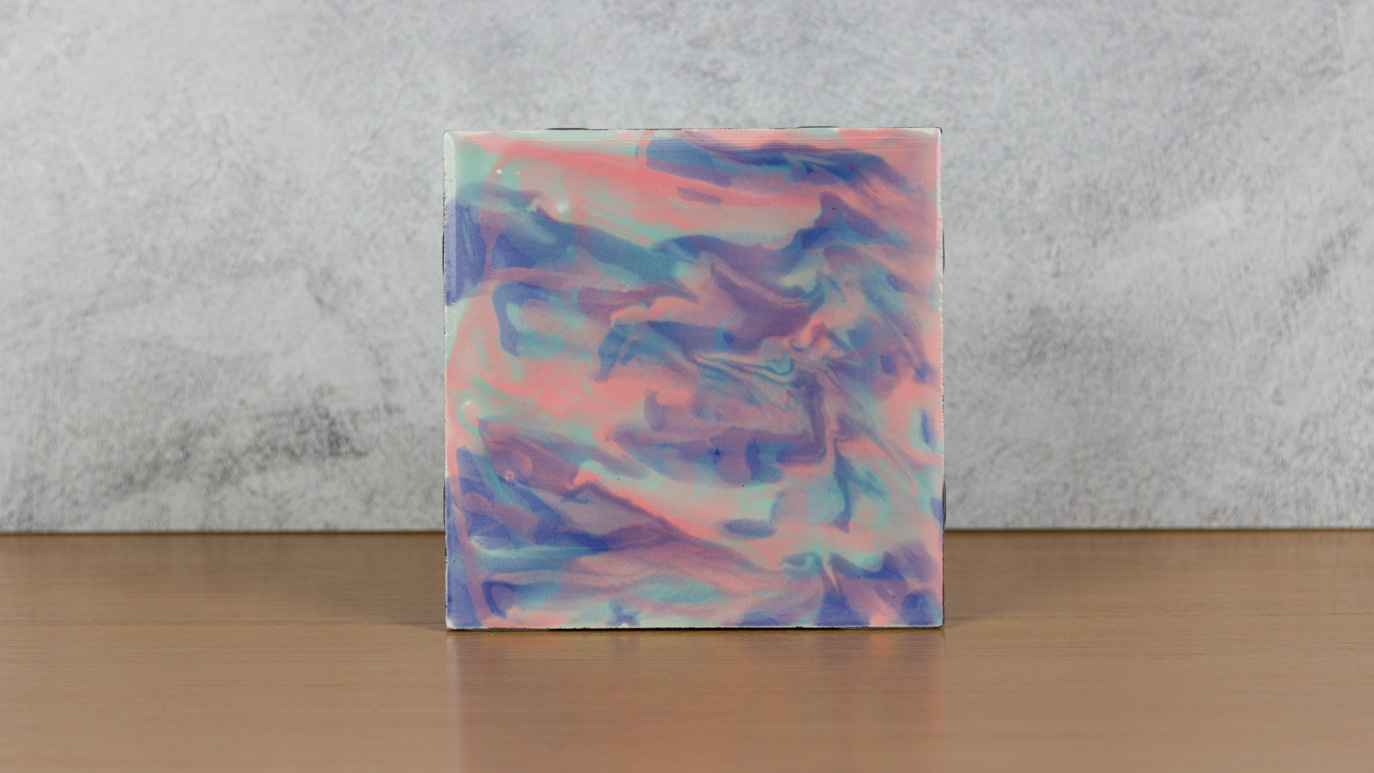
Foundations Jellyfish Tile

Designer: Bailie Benson

Share

Instructions

  1. Begin with a properly fired 6×6 bisque tile.
  2. Lay the carbon transfer paper over the tile.
  3. Place pattern over the transfer paper.
  4. Using a pencil or pen, trace over the sand horizon lines, seaweed, and yellow Jellyfish (far right).
  5. Using the script liner brush, fill in the sandy area with three coats of FN239.
  6. Using the very tip of the script liner brush, create the seaweed using FN237.
  7. Using the script liner brush again, create the yellow jellyfish with FN232.
  8. Once the details have dried, go over the whole tile with one coat of FN235 with a fan brush.
  9. Once the shine has gone away from the coat of FN235, lay the paper pattern down over the tile and trace the blue (left) jellyfish.
  10. Fill in the indents of the traced jellyfish with a script liner brush and three coats of FN238.
  11. Once the jellyfish has dried, apply one coat of FN235 with a fan brush.
  12. Once that coat has lost its shine, place the pattern back over the tile and trace the final jellyfish.
  13. Fill in the final jellyfish with three coats of FN236.
  14. Once the pink jellyfish has dried, apply a final layer of FN235 with a fan brush.
  15. Allow tile to dry.
  16. Stilt and fire to cone 06.

Supplies

Form

  • 6×6 bisque tile

Colors

  • FN232 Sun Yellow
  • FN235 Celadon
  • FN236 Miami Pink
  • FN237 Light Turquoise
  • FN238 Royal Blue
  • FN239 Spiced Cream

Decorating Accessories

  • RB106 Script Liner brush
  • RB144 Soft Fan brush

Miscellaneous Accessories

  • Sponge
  • Pattern
  • Pencil or pen
  • AC230 Clay Carbon Transfer Paper
Top