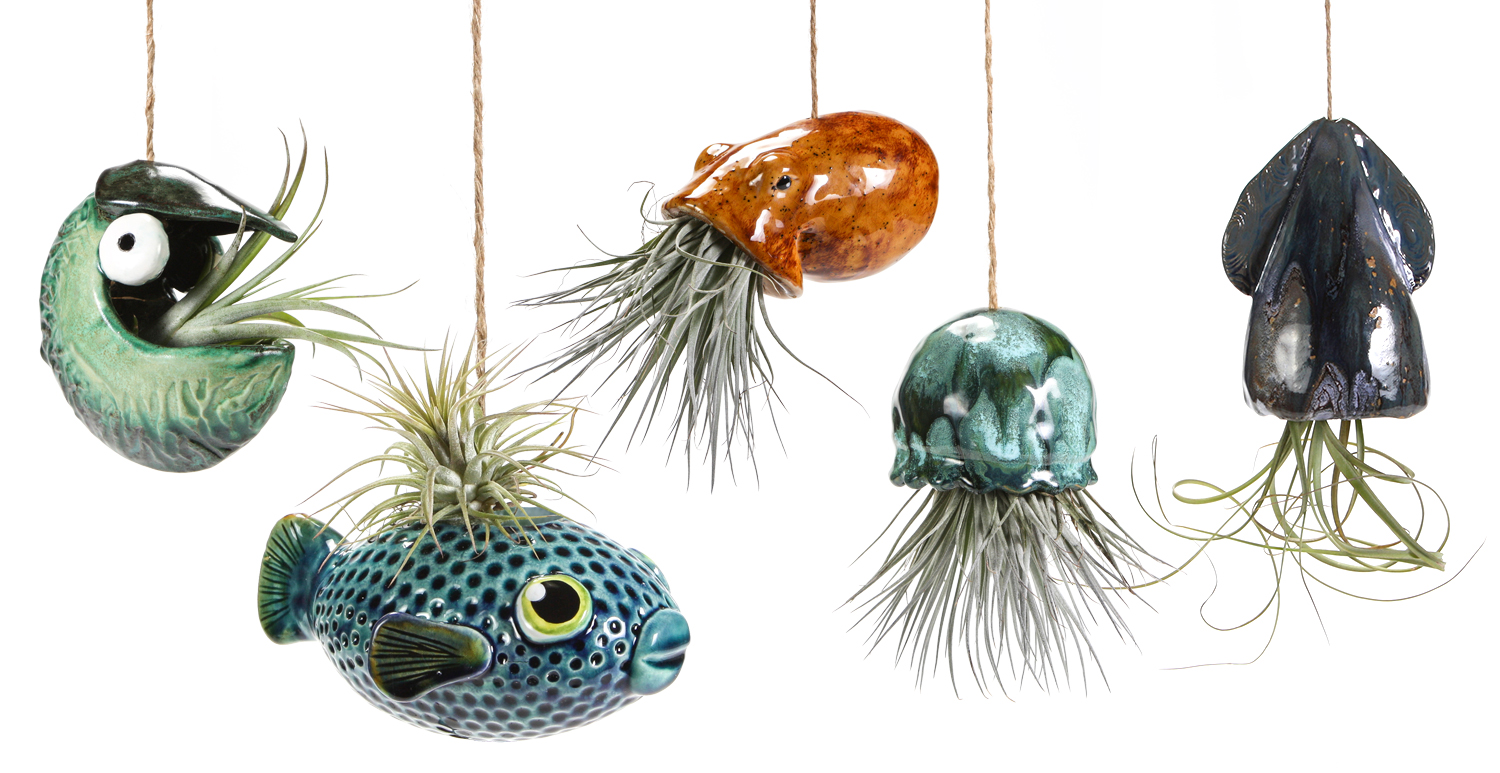
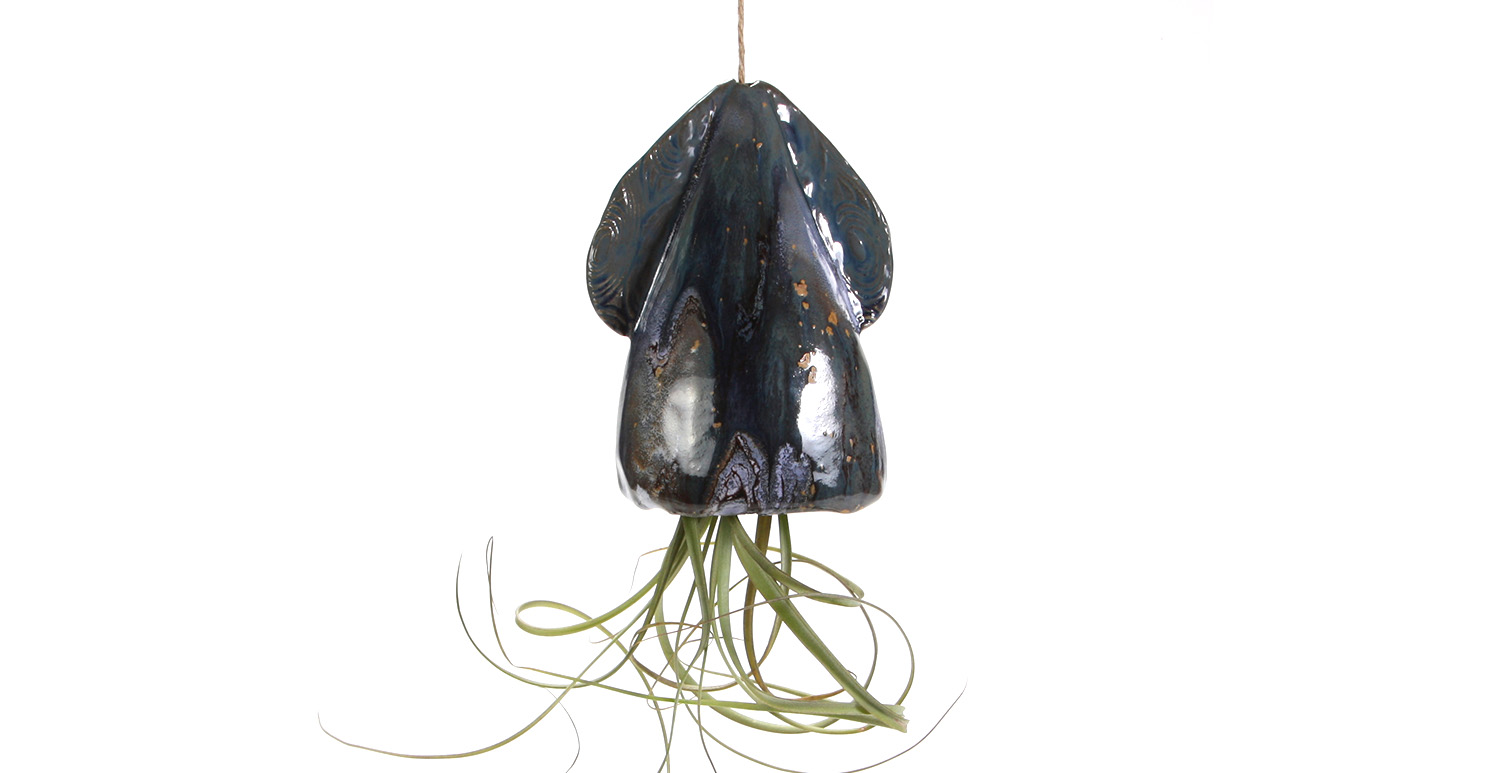
Roll out a slab that is about ¼”-1/2” thick and apply MT-007 Divots Mat.
Cut out 2 circles and slump over a bowl so that the texture is on the outside of the domes.
Once they have set up for about 20 min and a bit more stable. Take each half of the dome and press together. We wanted a more oblong/oval shape for the body. So, in order for the piece to fit together this way, the edges needed to be trimmed accordingly.
Once both pieces can be aligned, slip and score the edges to attach.
Cut a larger hole out of the top for plants to come out of and a small hole directly beneath for hanging (the rope will come up out of the plant hole to hang).
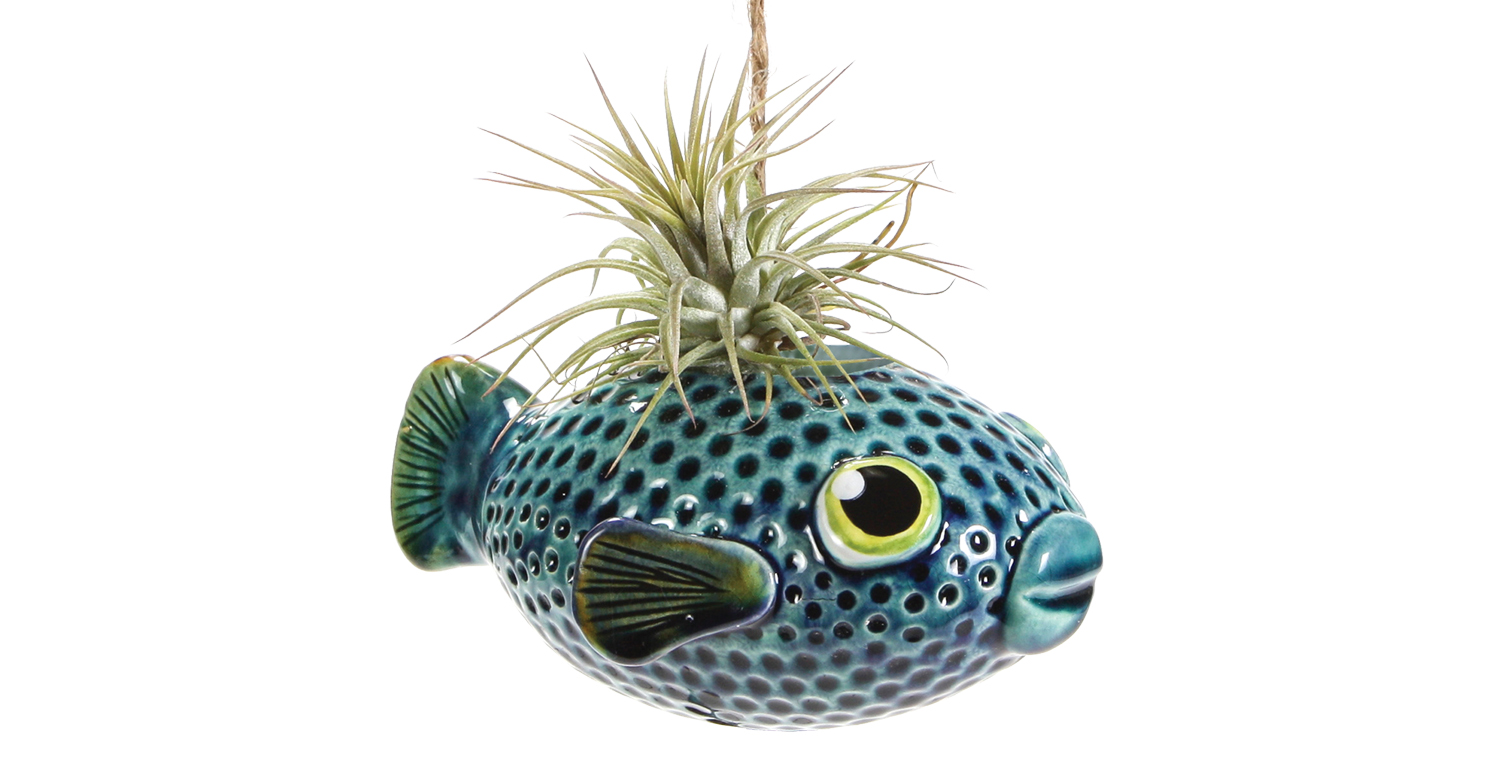
Attach fins, tail, mouth, and eyes and add texture and details as you please.
Let dry completely and bisque fire.
Glazing
Apply 3 coats of EL-136 Lapis Lagoon to the entire piece.
Apply 1 thinned coat of EL-134 Mirror Blue.
Apply 2 coats of EL-121 Copper Adventurine to the fins. Wipe away any base glaze if you want to see the brown otherwise, it will just be green (we left a strip at the top of each fin).
Wipe glaze off of the eyes and apply 1 coat of SC-16 Cotton Tail.
Apply 2 coats of SC-77 Glo Worm and 1 coat of SC-26 Green Thumb to the rim of the iris.
Apply 2 coats of SC-15 Tuxedo to the pupil and add some dots of SC-16 Cotton Tail as a highlight.
Use a pipe cleaner to clean any glaze out of the hole for hanging.